Good morning everyone,
Today I have a special guest on the blog: let me introduce Theresa.
Theresa is a blogger and one of my readers, and she sent me the sweetest email a couple of weeks ago with a picture of flowers from her garden and a link to her lovely blog. I asked her if she wanted to regularly guest blog about flowers and cooking with flowers on madame love, and I am so glad she accepted. She will be guest blogging on the 1st of each month with treasures from her garden in Luxembourg.
The post is going to be in German and English. I will be back on the blog, I hope next time with some good news about baby love's birth. I will take a little blogging break in September, but my lovely blogger friends from all over the world have prepared some beautiful blogposts for you. Inga and I will also be back in October with a new edition of #2flowergirls and a great flower for you to style!
Talk to you soon,
xxx
Elodie

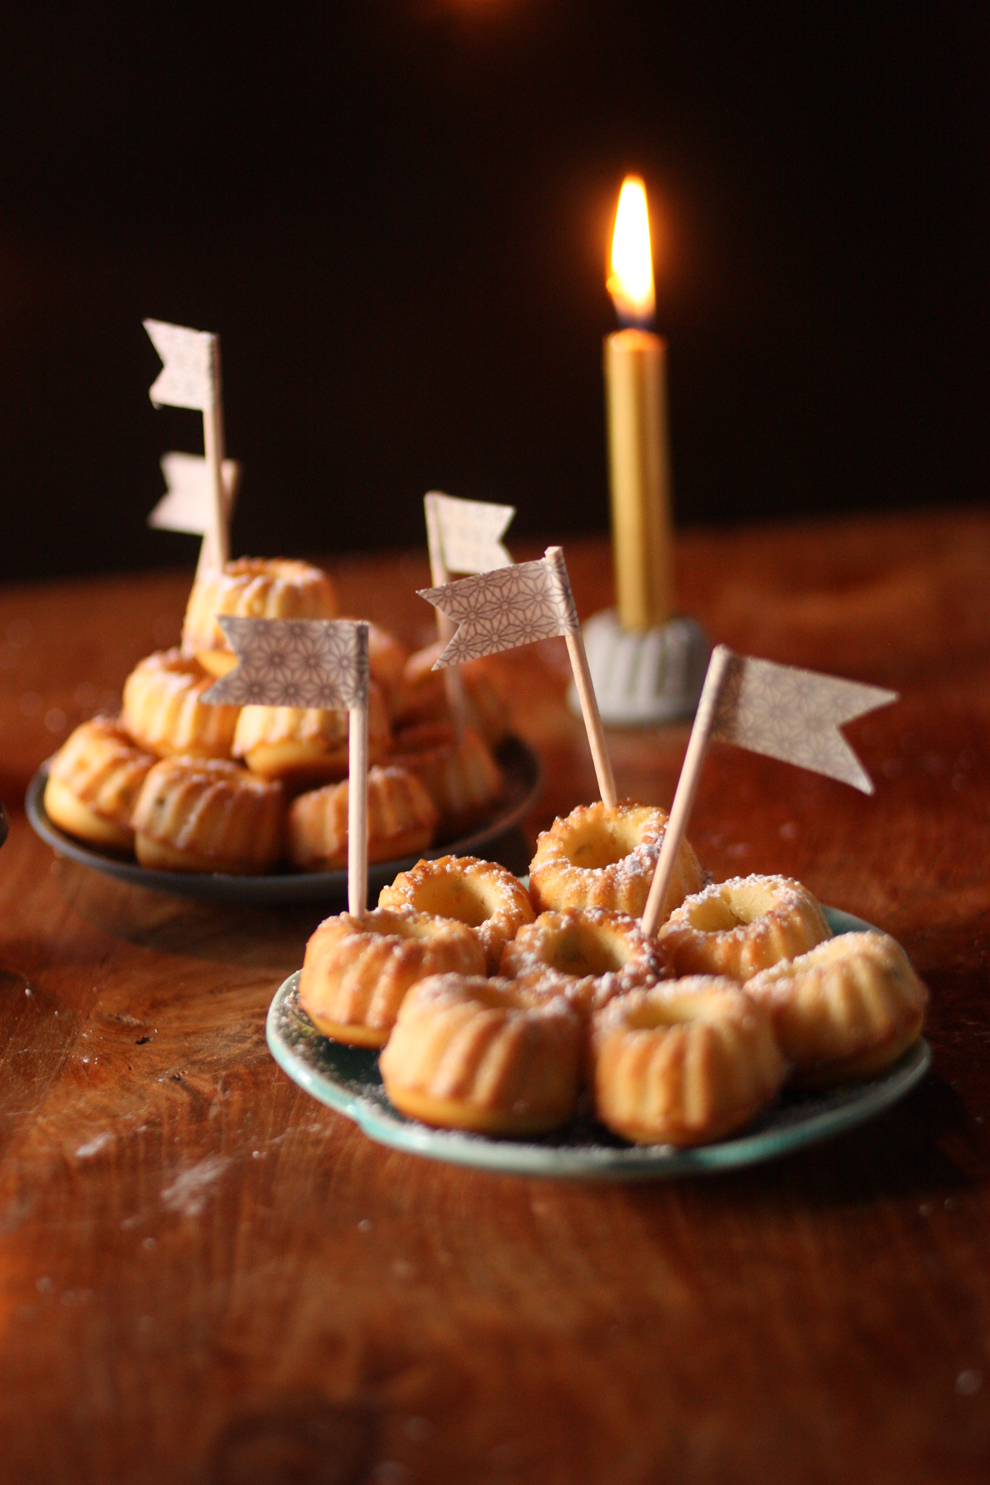
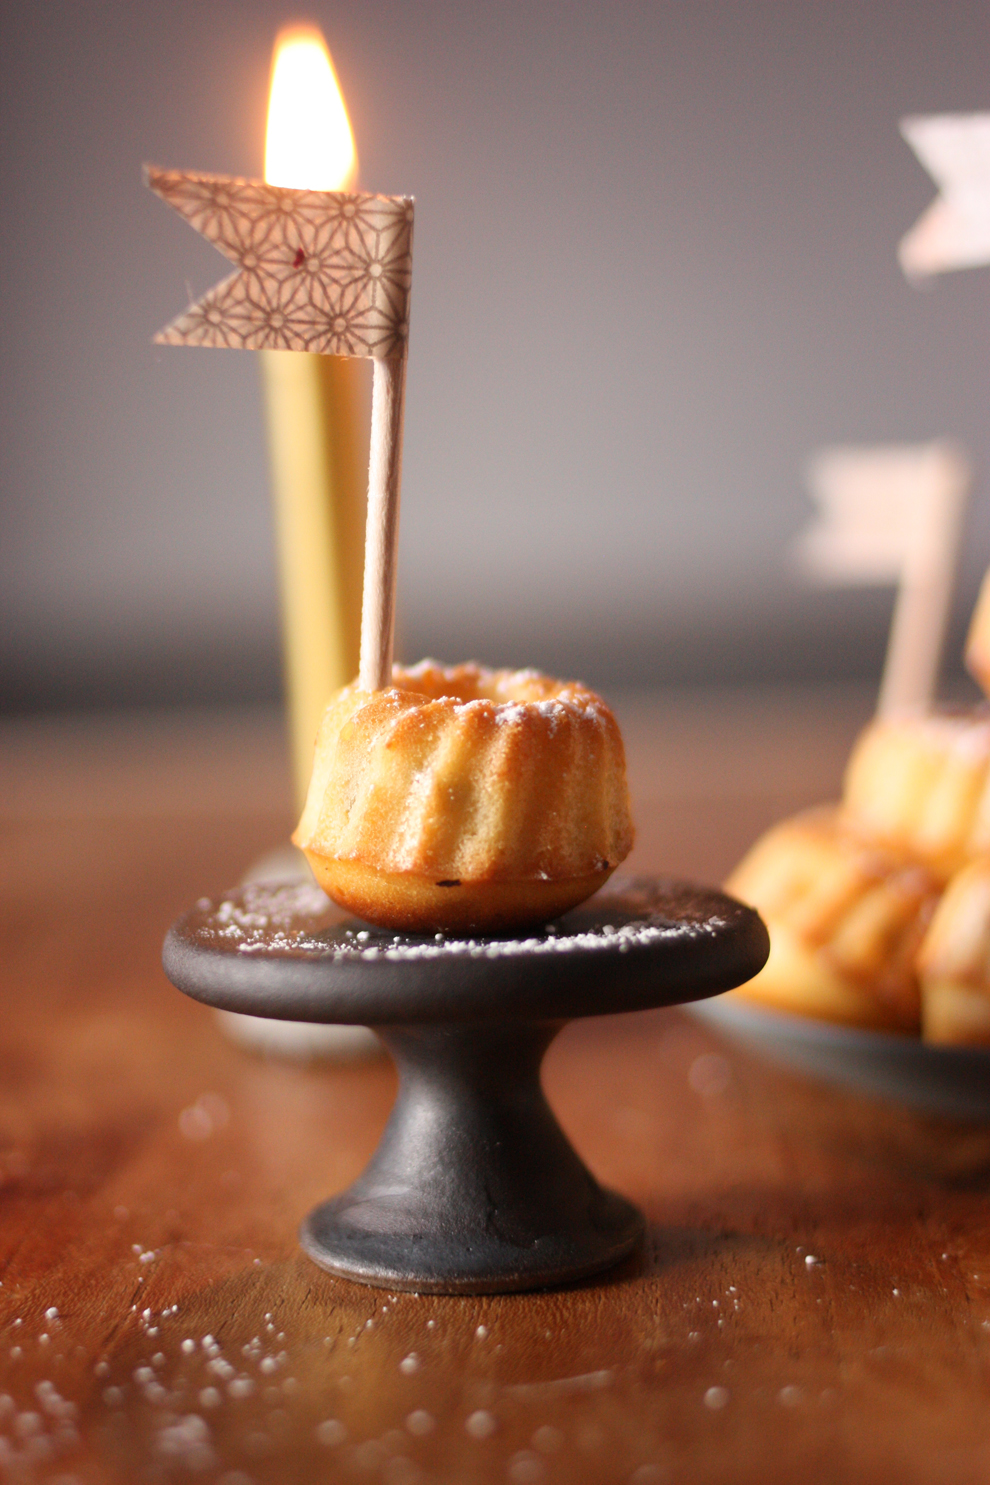
Eine Homage an den Küchengarten!
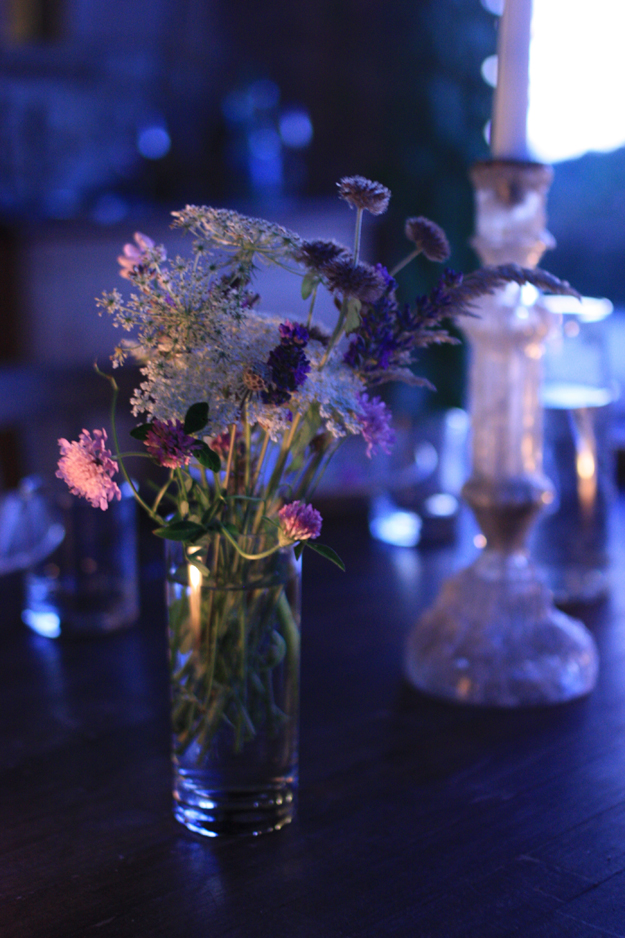
Nichts geht über ein frisch gebackenes Brot mit Schnittlauch oder wilder Rucola aus dem Garten, dekorativ verziert mit essbaren Blüten! Ich liebe es, wenn ich ab dem Frühjahr frische Kräuter in die Küche holen kann. Und da ich oft und großzügig ernte, habe ich von den meisten Sorten gleich mehrere Exemplare im Beet. Von vielen Kräutern lassen sich nicht nur die Blätter, sondern auch die Blüten verwenden. Für eine orange-rote Farbpalette auf dem Sommersalat sorgt z.B. die Kapuzinerkresse. Die Blütenblätter des Borretschs hingegen leuchten in zarten Pastellfarben von hellblau bis dunkel-violett. Der meterhohe Fenchel ist besonders prachtvoll und um einiges robuster als der feine Dill.
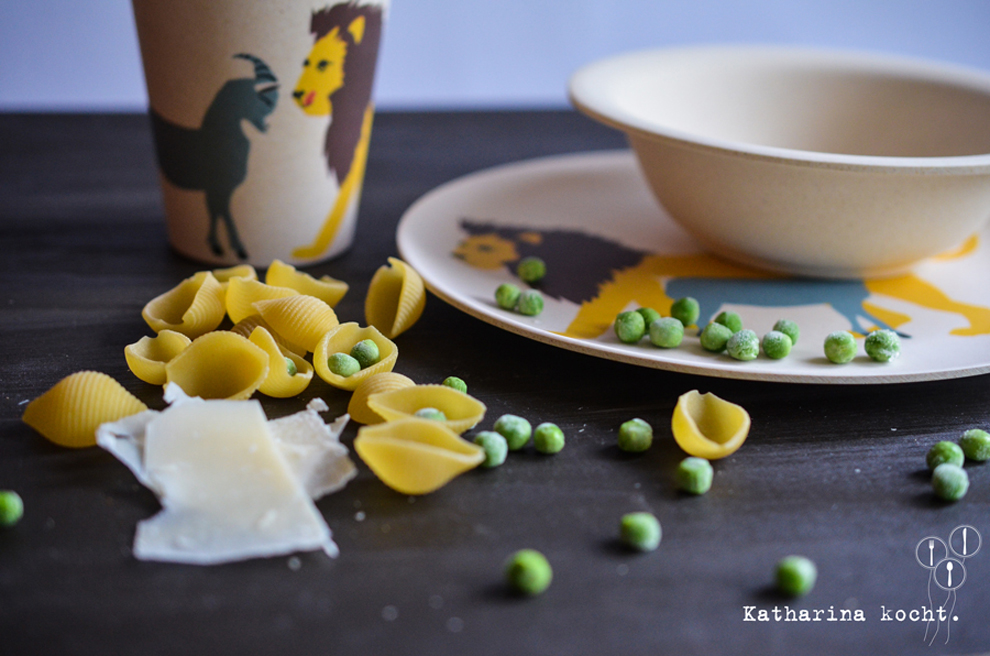
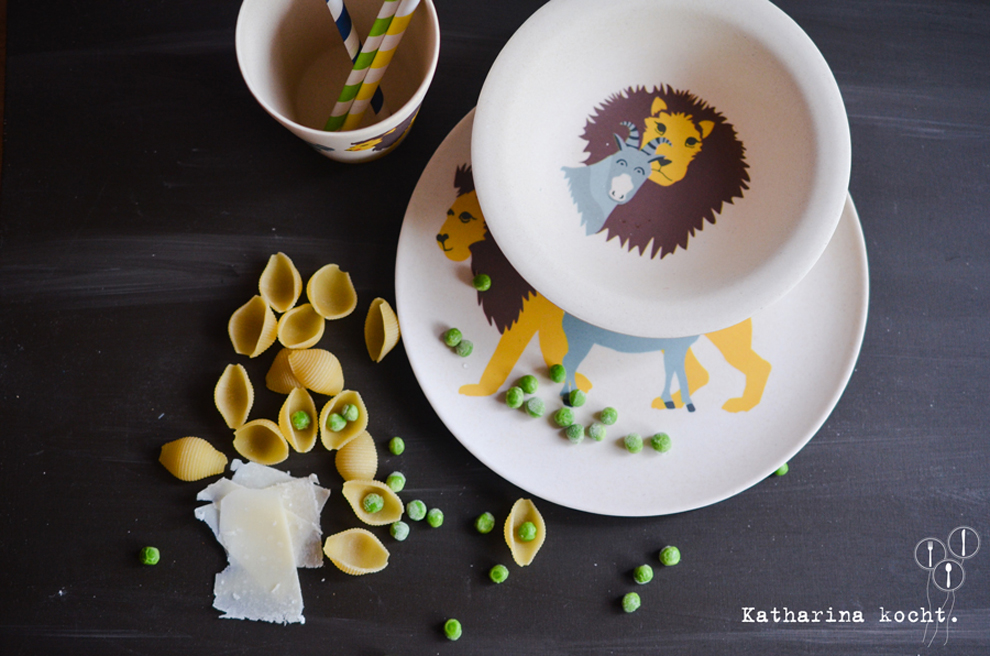
Ich bin immer auf der Suche nach neuen Inspirationen für meinen Kräutergarten! Fündig geworden bin ich im Bauerngarten von Hannelore Eggelmann aus Niedersachsen. In ihren liebevoll angelegten Beeten wachsen verschiedene Sorten Thymian, Petersilie, Pimpinelle, Raute, Salbei, Schafsgarbe, Lauchzwiebeln und was auf keinen Fall fehlen darf: Französischer Estragon. Diese Varietät ist geschmacklich viel zarter und feiner, als die weit verbreitete russische Sorte. Angesichts dieser Kräutervielfalt im Beet gerate ich ins Schwärmen. Wir ernten von jedem etwas und machen uns gleich darauf an den Herd! Die Kräuterrolle von Hannelore Eggelmann ist ein wunderbares Rezept für das späte Frühstück oder als Appetizer zu einem erfrischenden Sommerdrink!
An homage to the herb garden!
There is nothing better than freshly-baked bread with chives or wild rocket from the garden, with edible flowers for decoration! I love being able to bring fresh herbs into the kitchen from springtime onwards. And as I "harvest" frequently and in large quantities I have numerous examples of most types of herb growing in the garden. With many herbs you can use not only the leaves, but also the flowers. For an orange-red colour palette on a summer salad you can use nasturtium for example. Borage petals on the other hand light up in soft pastel colours from light-blue to deep purple. Metre-high fennel looks particularly splendid and is quite a bit more robust than fragile dill.
I'm constantly on the lookout for new inspiration for my herb garden and made a discovery in the form of Hannelore Eggelmann's farm garden in Lower Saxony. Various types of thyme, parsley, burnet, rue, sage, yarrow, spring onions and what absolutely has to be there: French tarragon are present in her carefully arranged beds. This variety has a softer, more refined taste than the more common Russian type. When I see this amount of variety in the herb beds I get really excited! We took back a little bit of everything into the kitchen. Hannelore's herb roll is a great recipe for a late breakfast or as an appetizer with a refreshing summer drink!


Kräuterrolle mit Blüten aus dem Küchengarten
Zutaten:
Für den Teig:
- 300 ml Milch
- 4 Eier
- 2 EL Öl
- 100 g Mehl
- etwas Salz
Für die Füllung:
- Ein Bund mit verschiendenen frischen Kräutern aus dem Garten oder vom Markthändler (z.B.: Schnittlauch, Bärlauch, Kresse, Fenchel, glatte Petersilie, Kapuzinerkresse, Lauchzwiebel, Pimpinelle, Dill)
- 200 g Frischkäse
- 200 g Schmand
- 100 g Quark
- 100 g Kochschinken
- 1/4 TL Salz
- 1 gehäufter TL Meerrettich
- etwas Cayennepfeffer
Zubereitung:
Den Backofen auf 200° C Umluft vorheizen.
Die Milch erwärmen. Die Eier trennen. Das Eigelb in eine Schüssel geben. Das Eiweiß mit dem Salz steif schlagen. Die Milch unter Rühren nach und nach zum Eigelb geben, bis die Masse schaumig geschlagen ist. Das Öl unterschlagen. Schließlich erst das Mehl und dann das Eiweiß mit einem Schneebesen unterheben. Ein Backblech mit Backpapier auslegen, den Teig darauf verteilen und 15 Minuten im Ofen goldbraun backen.
In der Zwischenzeit die Kräuter waschen und fein hacken. Den Kochschinken in feine Würfel schneiden. Die Kräuter und den Schinken mit den restlichen Zutaten verrühren.
Den Pfannkuchen vom Blech auf ein sauberes Handtuch stürzen, das Backpapier abziehen und den Pfannkuchen lauwarm abkühlen lassen. Die Kräuter-Frischkäse-Creme darauf verstreichen und gleichsam wie eine Biskuitrolle einrollen. Mit Klarsichtfolie einwickeln und für eine Stunde in den Kühlschrank stellen. Zum Servieren die Kräuterrolle in feine Scheiben schneiden und mit Blüten aus dem Garten verzieren.
Ein gute Gelingen und Bon Appetit!
Herb roll with flowers from the kitchen garden
Ingredients:
For the roll:
- 300 ml milk
- 4 eggs
- 2 tablespoons olive oil
- 100 g flour
- a pinch of salt
For the filling:
- A bunch of mixed fresh herbs from the garden or from the market (e.g. chives, wild garlic, cress, fennel, Italian parsley, nasturtium, spring onions, burnet, dill)
- 200 g cream cheese
- 200 g sour cream
- 100 g curd cheese (quark)
- 100 g cooked ham
- 1/4 teaspoon salt
- 1 heaped teaspoon horseradish
- a pinch of cayenne pepper
Preparation:
Pre-heat the fan-assisted oven to 200° C.
Roll: Warm the milk. Separate the eggs. Put the yolks in a bowl. Beat the egg whites with the salt until stiff and leave to one side. Mix the milk bit by bit with the egg yolks and beat until the combination has a slight foam covering . Mix in the olive oil. Then mix the flour and then the egg whites into the egg yolk mixture with a whisk. Put baking paper on a baking tray and spread the mixture on it and put it in the oven for 15 minutes until golden brown.
Filling: In the meantime wash and finely chop the herbs. Cut the cooked ham into small cubes. Mix the herbs and the ham with the remaining ingredients.
Remove the roll on the baking paper from the baking tray and flip it onto a clean tea towel, then remove the baking paper and leave the roll to cool until it is luke warm. Spread the filling on the roll and then roll it up as for a log roll. Cover in cling film and leave in the fridge for an hour. Cut the herb roll into thin slices and decorate with edible flowers from the garden to serve.
Enjoy it!


(c) All photography by Theresa Baumgärtner
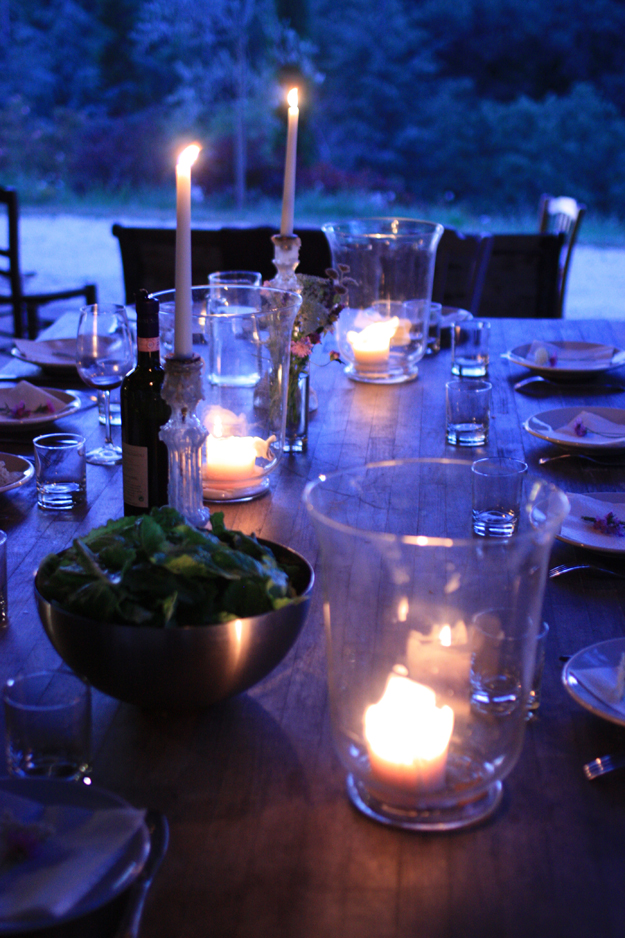 Hello everyone!
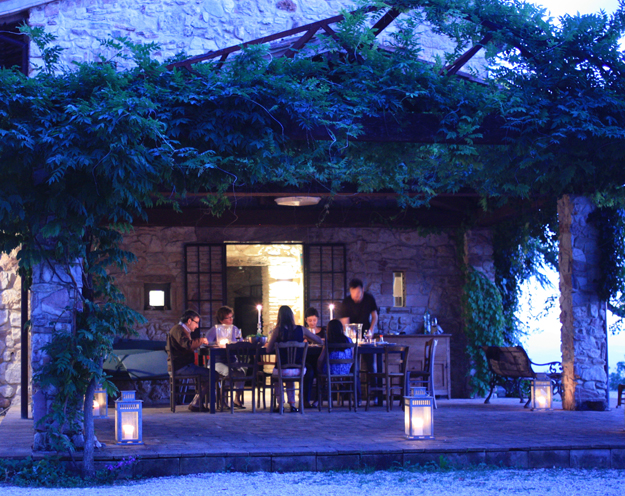
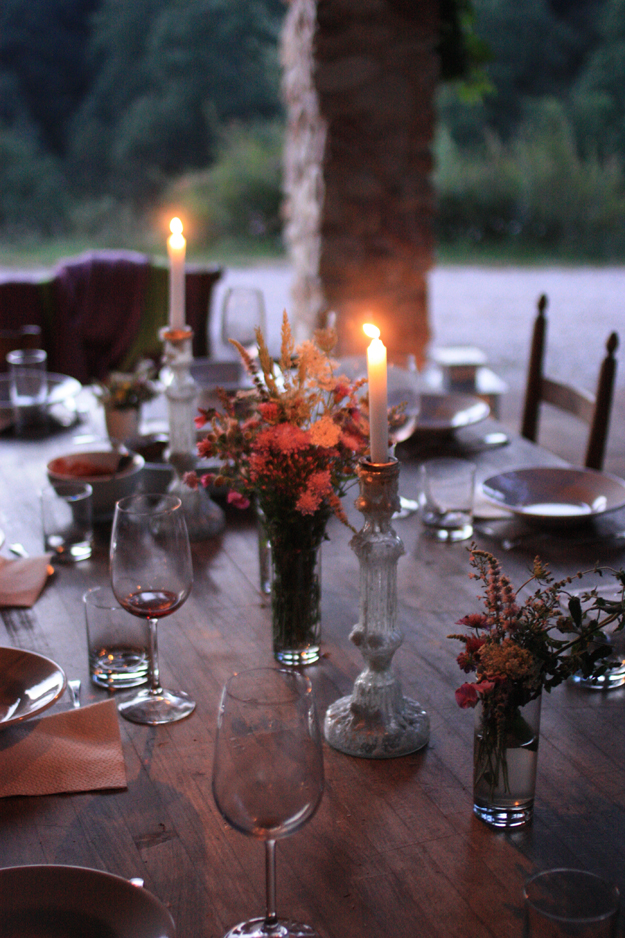
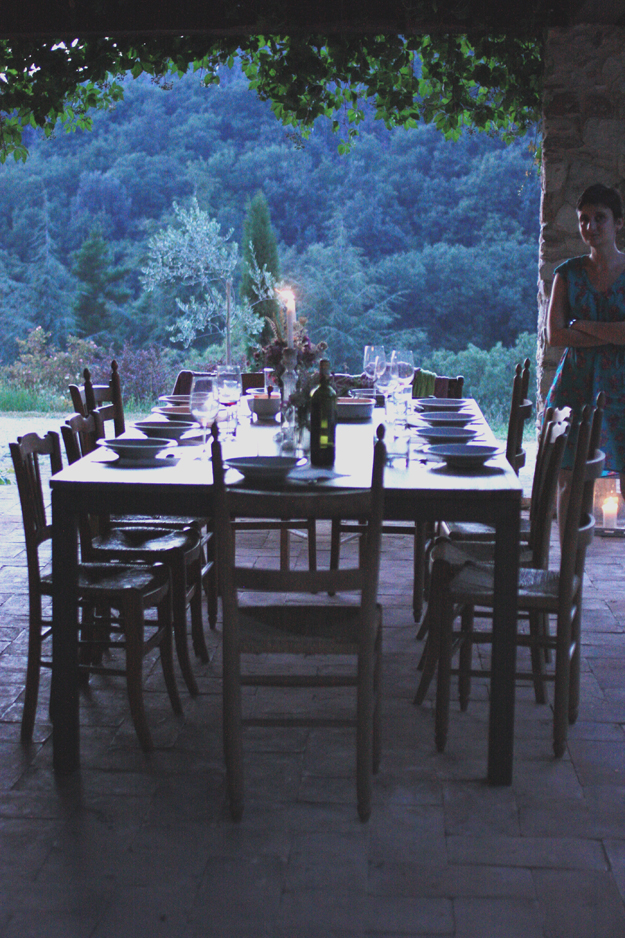
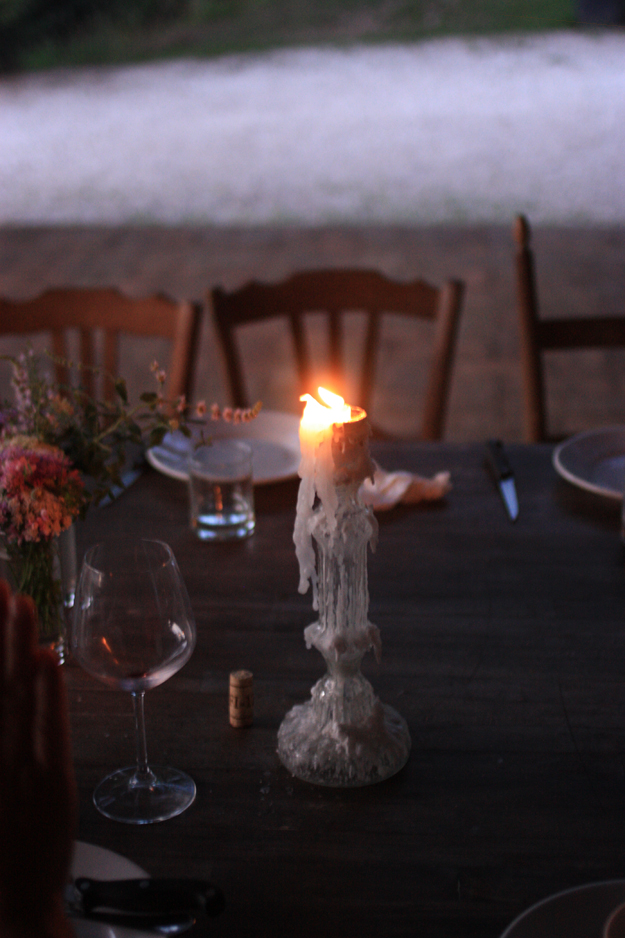
Today is the first day of September and it already feels like autumn here. Nothing against Autumn, but I just feel the need to remember those long summer nights we had in Umbria at the beginning of August with my family.
We stayed for a week in a beautiful villa surrounded by woods of oaks and chestnut trees, with a stunning view on the valley.
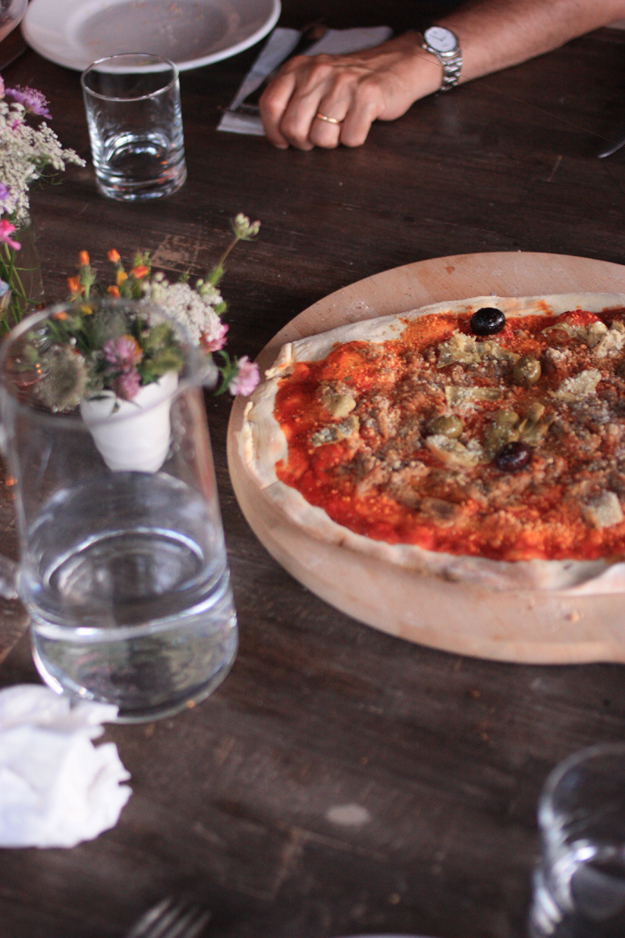
One of the great things about the casale del gallo, was its patio, where we had candle light dinners every night, and its outdoor pizza oven, which made us truly feel like we were in Italy!
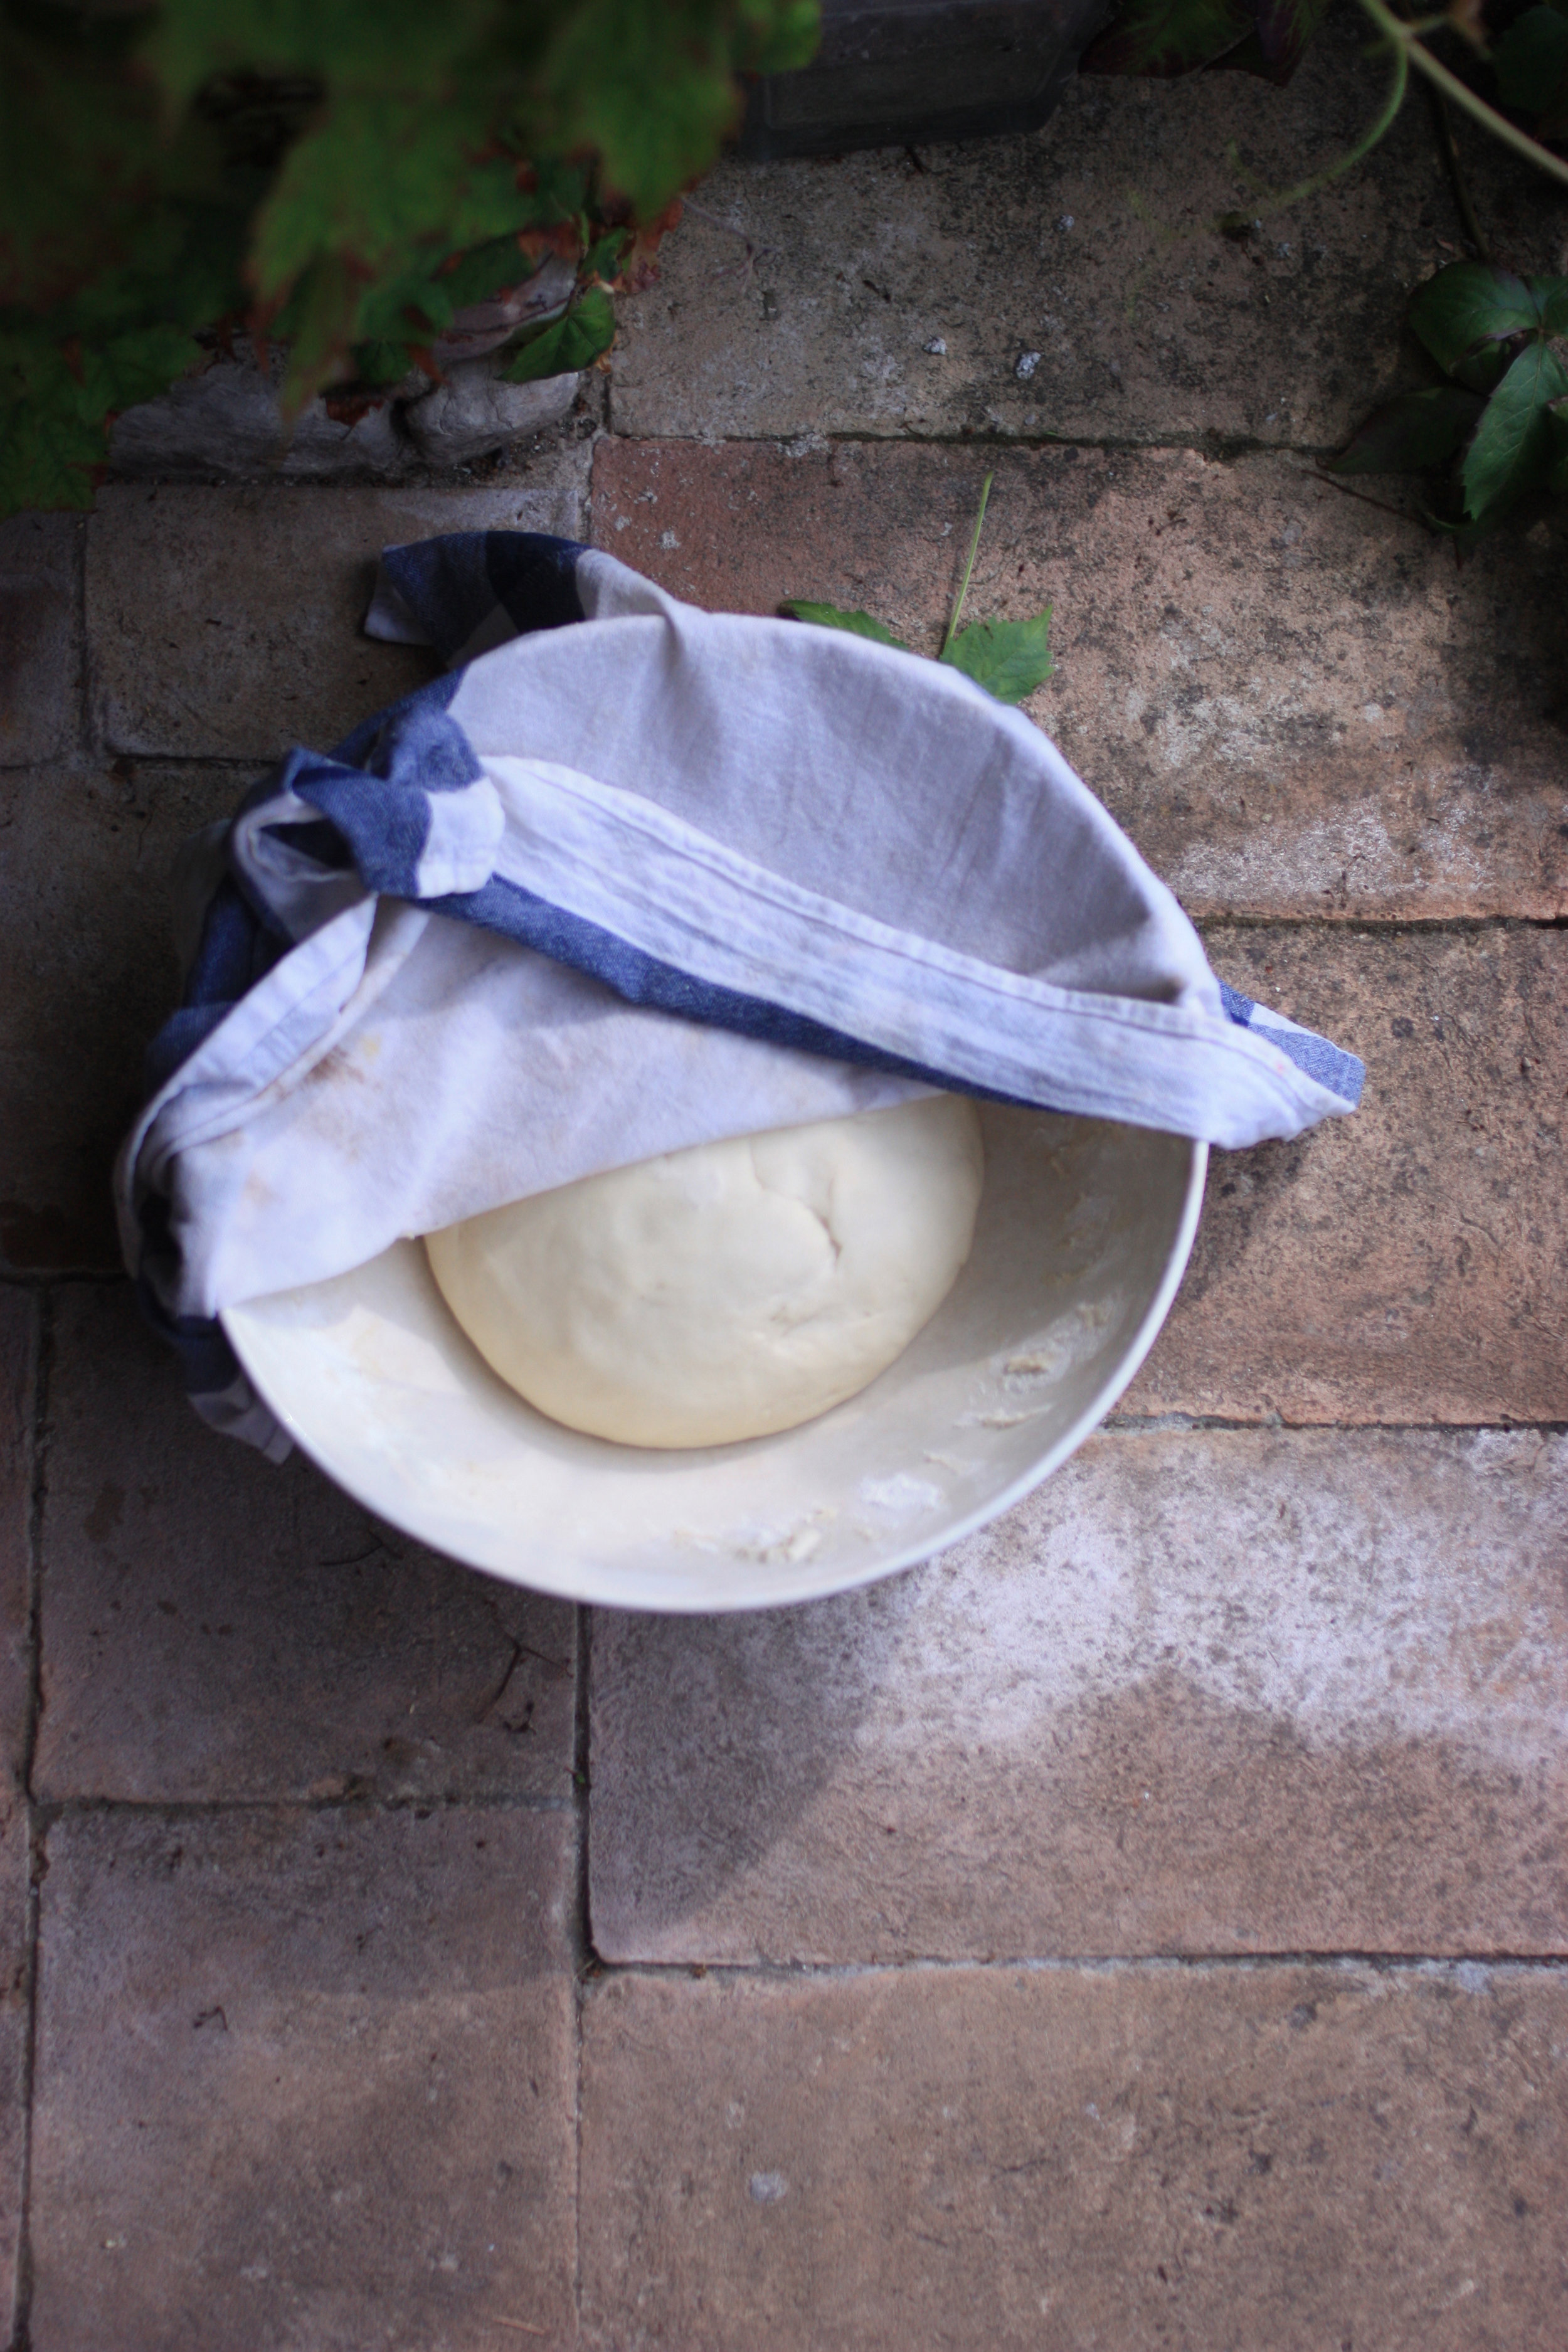
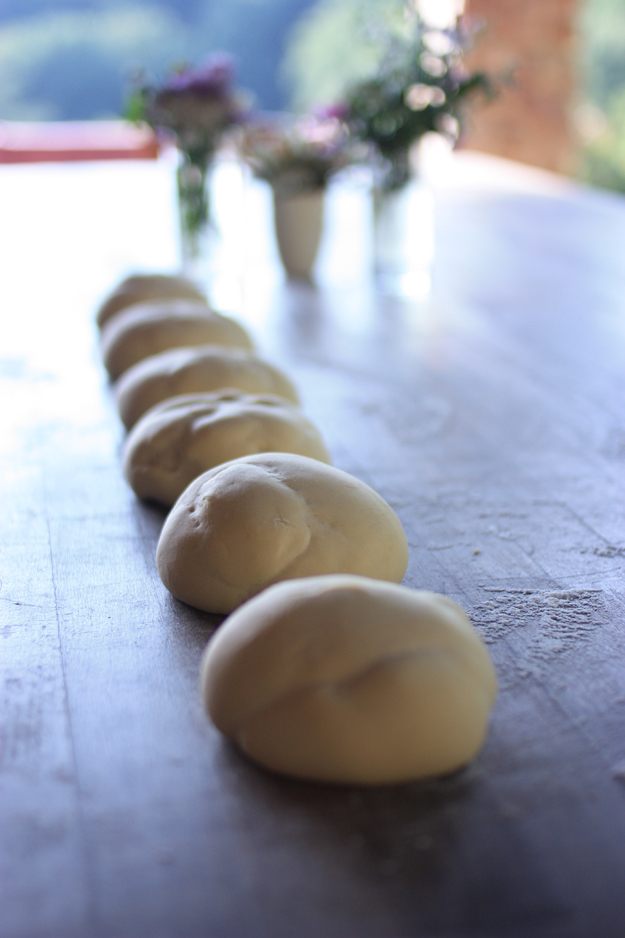
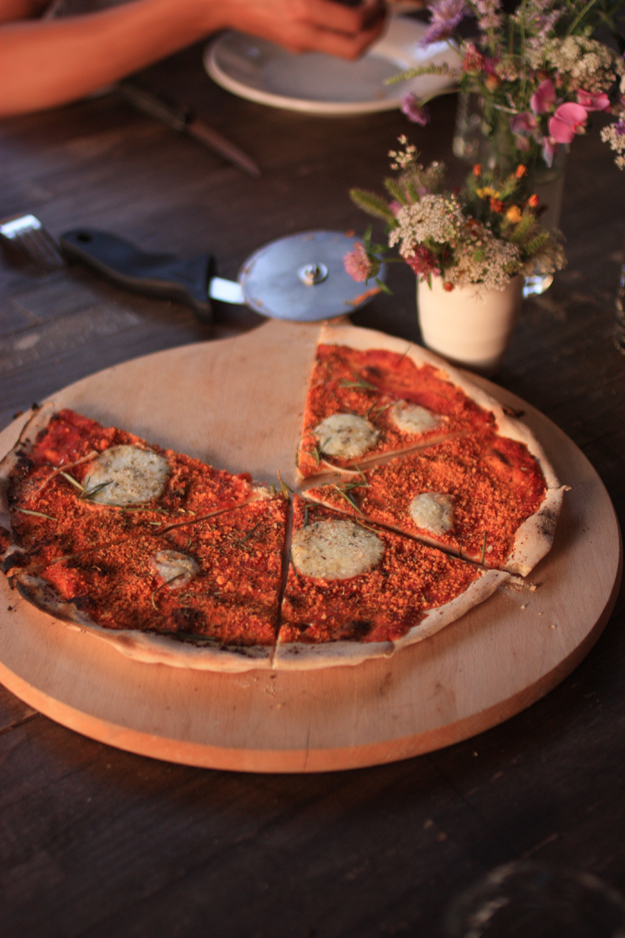
My nephews and nieces decided to make some pizza for us one evening and it was so delicious and beautiful that I wanted to share the recipe with you as well as some impressions of this beautiful evening.
Hello everyone!
Today is the first day of September and it already feels like autumn here. Nothing against Autumn, but I just feel the need to remember those long summer nights we had in Umbria at the beginning of August with my family.
We stayed for a week in a beautiful villa surrounded by woods of oaks and chestnut trees, with a stunning view on the valley.
One of the great things about the casale del gallo, was its patio, where we had candle light dinners every night, and its outdoor pizza oven, which made us truly feel like we were in Italy!
My nephews and nieces decided to make some pizza for us one evening and it was so delicious and beautiful that I wanted to share the recipe with you as well as some impressions of this beautiful evening.


 Hello everyone,


 madame love")


