Liberty of London

pennant banner tutorial + free pattern

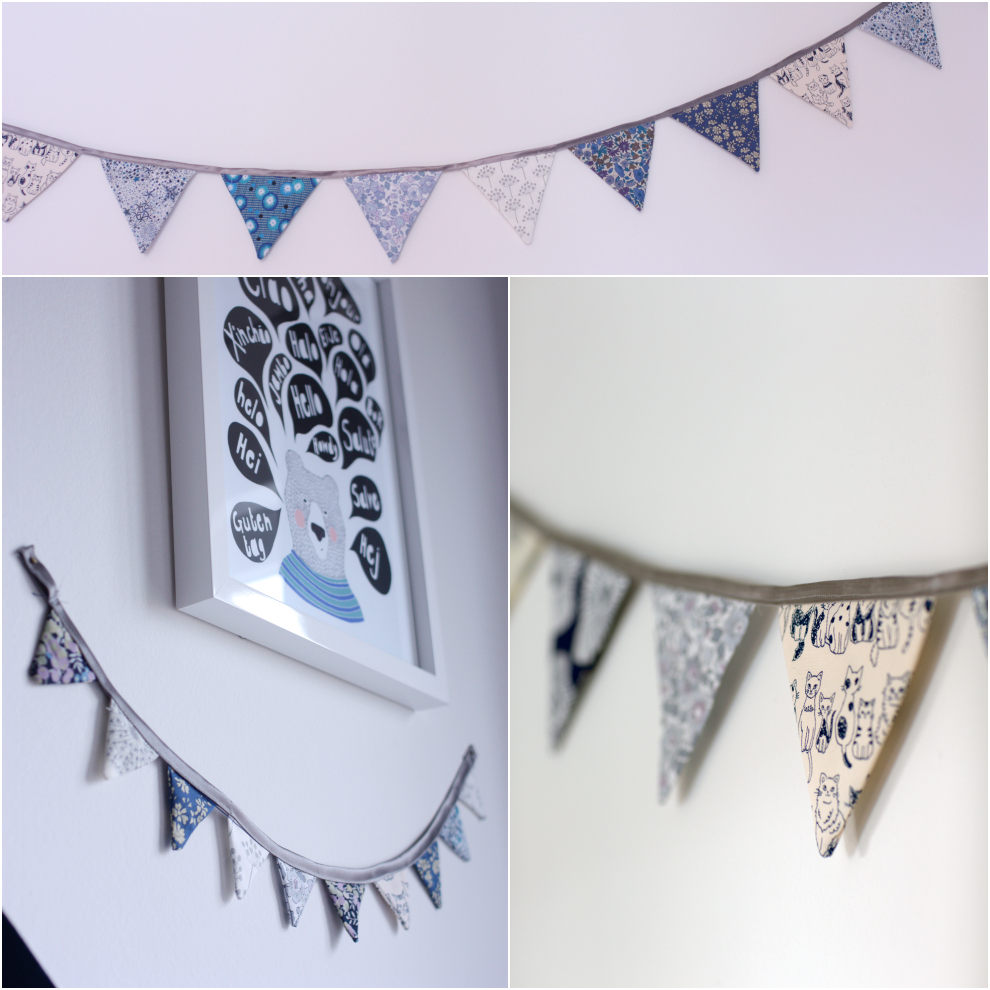
Hello everyone, As promised when I showed you the pictures of the nursery, here is a little tutorial for the big and the mini pennant banner I made for baby love.

pennant banner

So here you go! It is a very simple project that will not take you more than an evening or a week-end to complete and that is suitable for beginners. I also made a mini-version of the pennant banner. You just have to use the smaller triangle and a smaller portion of bias tape. I made some pictures to illustrate the steps of the tutorial and a pattern to download:

FREE DOWNLOAD

Items needed for a two-metre pennant banner:

You will need:

  • the pattern (see above)
  • 32 fabric triangles (for 16 triangles). It is good to use leftover fabric pieces from other projects. You don't need 16 different fabrics - just be careful not to put the same pattern next to each other when you assemble the garland
  • 2.5 metre bias tape.
  • assorted thread (same colour as the bias tape)
  • a cutting mat and a rotary cutter (or some fabric scissors)
  • masking tape
  • a sewing machine
  • pins
  • iron and ironing board
  • 2 curtain rings to attach the banner to the wall.

pennant_Banner_1

Step 1: download the pattern, print it and cut it out. Place the pattern on your fabric on the cutting mat and fix it with masking tape. Step 2: cut your fabric. Always cut at least two of each pattern for both sides of your triangles. Step 3 - 4 : place your triangles' right sides against each other and sew them along the two longer edges.

pennant_Banner_2

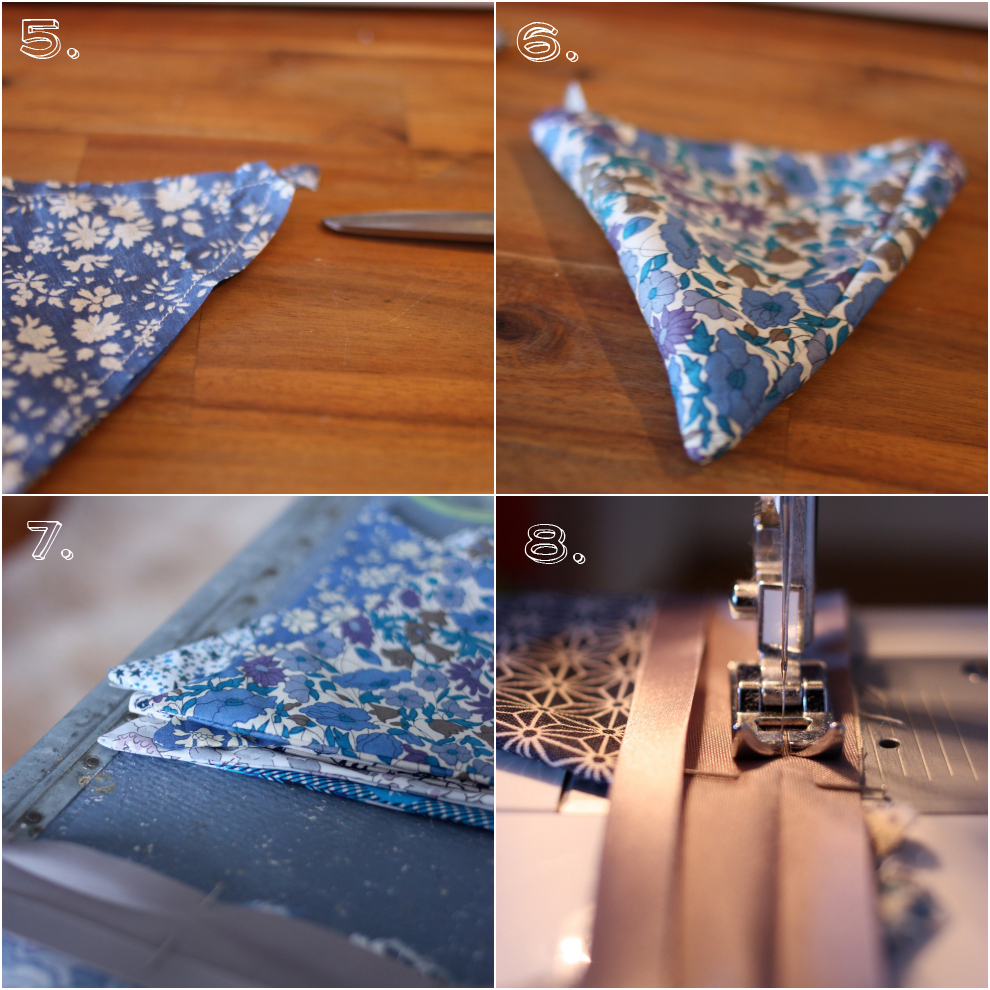
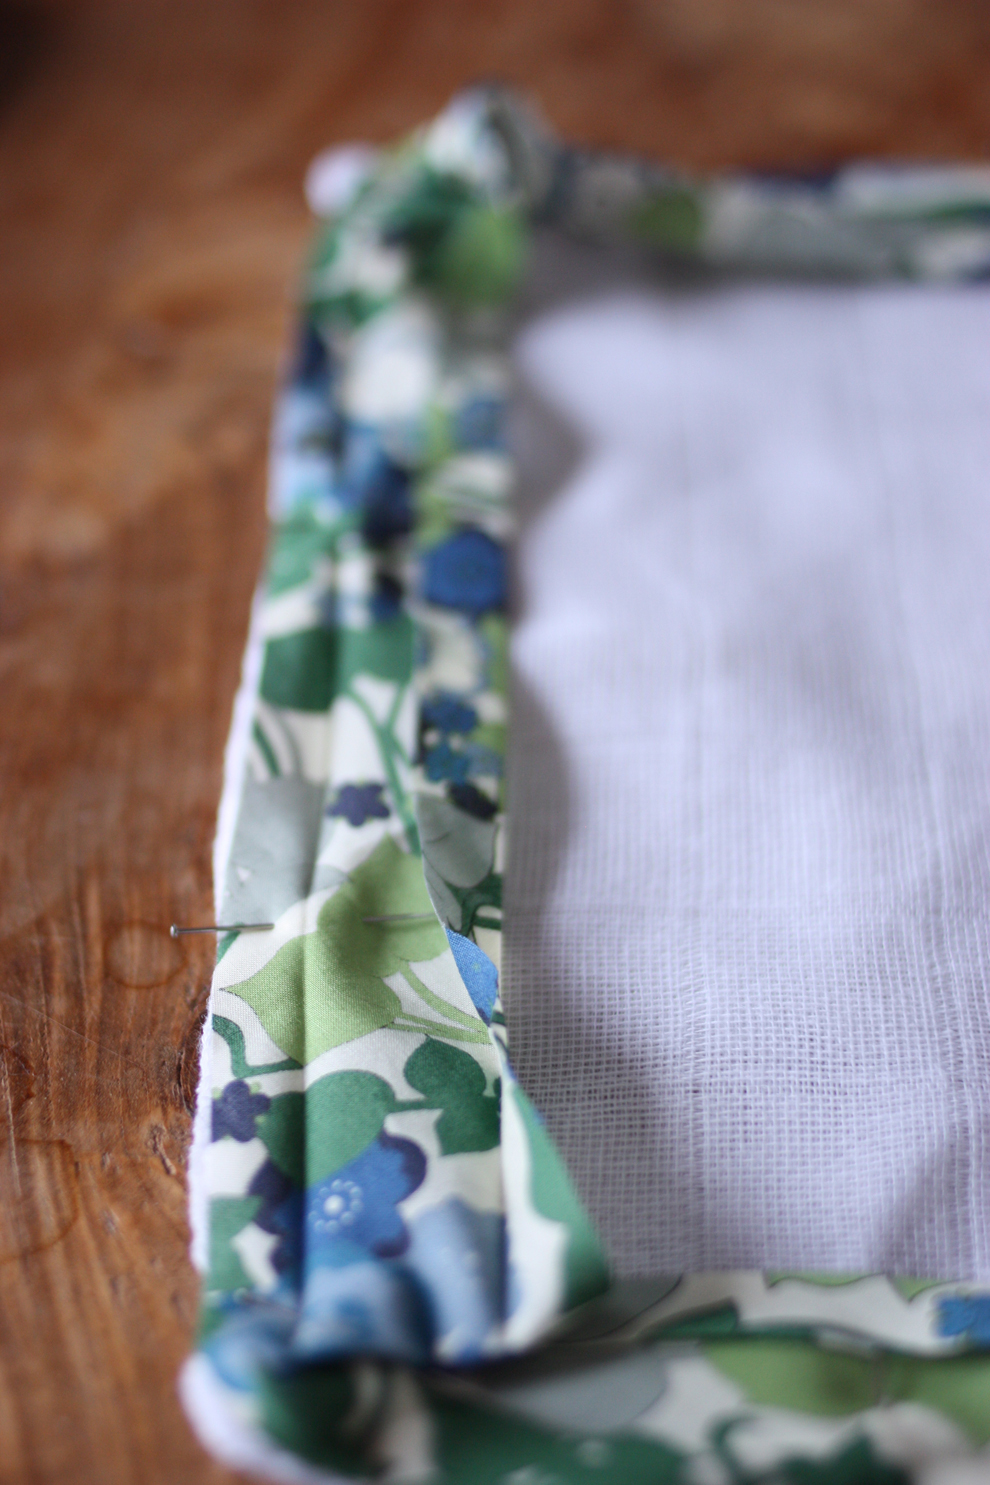
Step 5: cut the point of each triangle with a pair of fabric scissors. Step 6: return your fabric on the right side. Step 7: iron your triangles flat. Step 8: iron one side of your bias tape flat and pin your triangles (2 to 3 pins per triangle) next to each other. Be careful when you assemble the banner not to put the same pattern next to each other and to have a harmonious succession of fabric. Sew on the fold of your bias tape. Leave at least 8 cm of tape on each side, so as to be able to attach your banner to the wall. Take away your pins.

pennant_Banner_3

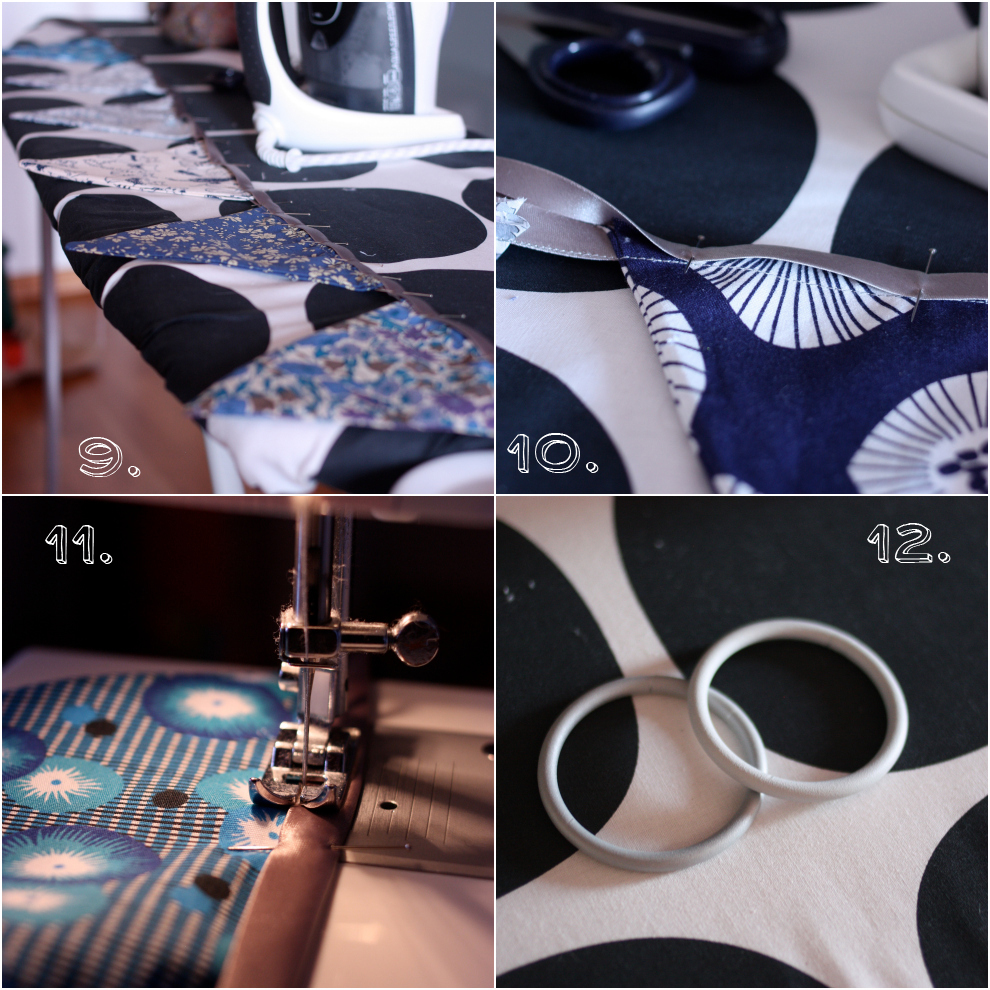
Step 9 - 10: with the help of your iron, fold your bias tape and pin it in place. Step 11: sew your bias tape as close to the edge as possible -  backstitch at the end. Step 12: attach the rings at each sides of the banner, and fix it to wall with simple nails.

Voila!

Take care and talk to you soon! (I really hope this time after the birth...)

Elodie
Baby love's little nursery

Good morning everyone,As promised several times, today is the day of the big reveal: I will show you the finished baby nursery. Maybe baby love will want to visit it soon! So here is what I did with this room after I decided on the colour scheme and did a virtual moodboard and collected some inspiration on Pinterest. I will start with the main pieces of furniture and show you the little details:

Little_sheep

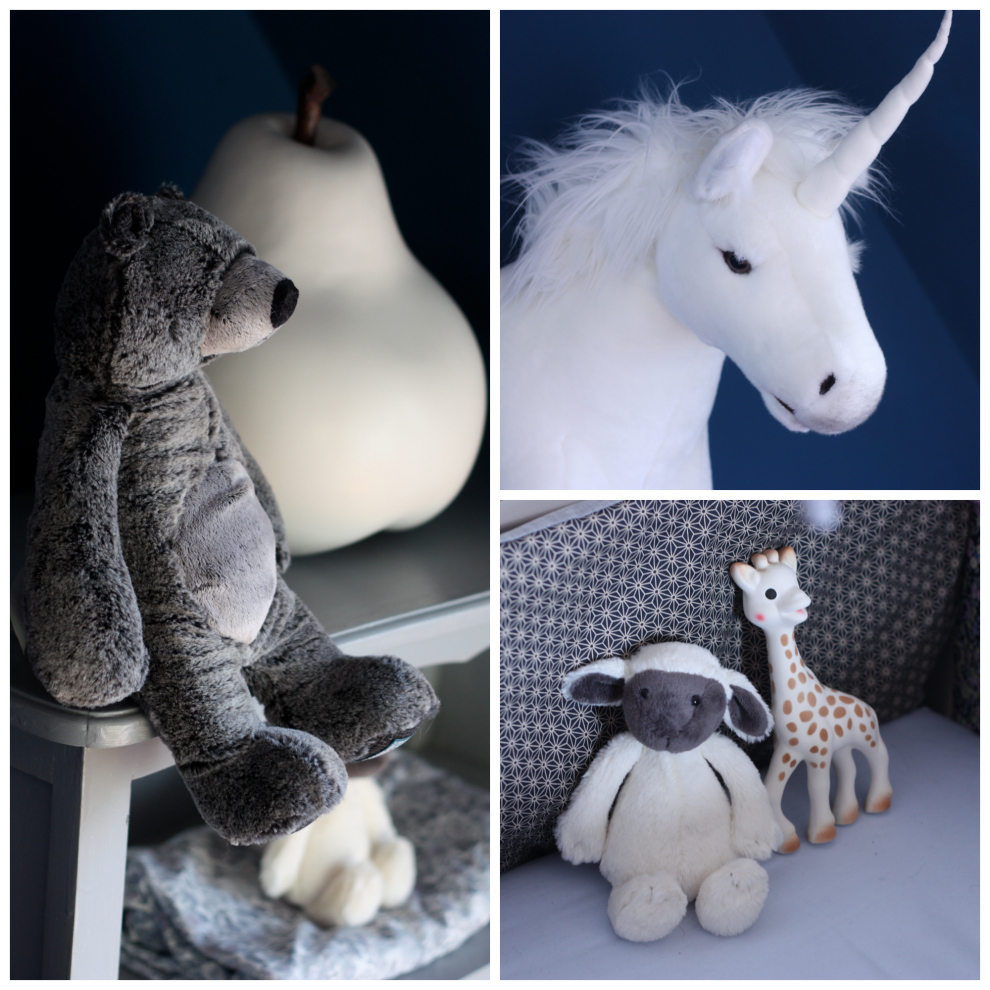
Little black sheep by Jellycat

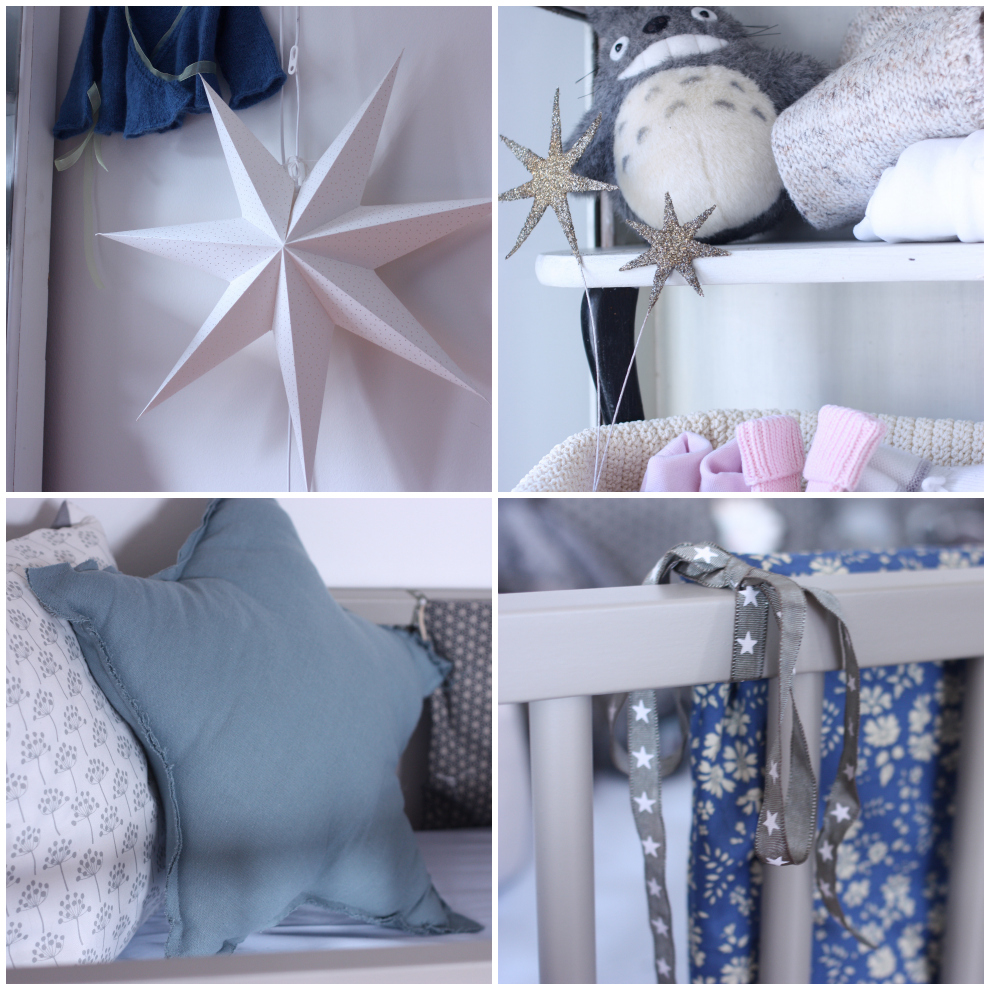
The grey bed is from the French brand Combelle - I bought it on the French website Smallable, along with a lovely grey changing table and I am very much in love. I picked a grey bed with a lot of cushions and made a padded cot bumper in different shades of blue and grey. The mobile adds some purple to make it a bit more girly, and some animals to make it more fun. Stars as a pattern can be found in the shape of the blue cushion, on the mobile and on the ribbons.

Nursery_bed

For the first months, baby love will sleep in a French antique crib my parents brought me in July, where my sister used to sleep as a baby 28 years ago.

Nursery_crib

I found this antique wardrobe in the lovely shop Lieblingszimmer in Hamburg (which by the way just opened an online shop) - and instantly fell in love. I like the fact that the vitrine has also got glass on the side. We didn't want to buy something too babyish and I am not sure that this will stay for ever in baby love's bedroom. I could image it very well later in a dining room for presenting pretty plates and glasses. For the time being, I love the fact that I can enjoy the beautiful clothes my mum made for baby love.

Nursery_wardrobe

nursery_wardrobe_detail

nursery_wardrobe_inside

 2. On the walls

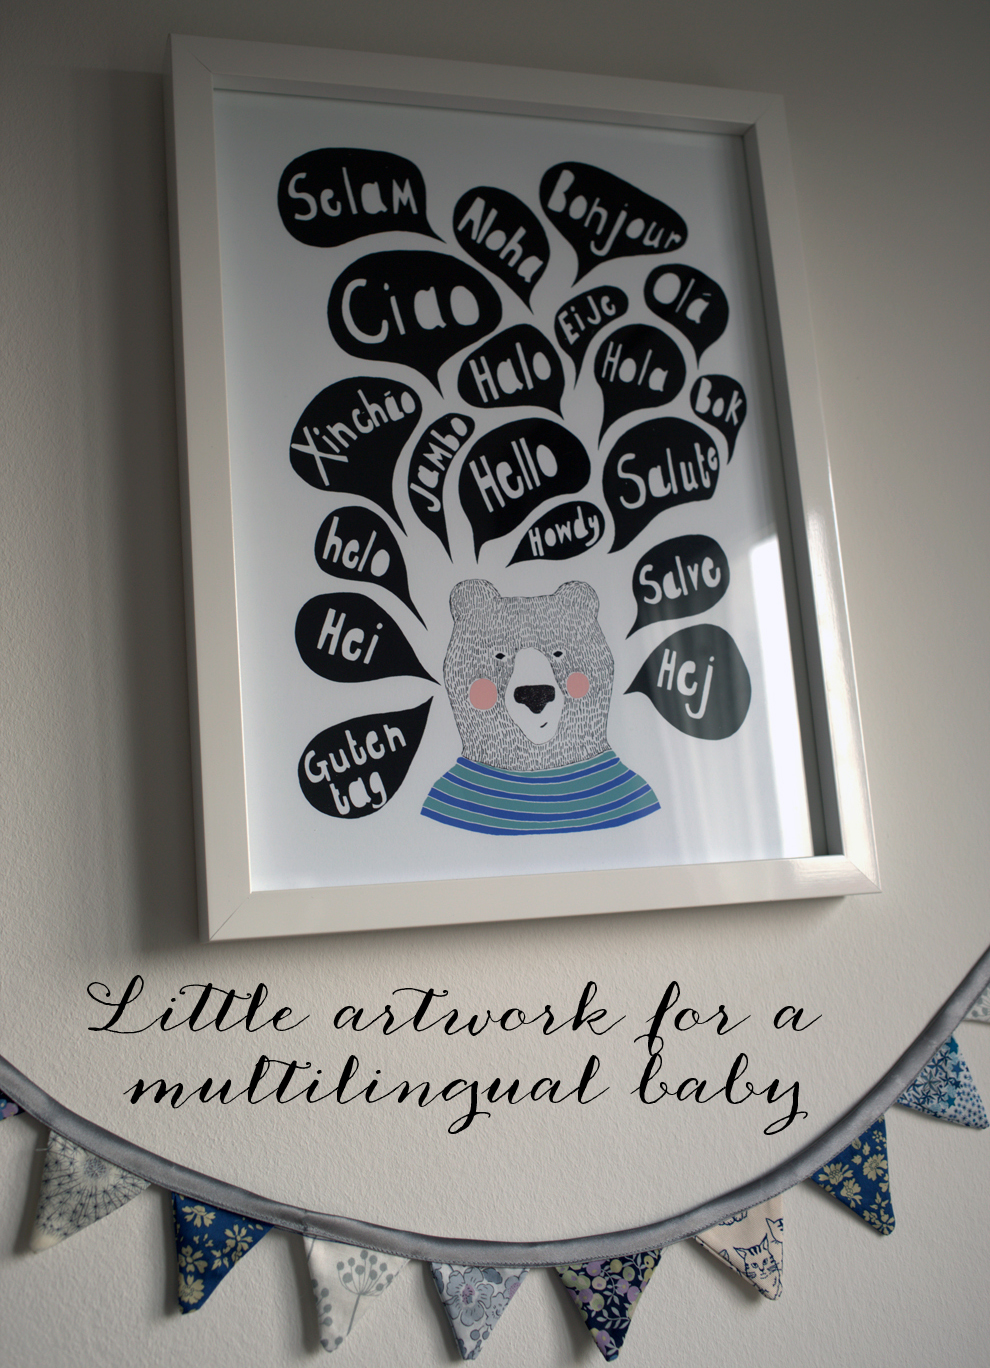
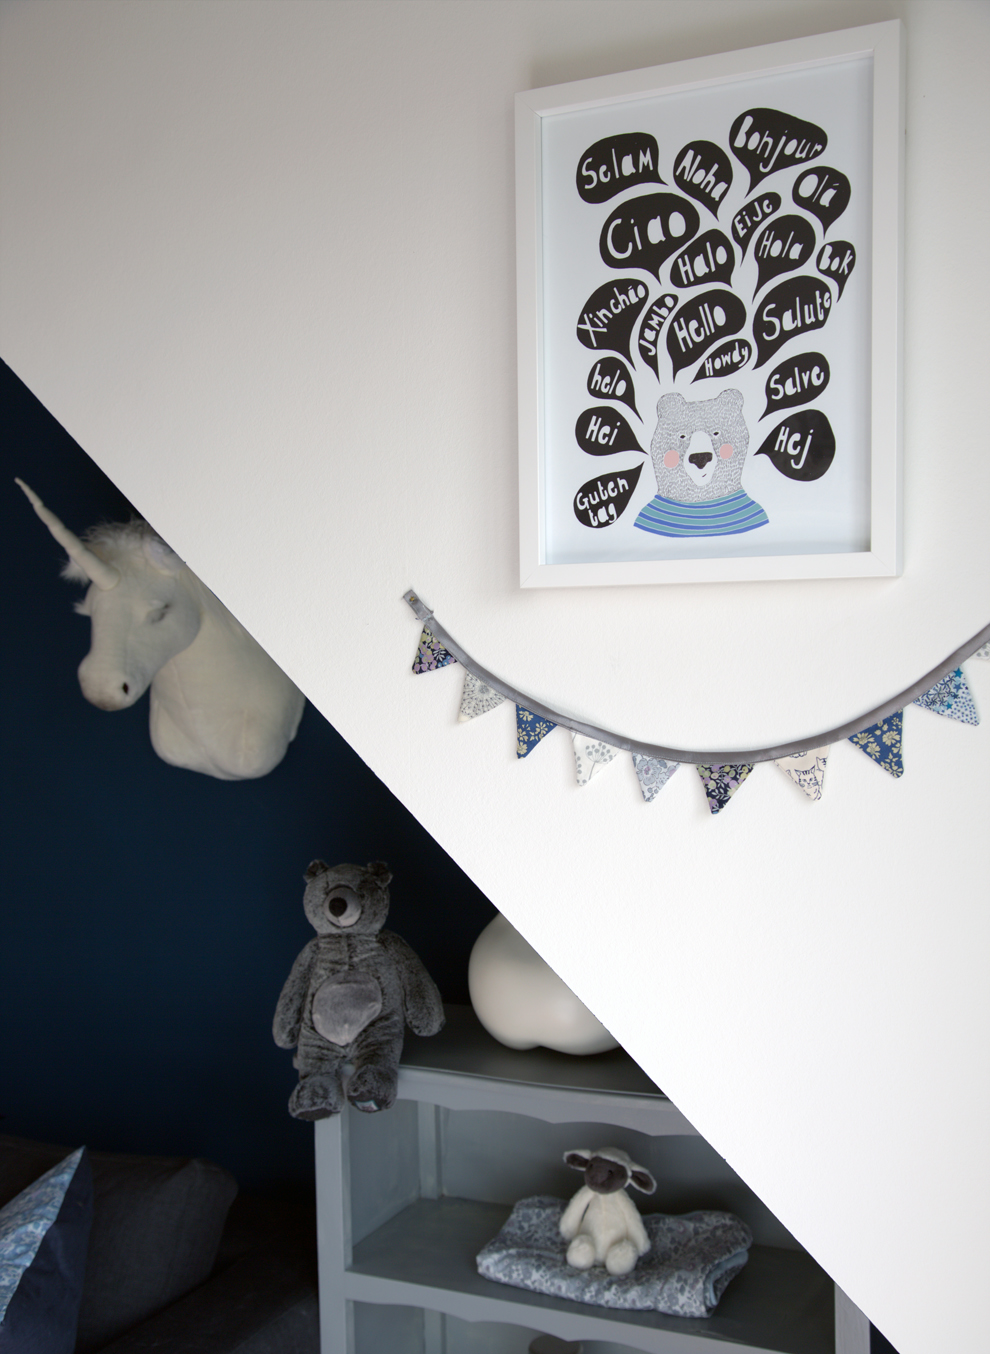
little_nursery_wall_seventytree copy The print is by UK illustrator Kerry Layton from her beautiful brand Seventy tree.

nursery_pompoms

The pompoms come from the German website Pompom your life. They are hand-made and they have a great selection of colours to choose from on the website.

Nursery_pennant_banner_detail

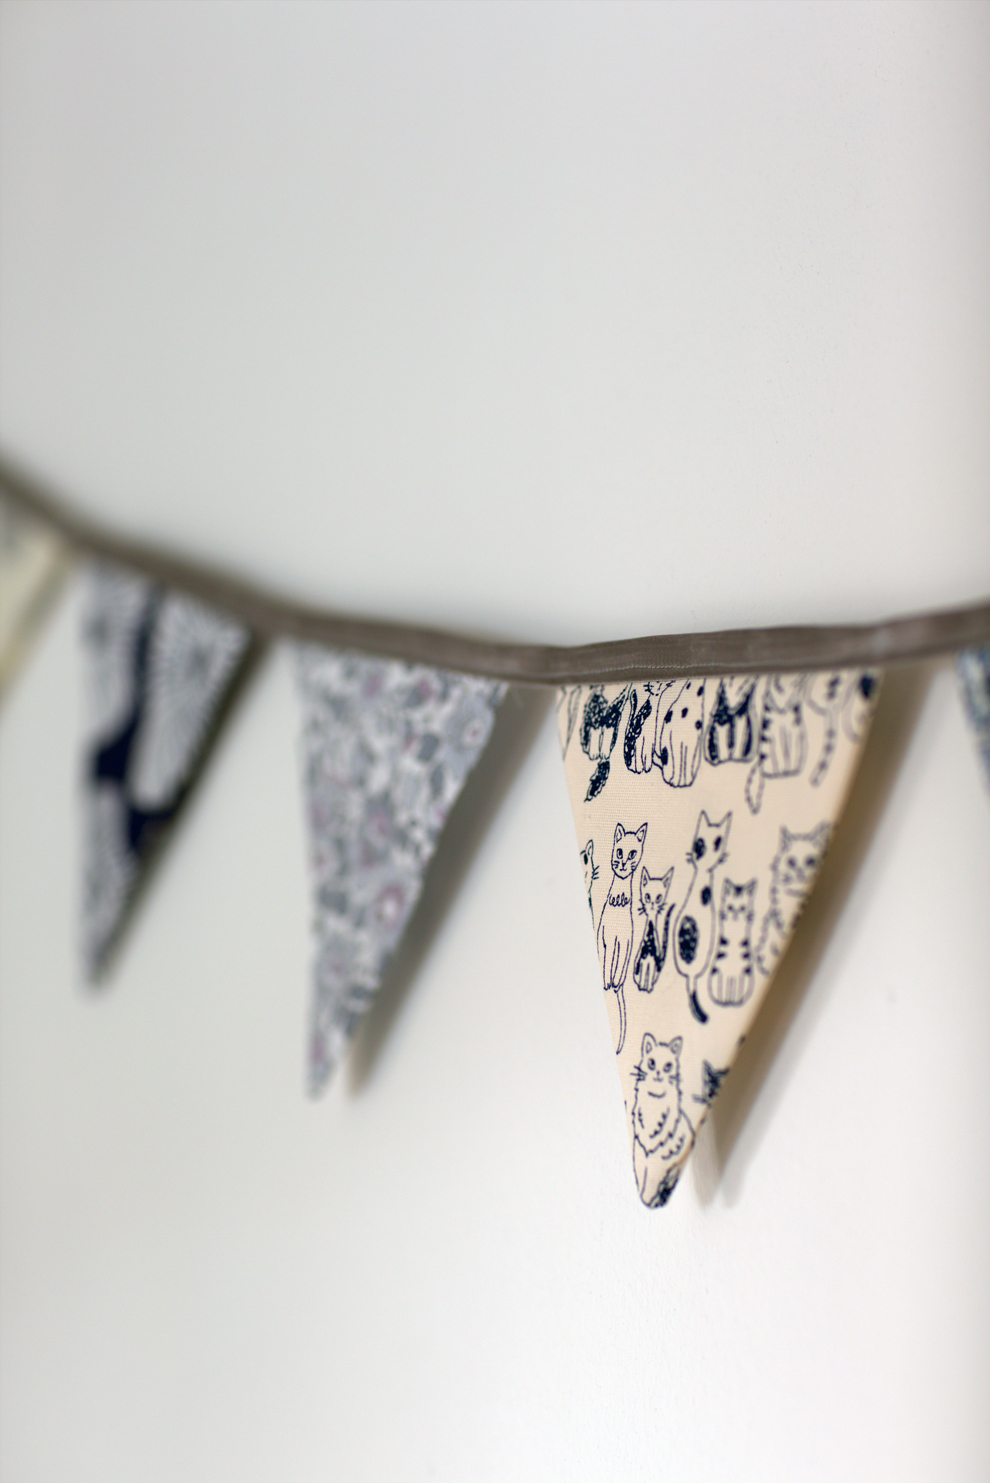
I made the pennant banner myself. It's a great way to use little pieces of fabric. I used some Liberty of London art fabric, some Japanese fabric, some fabric by Swedish design Lotta Jansdotter and some French fabric from petit pan. I made a big one that hangs above the bed as well as a mini-version. A tutorial is coming soon on the blog.

Nursery_overview_2

I also made the embroidery hoops with Liberty of London of fabric that I showed you previously on the blog. They now hang above the changing table.

Nursery_wall_decor_fabric

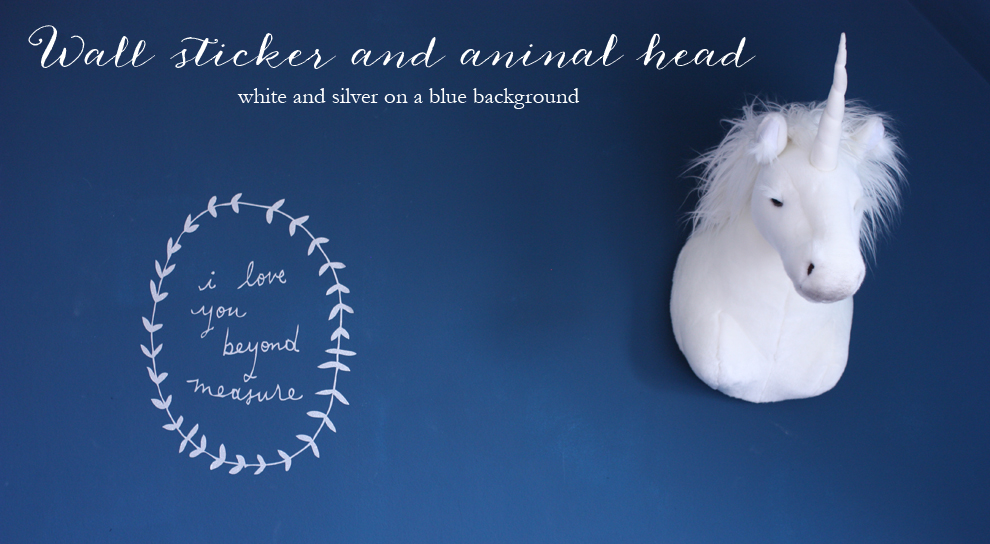
I wanted to put some contrasting elements on the night blue painted wall. I decided to go for a wall sticker in silver - I have been a big fan of Shanna Murray and was so happy to finally have a good excuse for ordering one of her stickers. The unicorn head is from the German shop Butlers.

Nursery_sticker_animal_head

sofa_nursery

3. The lighting:

Nursery_lamps

4. The little animals:

Little Animals_1 Nursery_mobile

nursery_little_animals_3

Nursery_cat

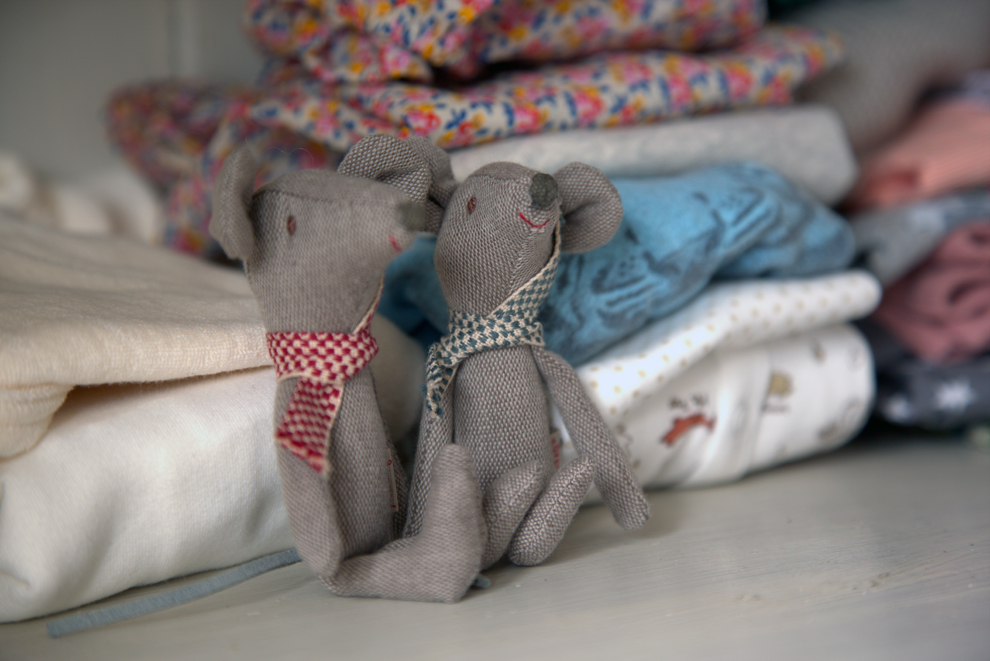
Nursery_mice 5. The little stars:

Nursery_little_starsA big thank you to Jocelyn from the gorgeous blog little room of style for her wonderful photos and to my little assistant Cheddar:

Nursery_Jocelyn

Nursery_Cheddar

So I hope you liked my little nursery tour. I am looking forward to your feedback. I hope it doesn't look too much like a little boy's nursery with the choice of colours.

xxx Elodie

(c) All photography by Jocelyn Casey and Elodie Love

The nursery project #4 - Playing with fabric

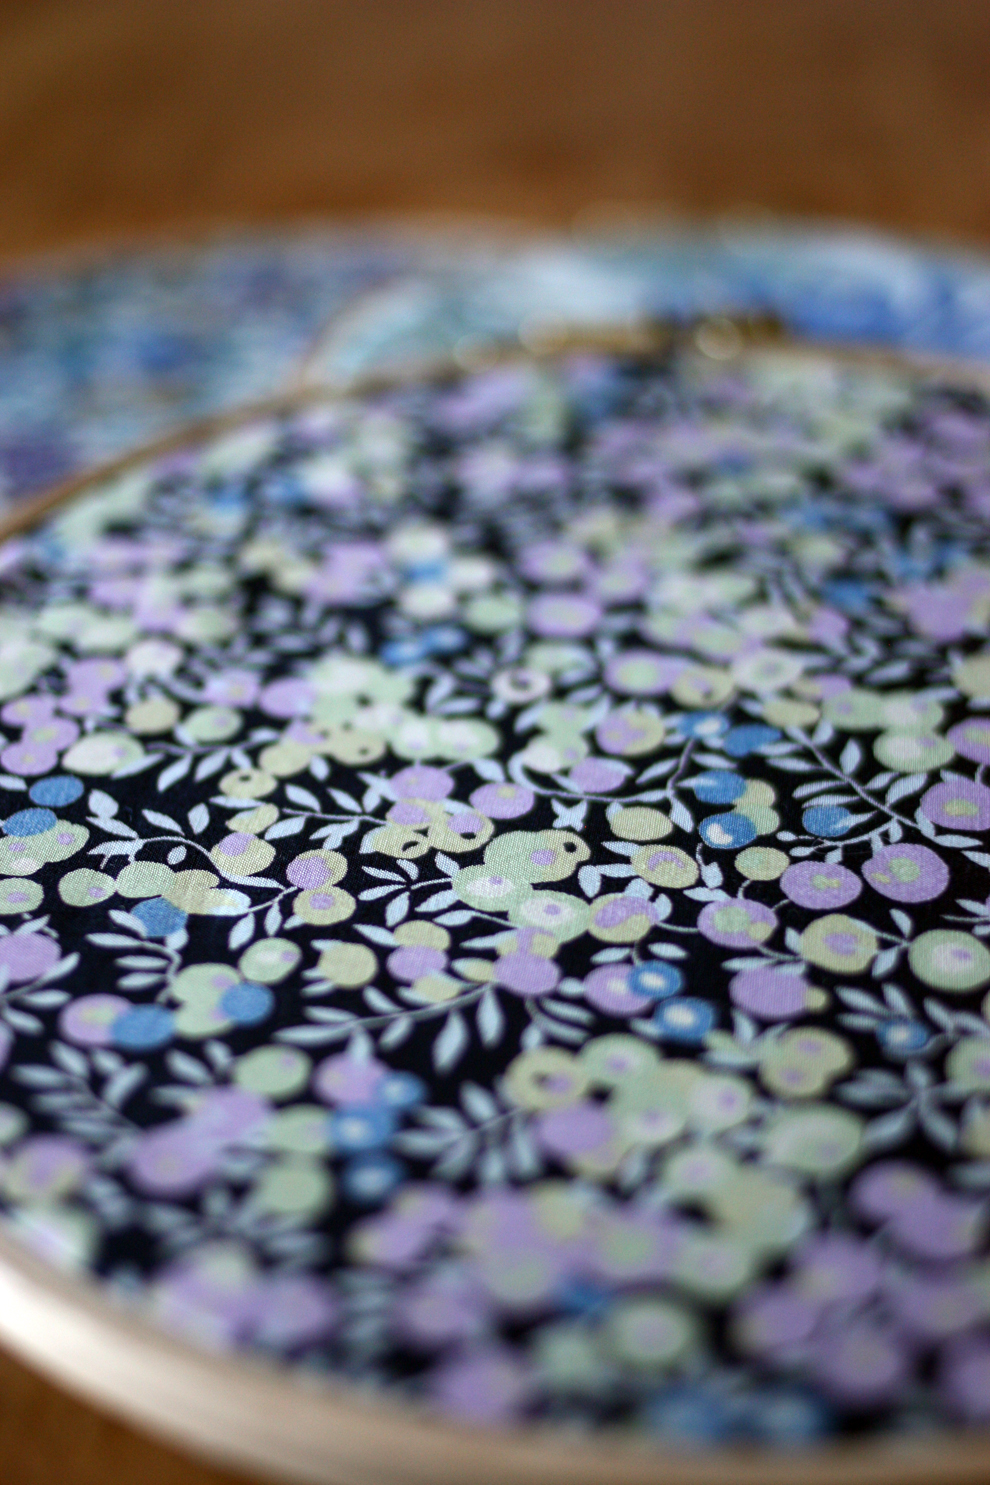
Dear readers, as a lot of you already know, I am a little bit of a Liberty addict. I just finished a baby blanket with Liberty fabric on one side and a very pretty Japanese fabric on the other side. I will show it to you later. Yesterday, I have been playing with three different Liberty of London patterns to decorate the walls of the nursery. I used embroidery hoops to frame them. It is a very easy way to display your favorite fabric on the walls. I bought them at the German DIY shop Idee. Here are the three fabrics I picked from my collection - I chose fabrics that fit in the colour concept of the nursery.

Liberty for the nursery

Becci Tana Lawn from the spring/ summer 2012 Glencot House collection was inspired whilst a member of the Liberty Art Fabrics team was reclining on an old patterned chair in the drawing room at Glencot House in Somerset. A layered design of leaves and flowers creates three dimensions drawn from the gardens at Glencot. Becci A is shades of blue, jade and grey.

Poppy and Daisy is on the Classic Tana list since 1979, Liberty Poppy and Daisy was designed in 1974 by the Jack Prince Studio. Version K has brown, blue and purple flowers.

Wiltshire is a leaf and berry pattern which was designed for Liberty in 1933 and redesigned for Tana in 1968. Wiltshire has been on the Classic Tana list since 1979. Colourway L has blue, lilac and olive berries on a dark background.

Liberty Hoops for the nursery

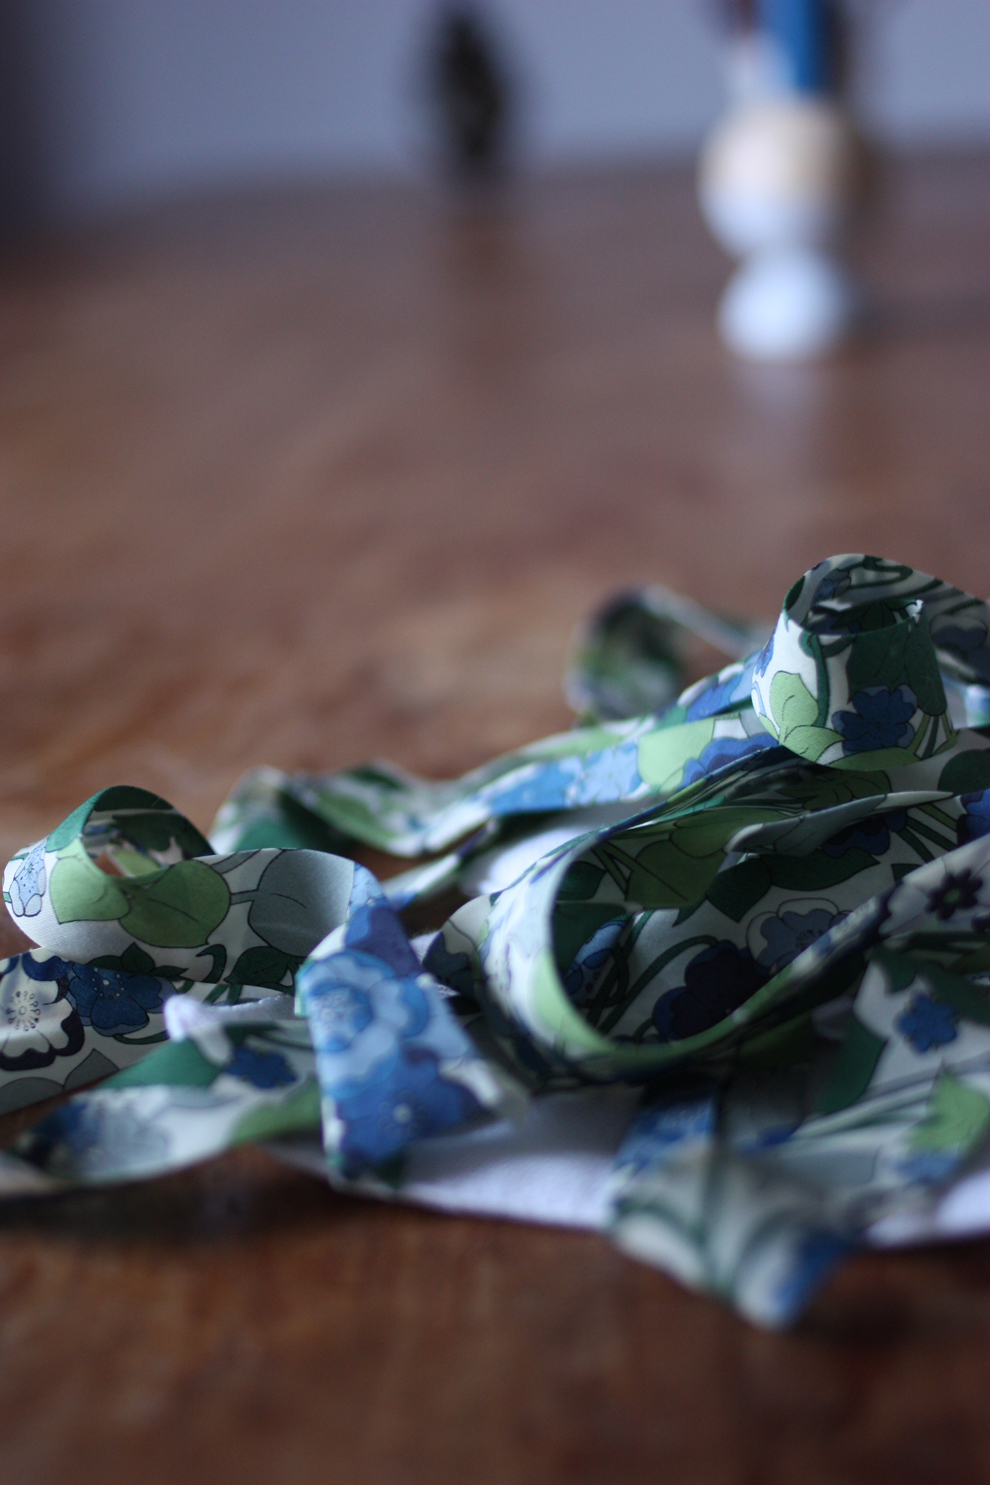
Liberty Wiltshire L Hoop for the nursery I also played yesterday with Muslin squares and Liberty bias tape. I gave it then yesterday night to my friend Sabrina for her 6 weeks old baby - but I will definitely also make some for baby love!

Liberty for the nursery_4

Liberty for the nursery_5

My next project is a nursing pillow with Marimekko fabric. I can't wait to show it to you!

Speak to you soon!

Elodie

Follow my blog with Bloglovin

My new reversible blue bag

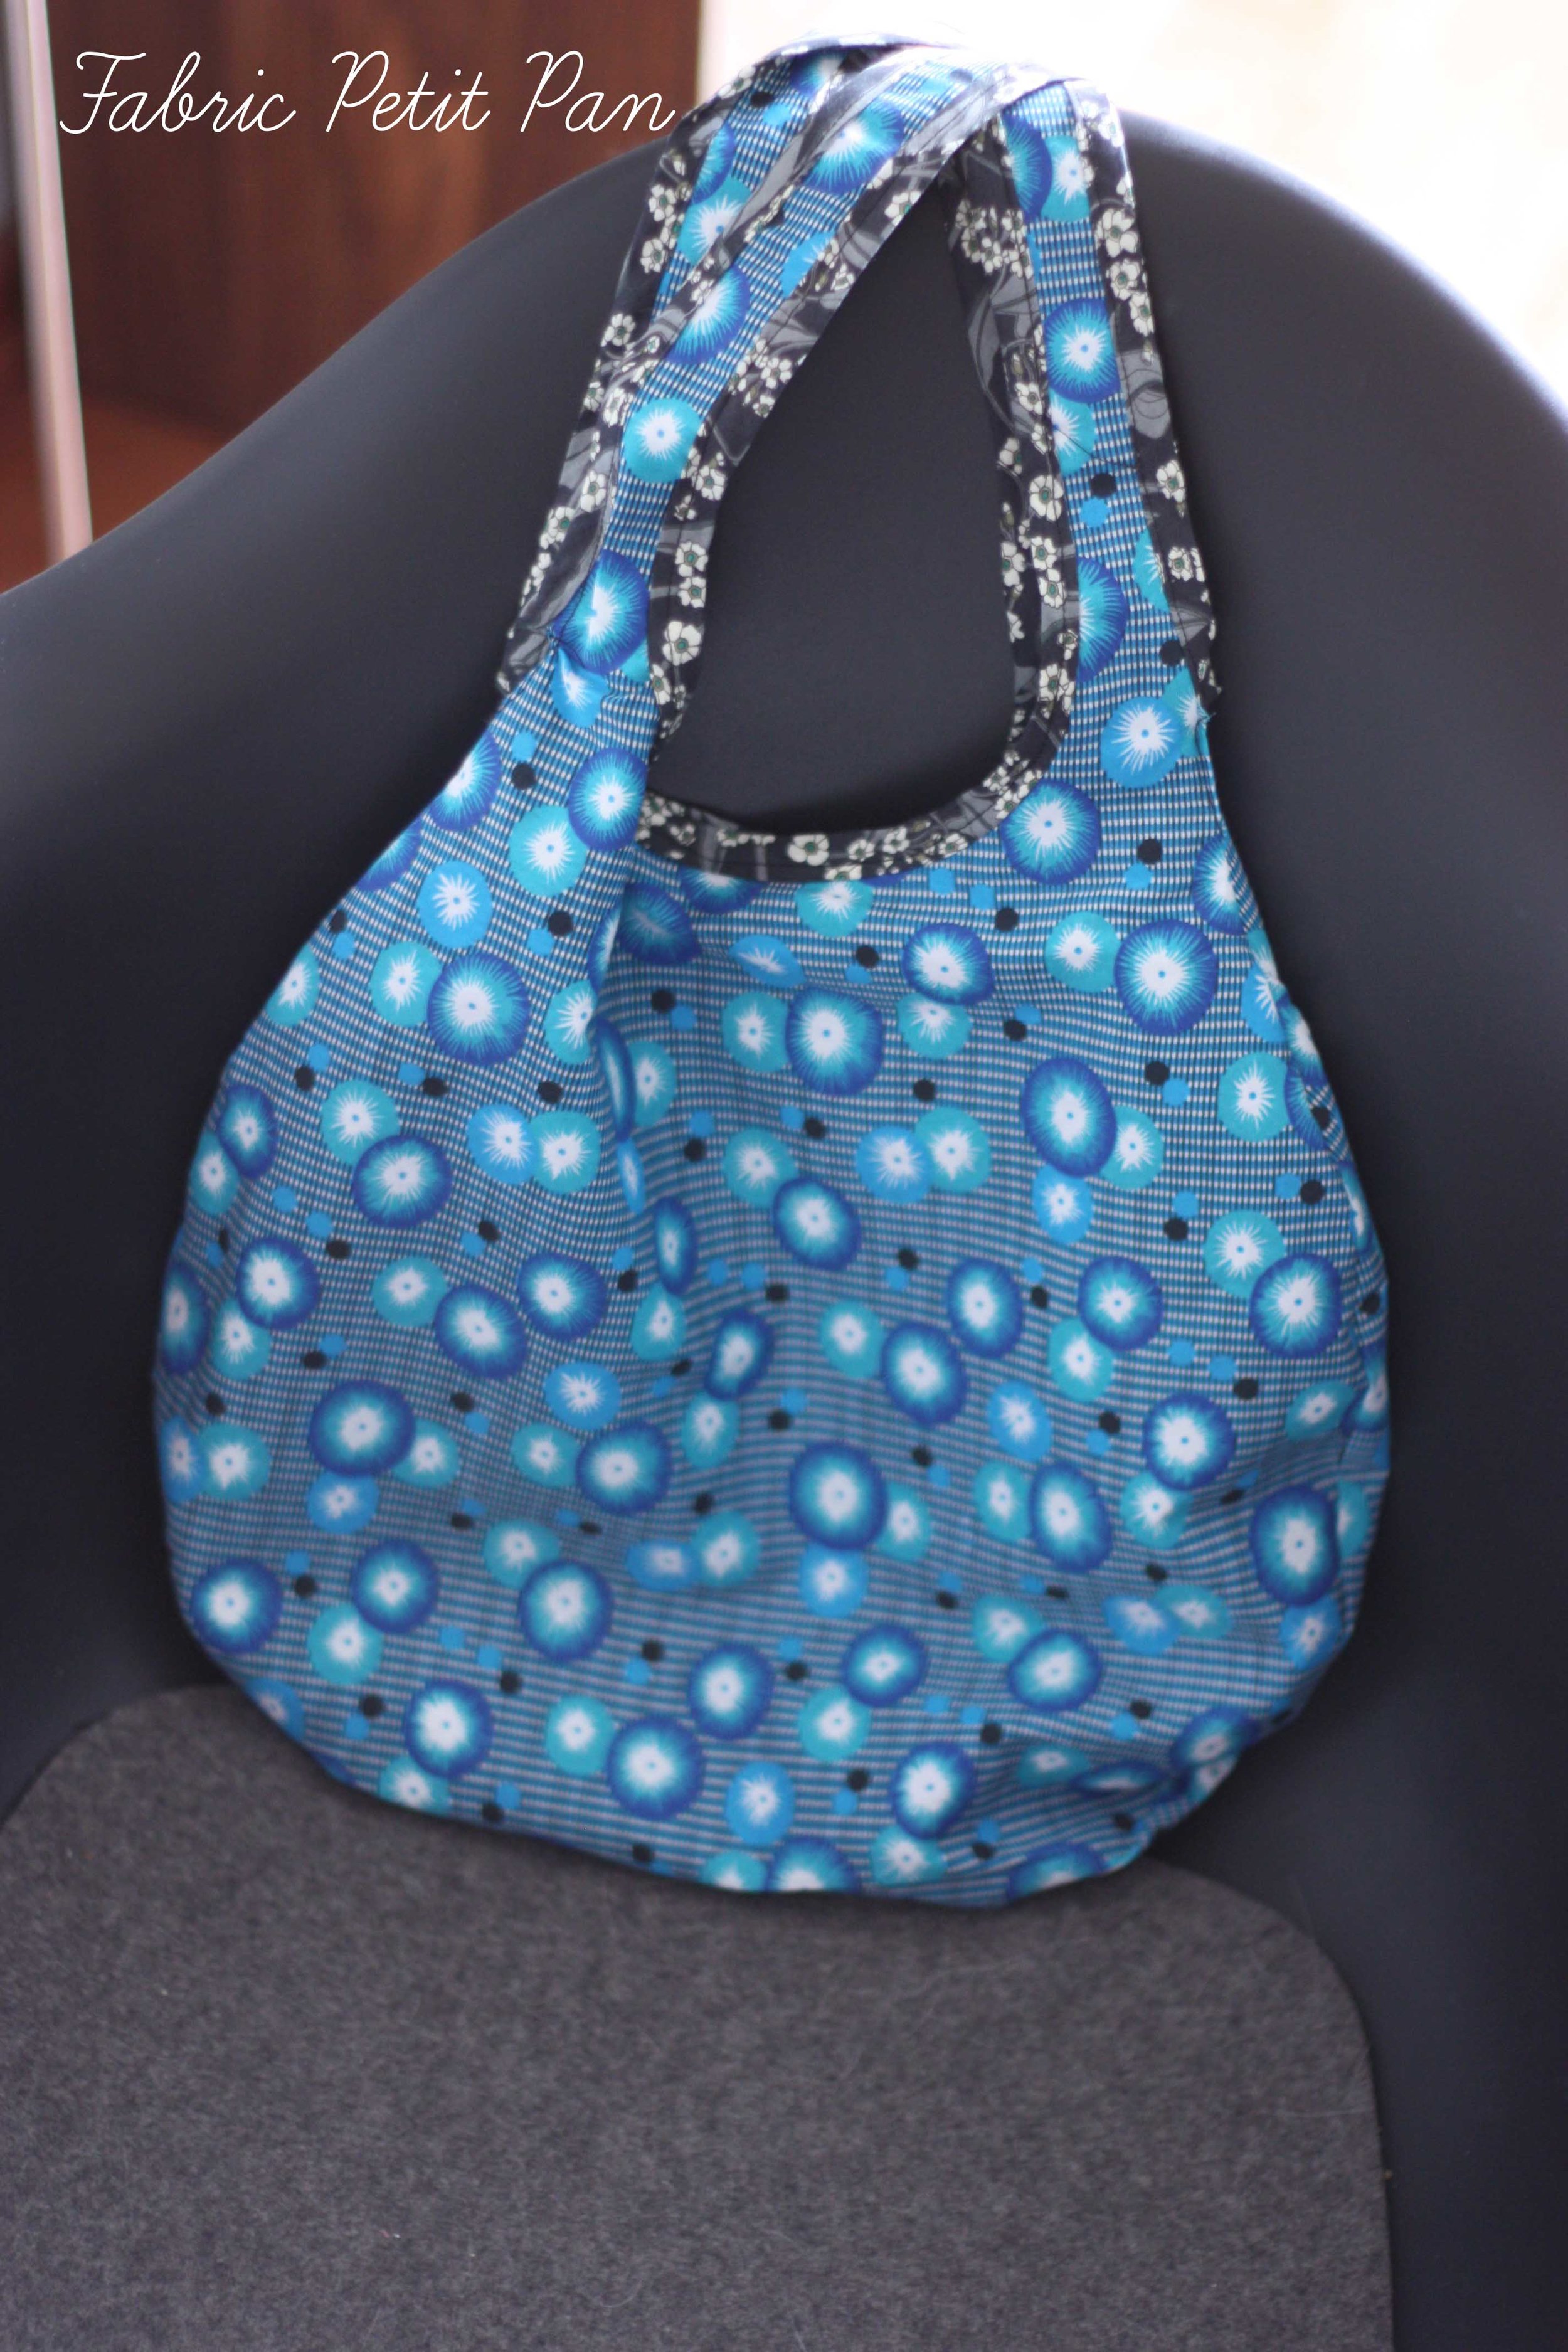
Here is my new pretty home-made project with some beautiful fabric I brought back from my stay in Lyon.I know it is not very seasonal and I need to wait for some good weather to wear it: means no rain...which happens sometimes in Hamburg! but it was so easy and quick to make: It jus took me one evening after work and I love the fabric.  I hope you had a good week so far. Talk to you soon.

red roses and balkan music

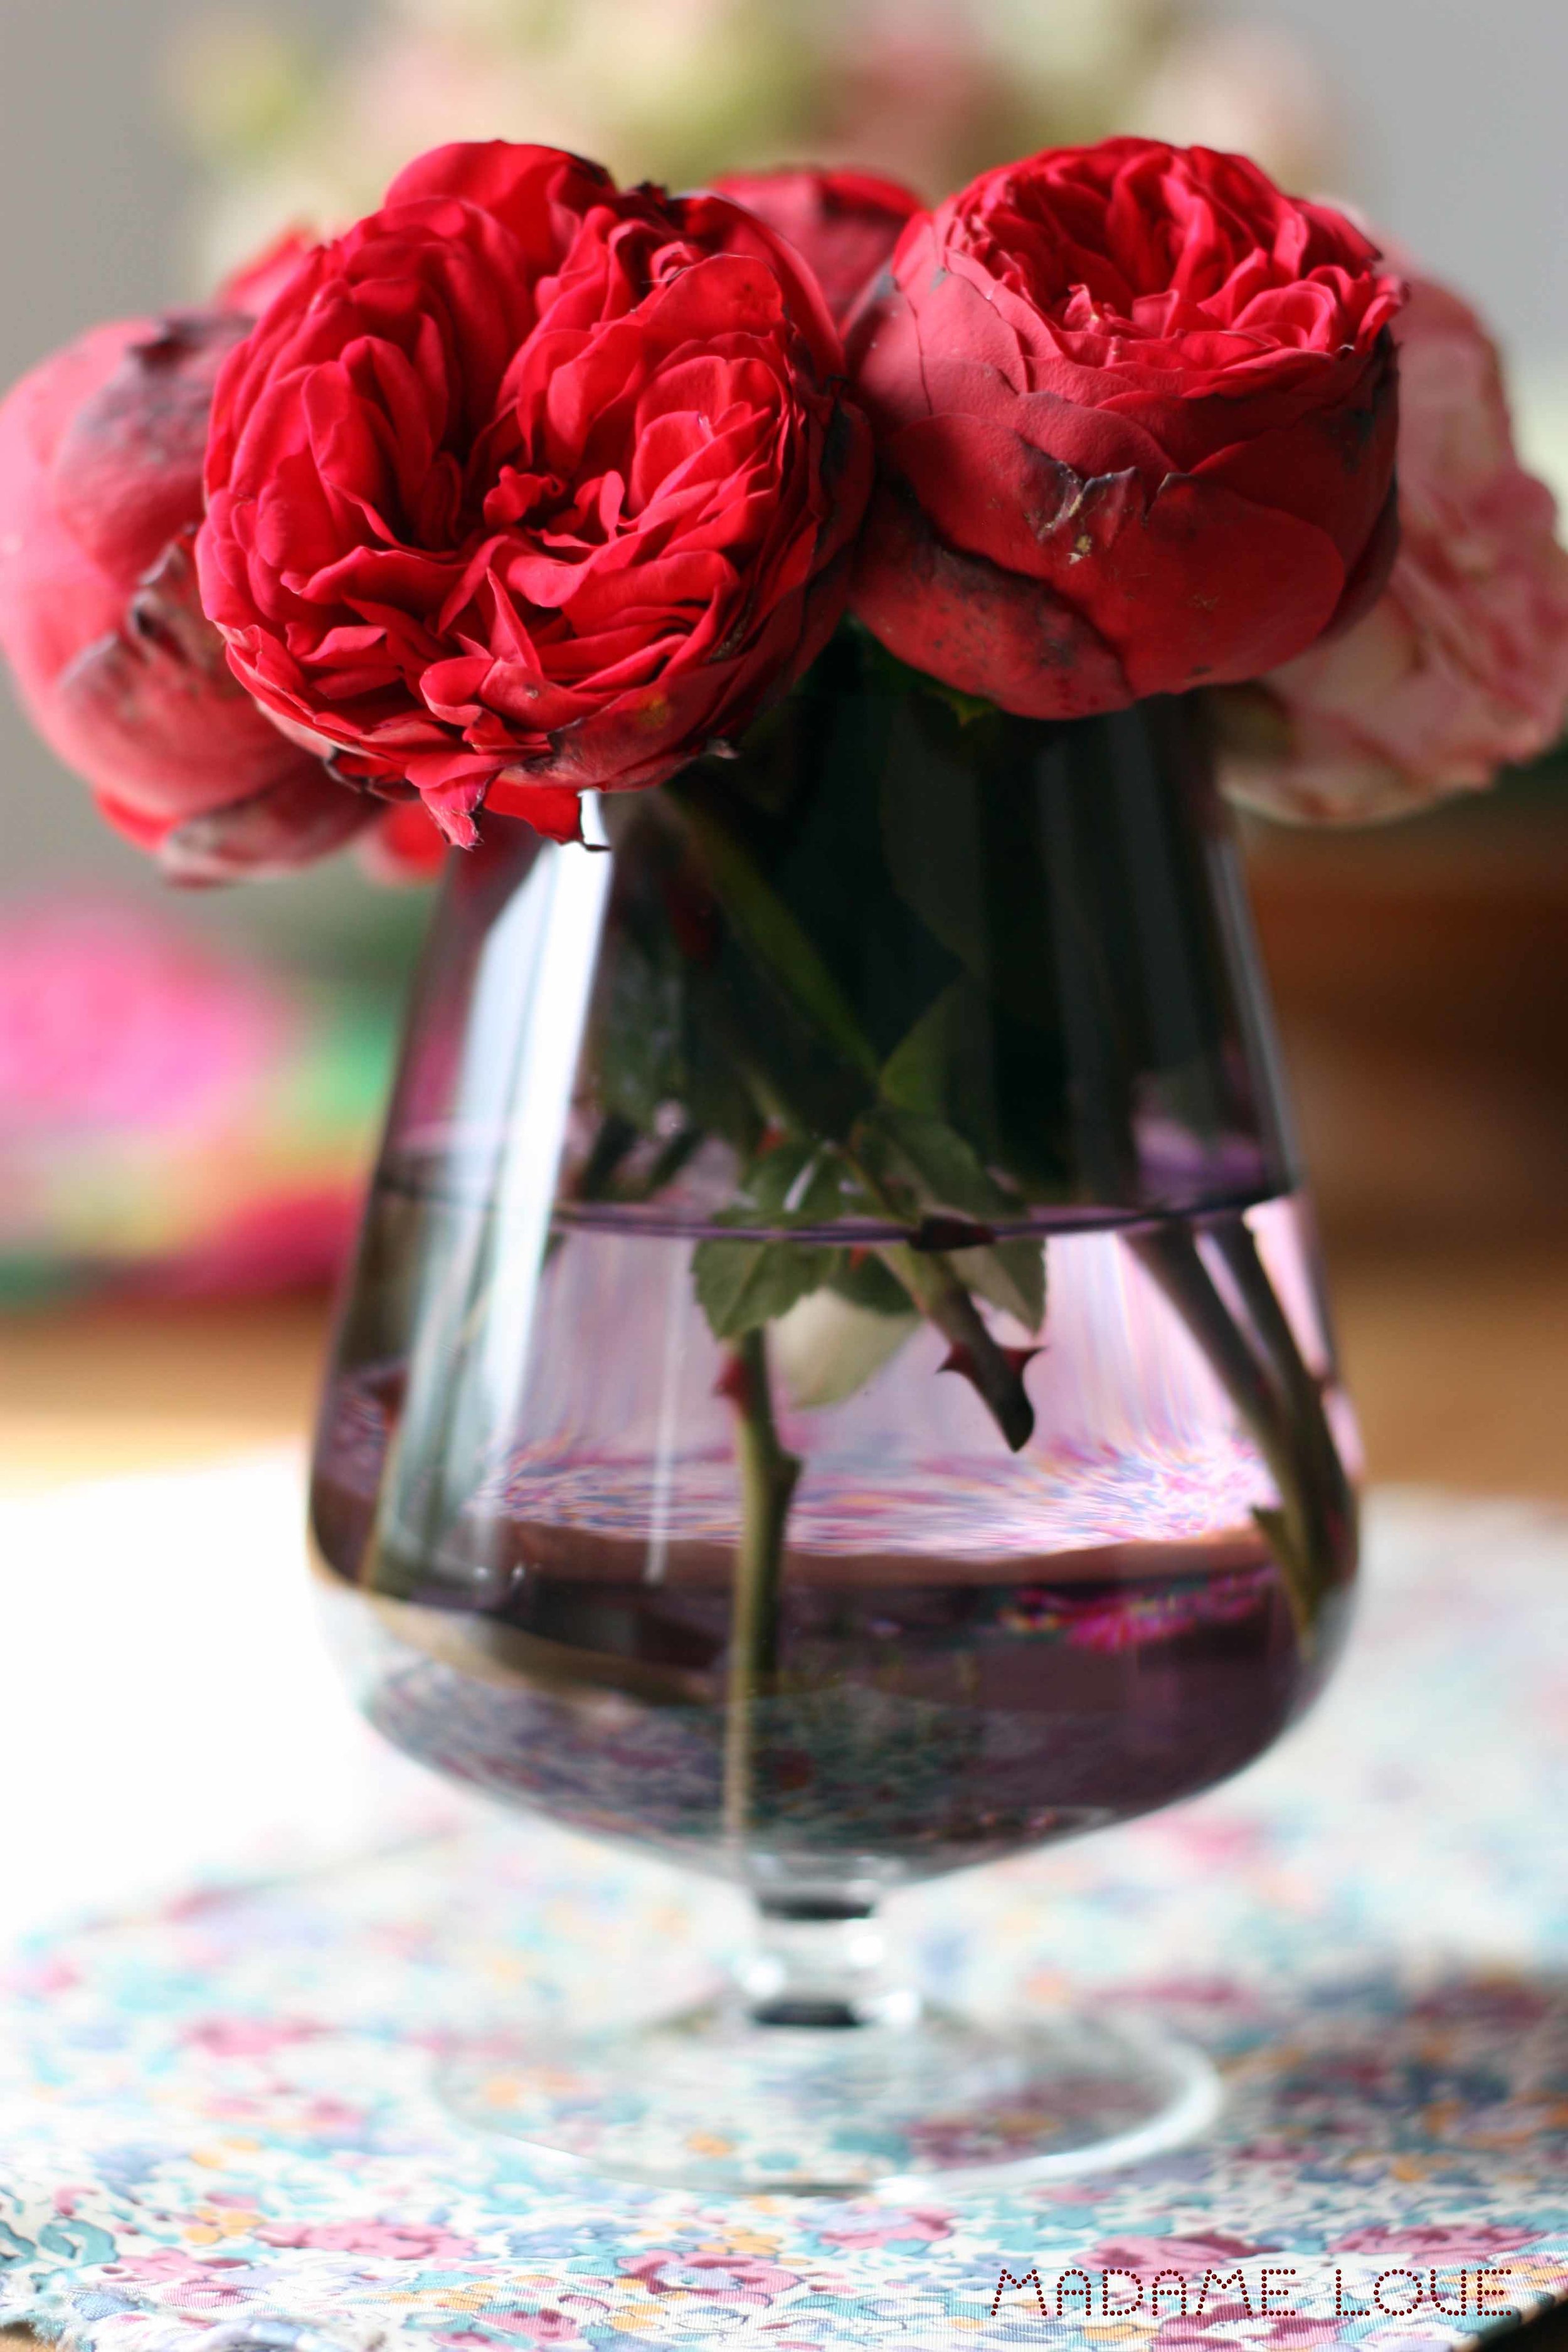
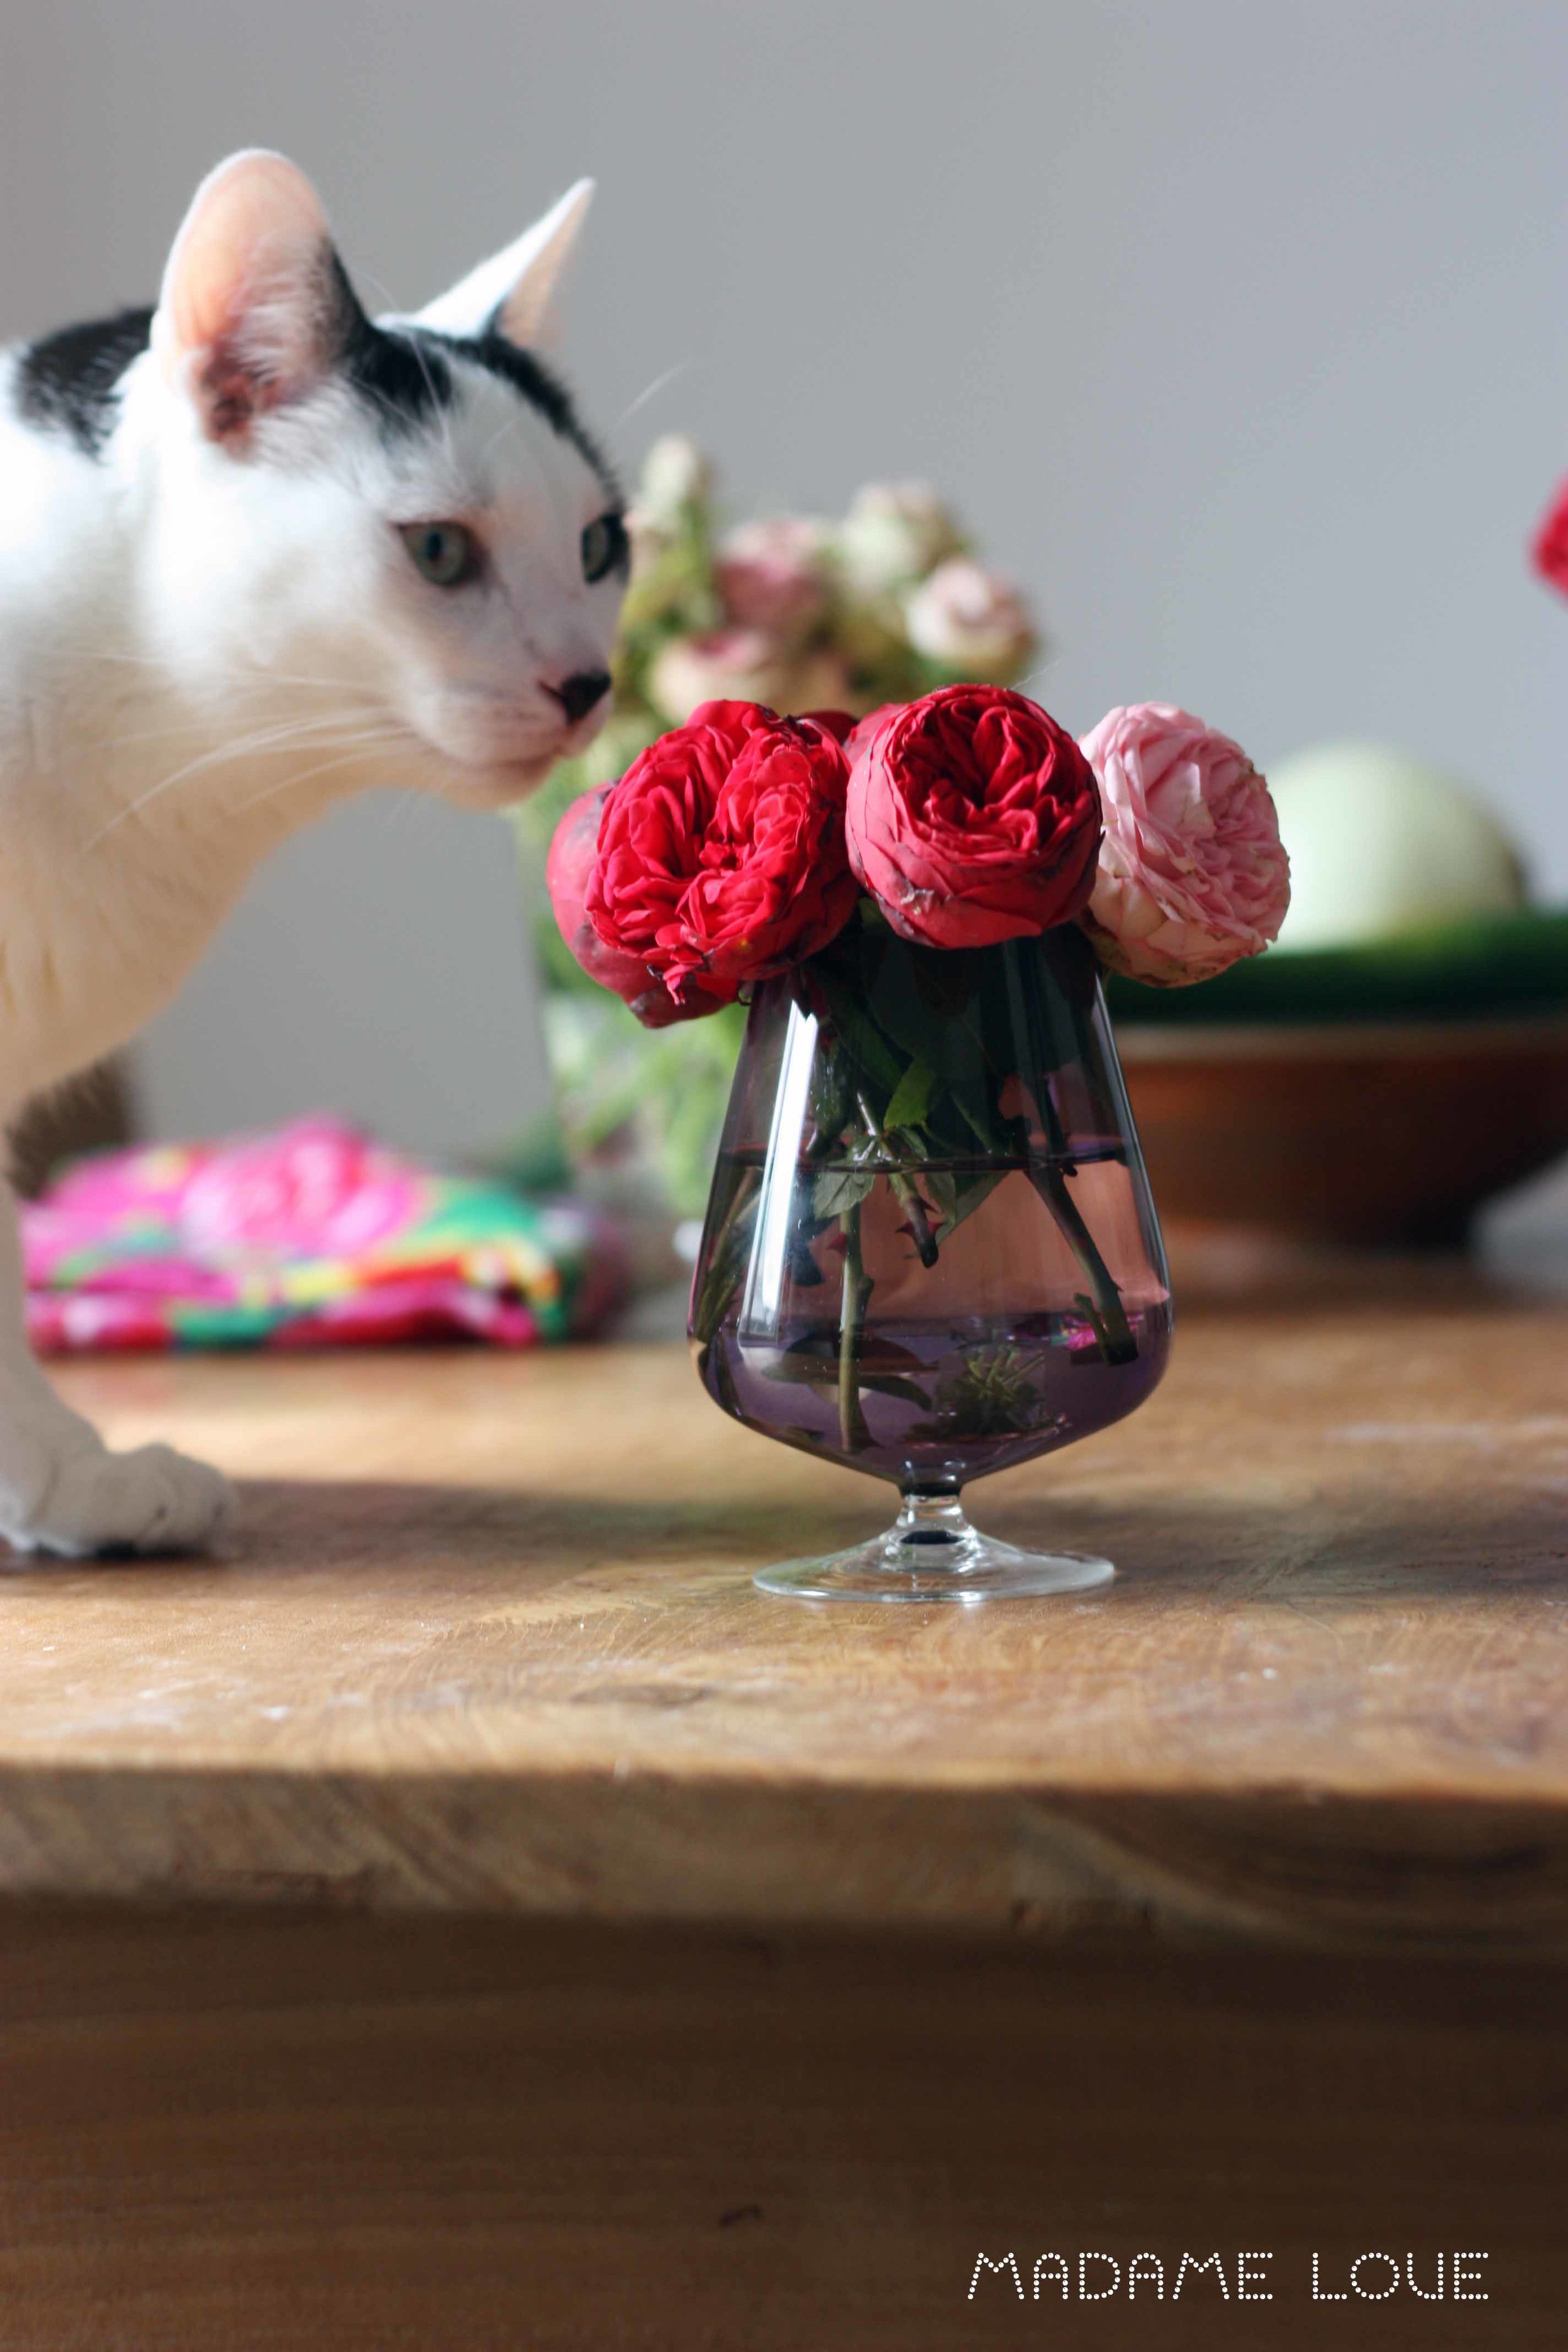
I transformed my kitchen in a studio again this week end.I seam to be going through a rose phase at the moment. I found some very pretty dark red roses on my way home on Friday and I think they just look gorgeous. What do you think? I also pretty excited, because I am going to see two of my favorite bands tonight: Boban i Marko Markovic and Fanfare Ciacorlia - during the Balkan Brass Battle at the Museum der Arbeit open air. Maybe, this will bring you in the balkan mood too:


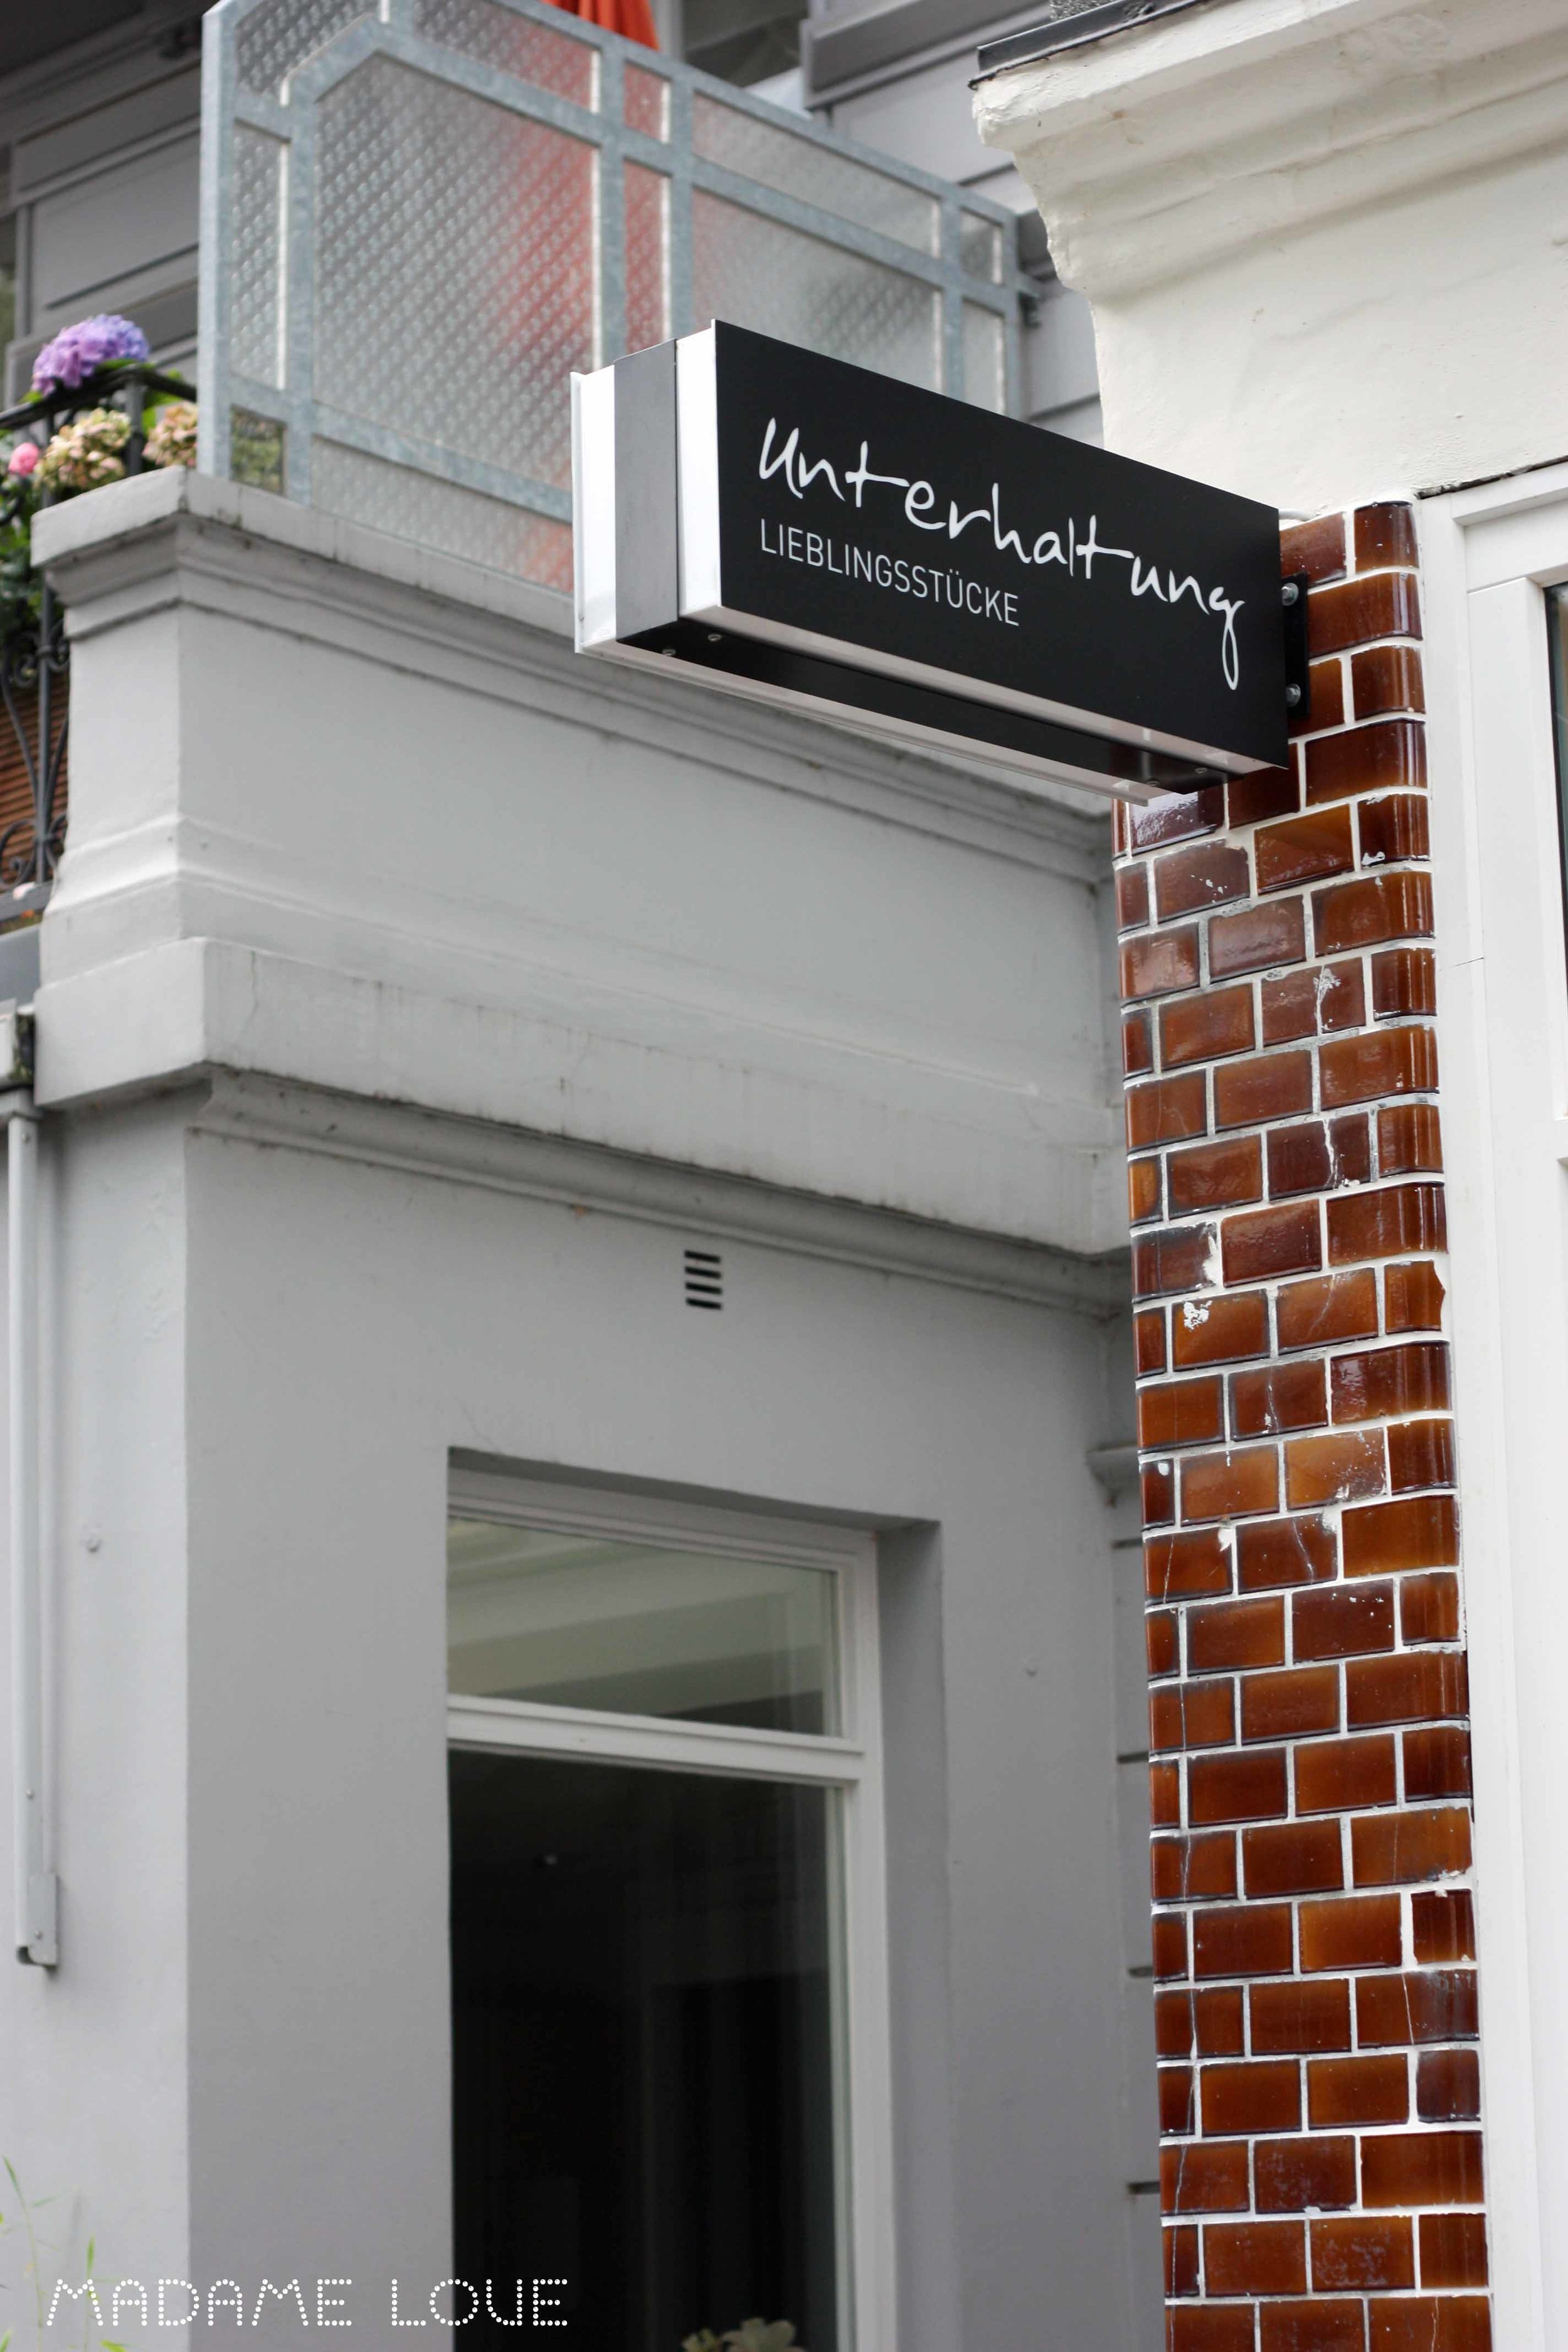
Unterhaltung - Lieblingsstücke

We have a new shop in Eppendorf (since April 2012) - a concept store called Unterhaltung - Lieblingsstücke (it could be translated Entertainment - Favourite Things) and I really like it. They  sell a little bit of everything (yeah - like a concept store usually does...) -  jewellery, decoration items, food, postcards, books, magazines, clothes ... It is also a good place to find a nice present for a male friend or your husband and for children.

They represent some very cool brands like the danish brand House Doctor or sell some lovely DIY magazines, like the brilliant British magazine Mollie Makes. But just have a look for yourselves when you are in Eppendorf. You can even stay a little longer and have a cup of coffee in the shop.

a lazy Sunday afternoon

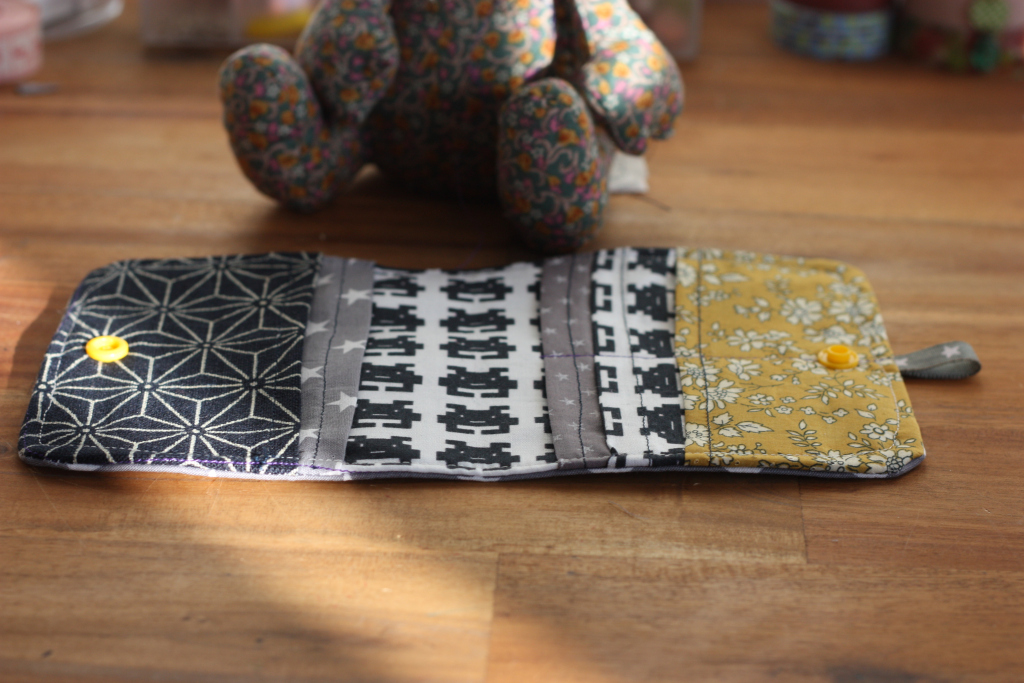
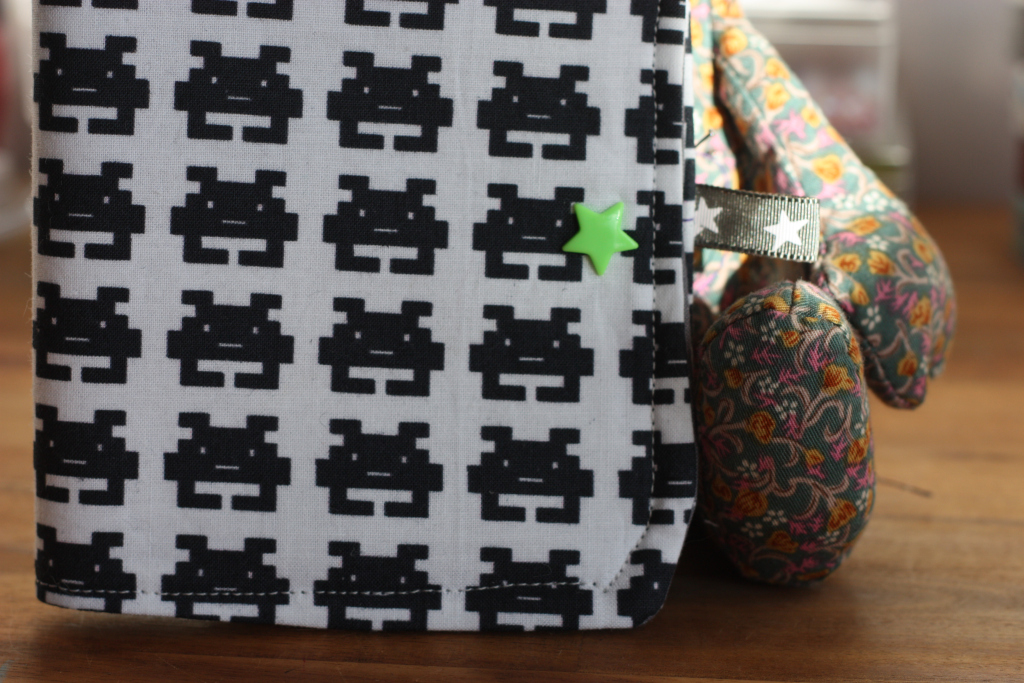
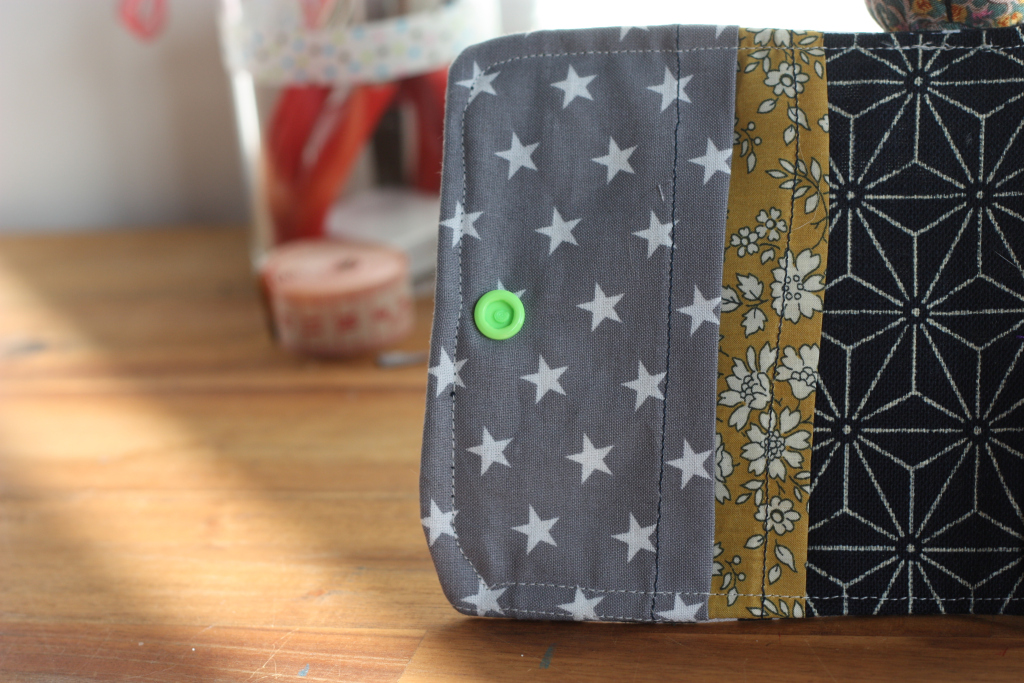
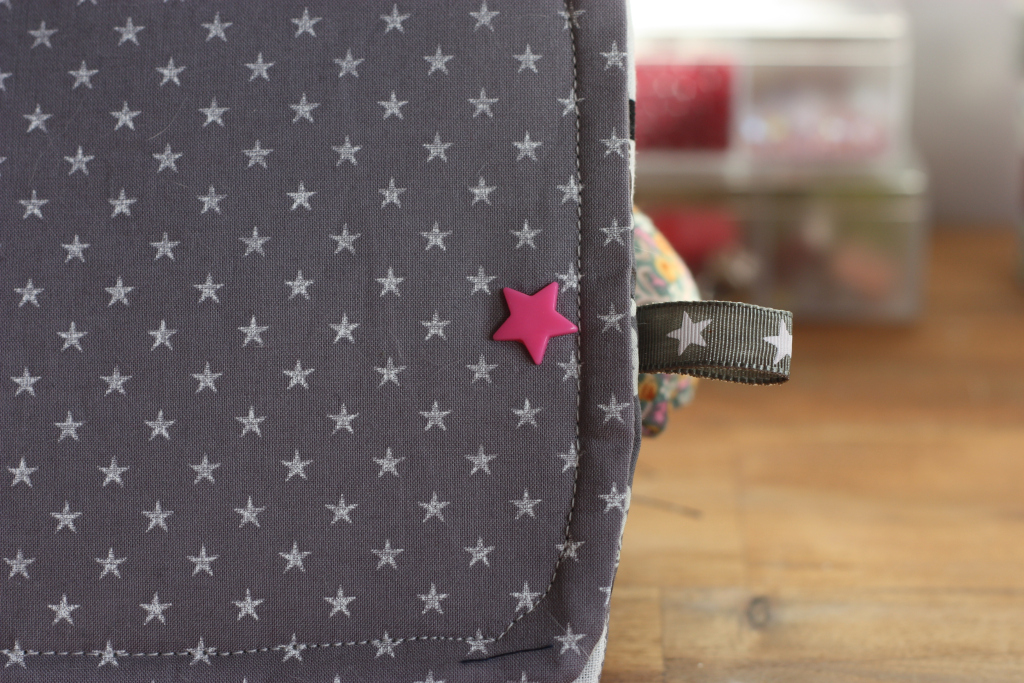
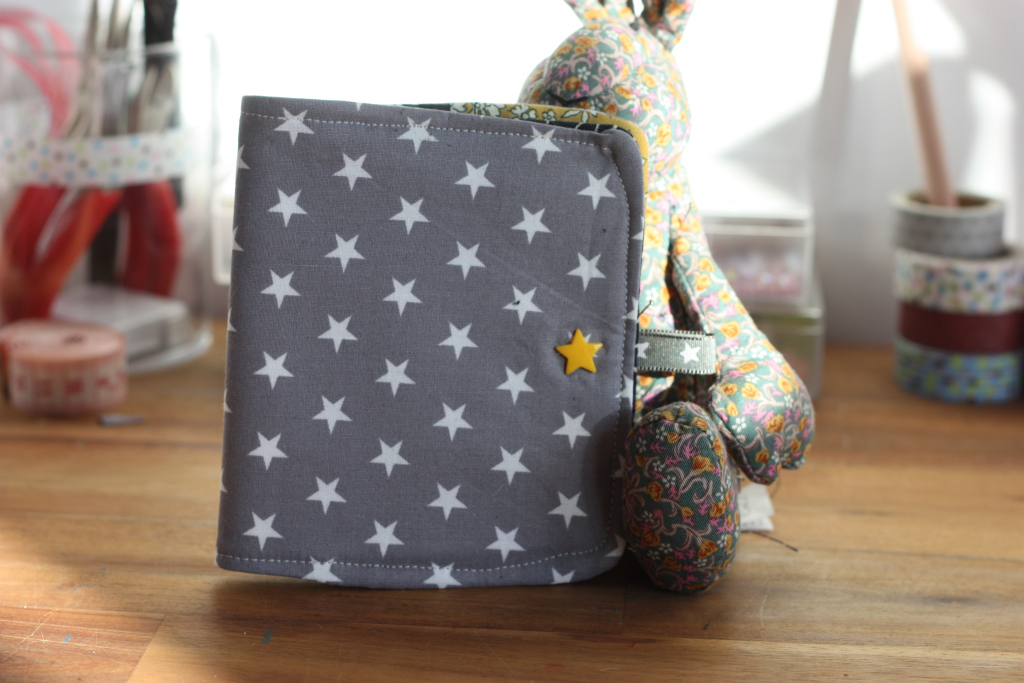
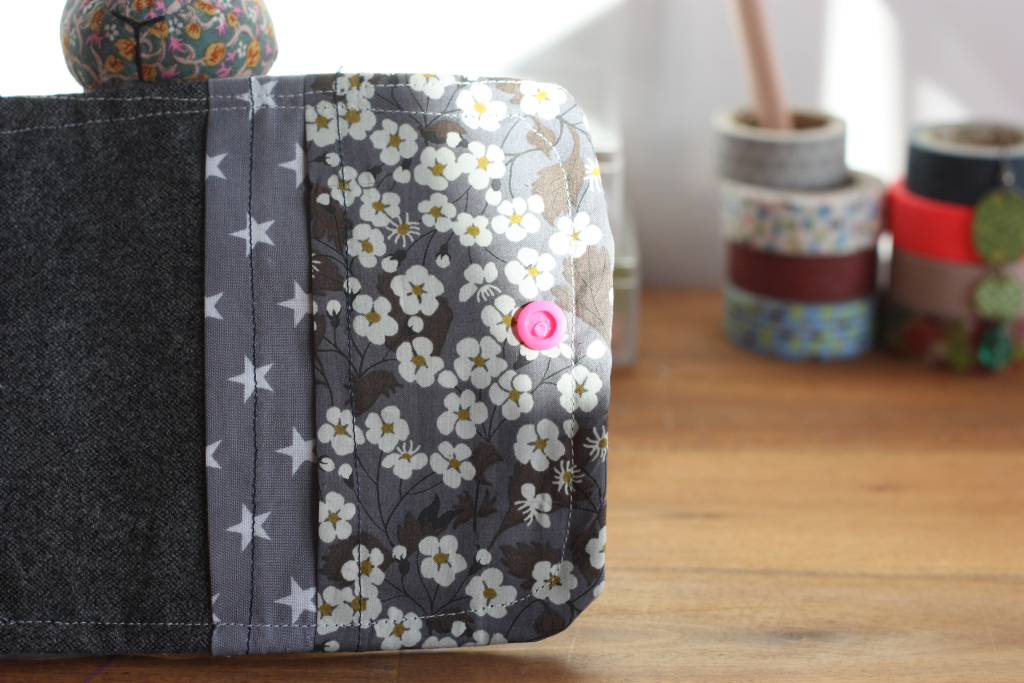
How was your Sunday afternoon? Mine was pretty cool. I spent the afternoon with my sewing machine listening to a podcast from the very inspiring Holly Becker about blogging. I did a Jewellery Roll I have been wanting to make for a long time - the result isn't perfect and I'll most certainly never sell it, but there you go - I really had fun making it! ★★★★★★★★★★★★★★★★★★★★★★★★★★★★★★★★★★★★★★★

Vous avez passé un bon dimanche après-midi? Le mien était excellent. J'ai renoué avec ma MAC en écoutant un podcast de l'excellente Holly Becker à propos de la blogosphère. J'ai réalisé une pochette à bijoux que je voulais faire depuis longtemps. Le résultat n'est pas parfait et ne fera sans doute jamais partie de ma collection Love On Delivery - mais j'ai passé un très bon moment!

Mister Cheddar had a pretty lazy afternoon too...

and we both wish you a beautiful week!

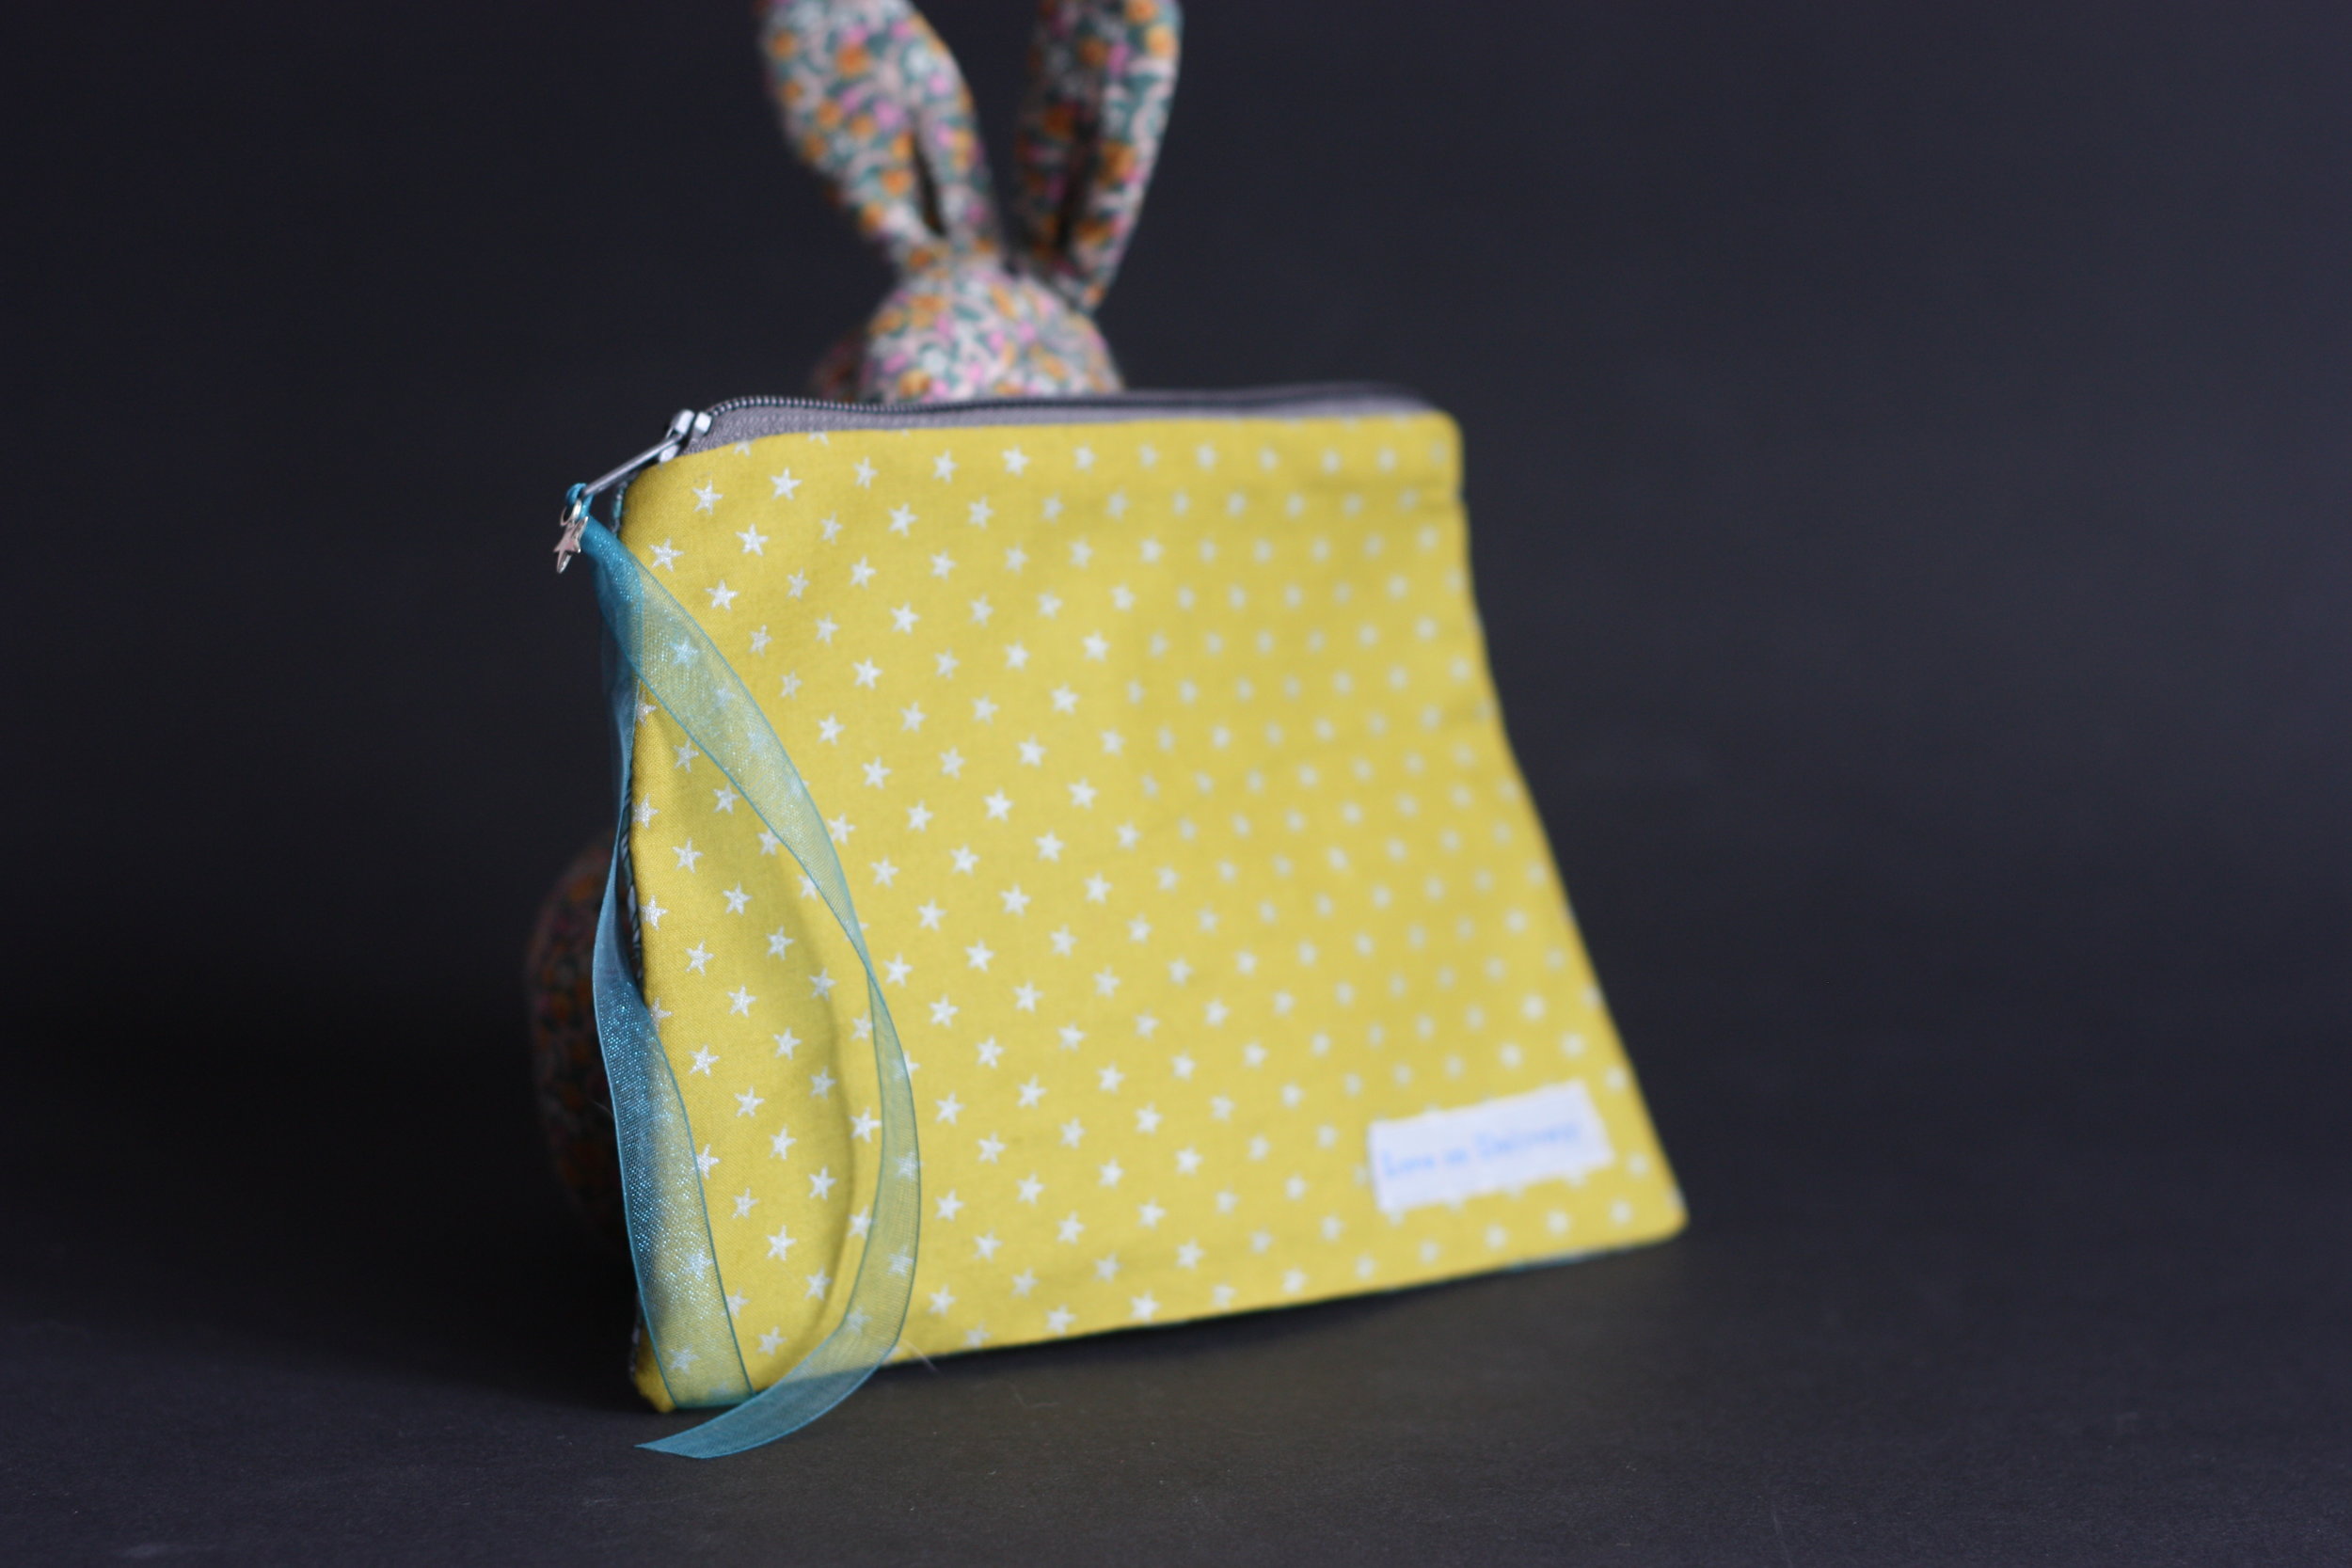
product photography - first try

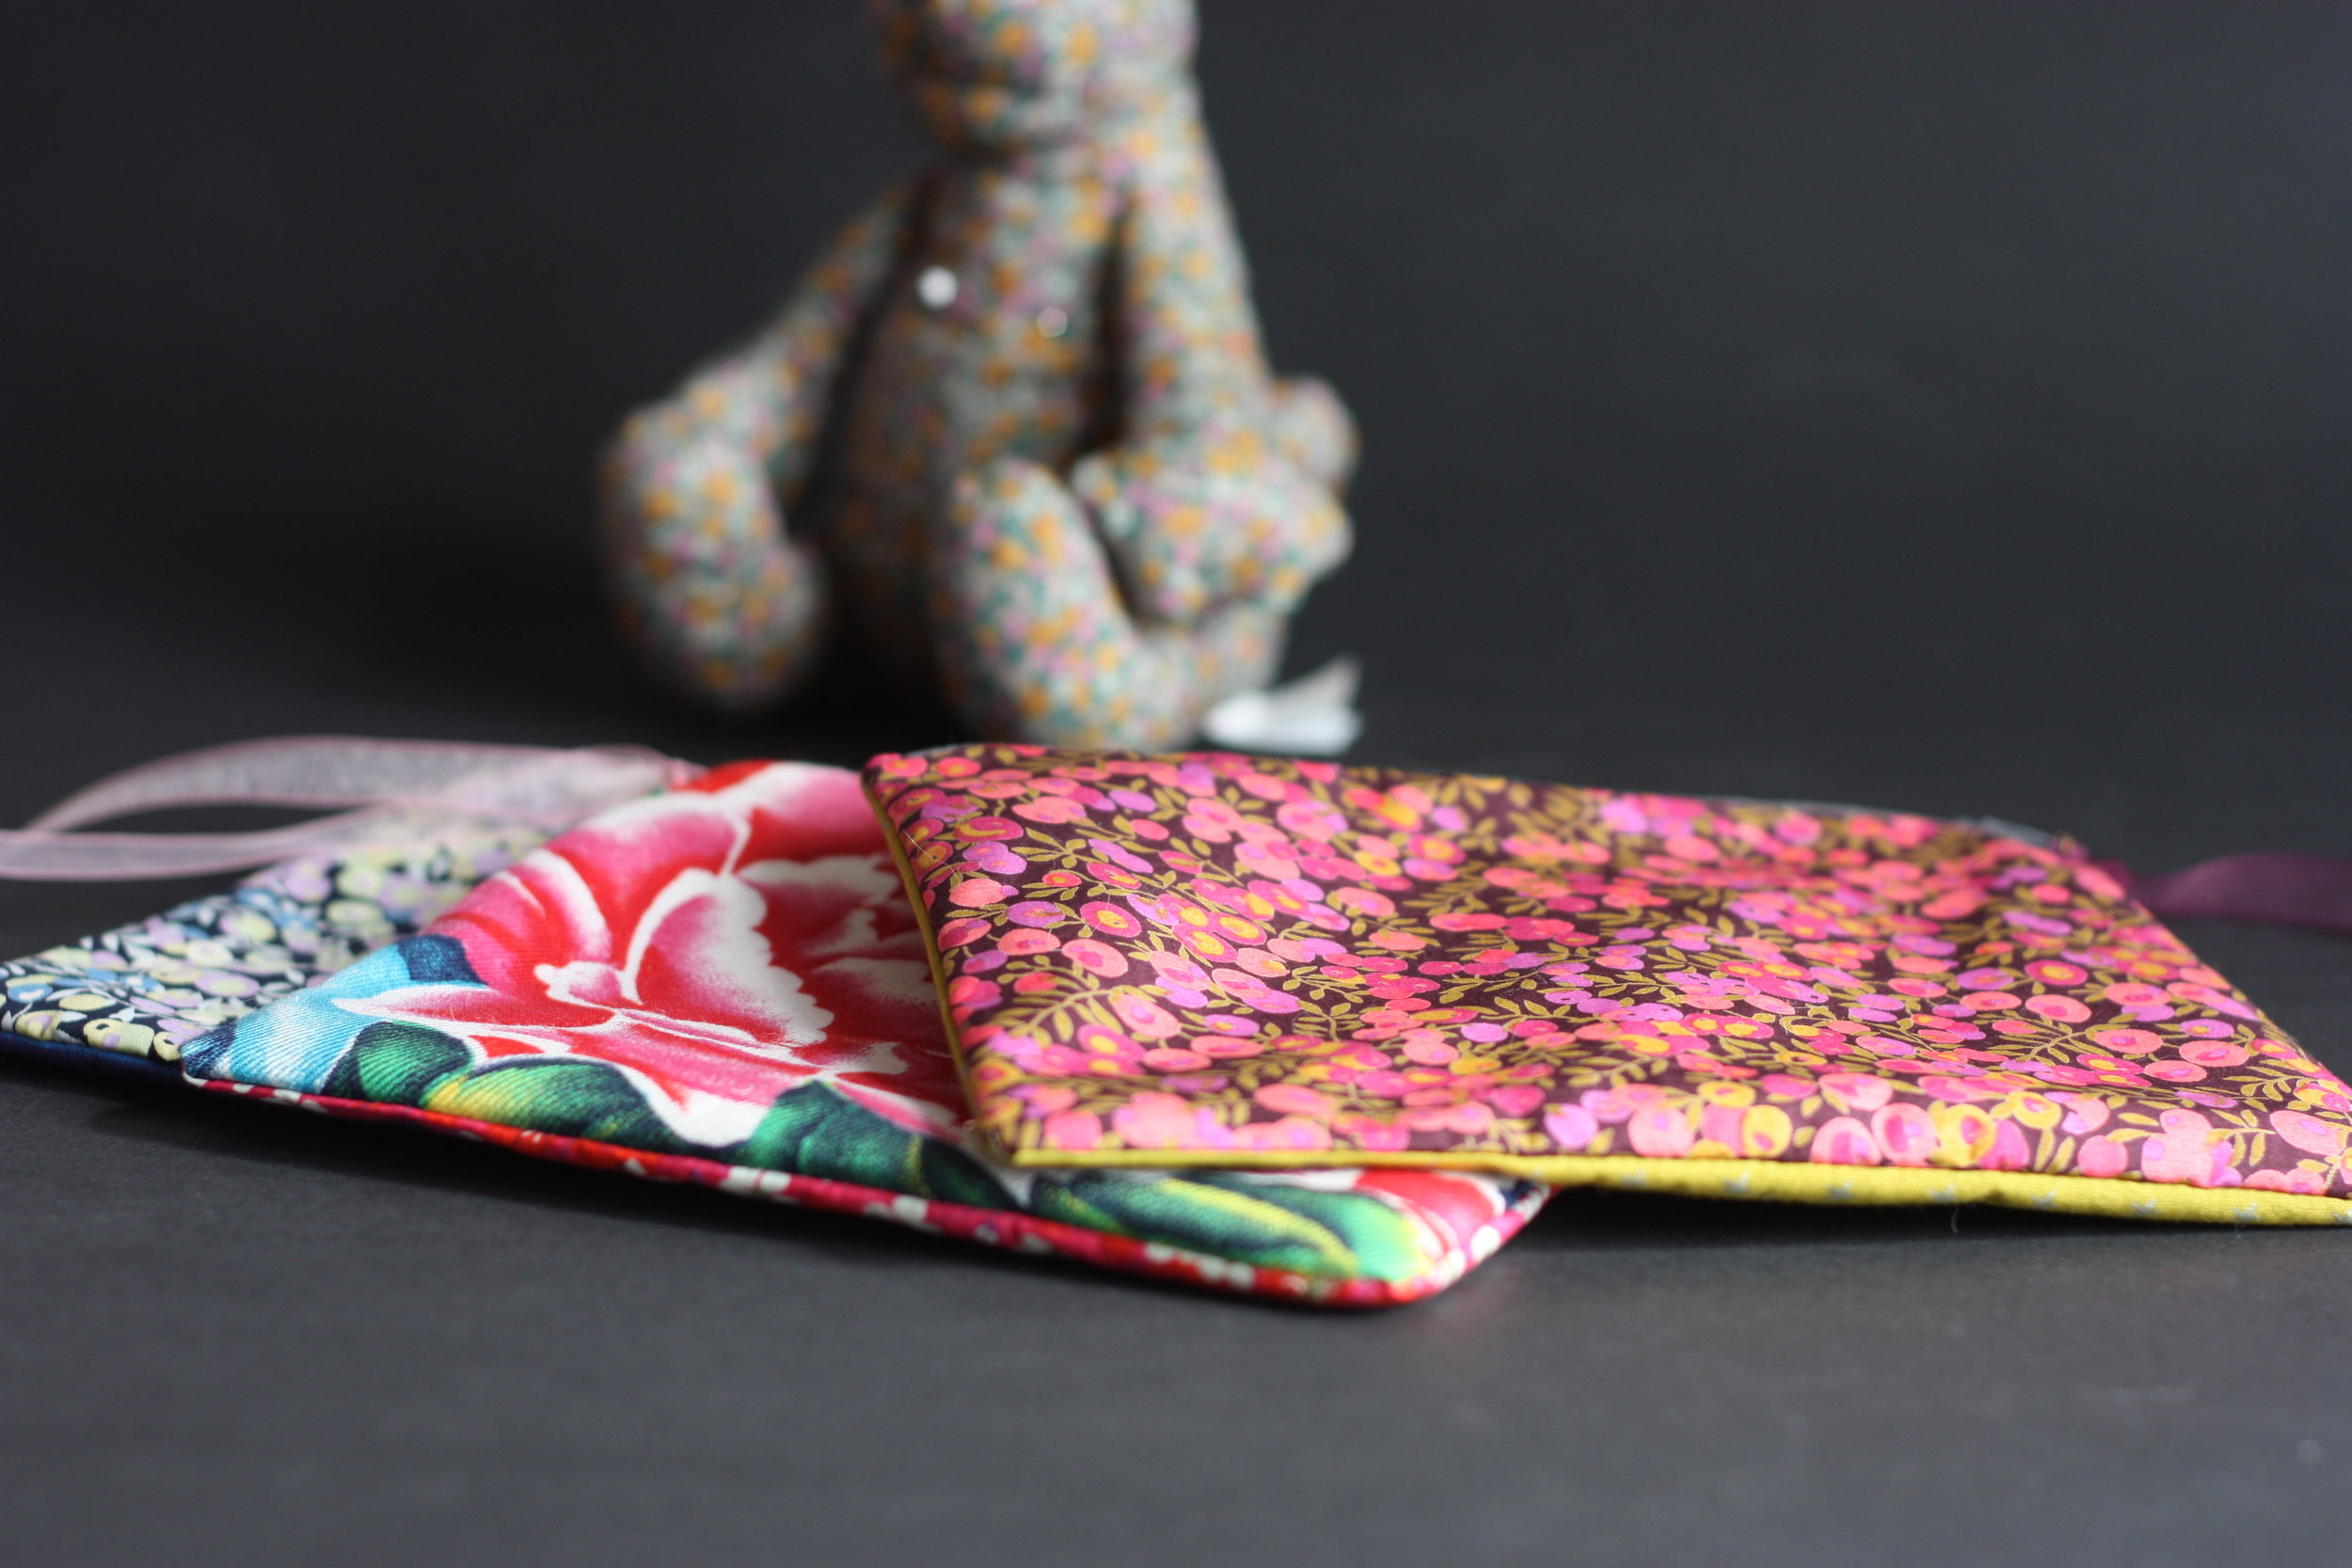
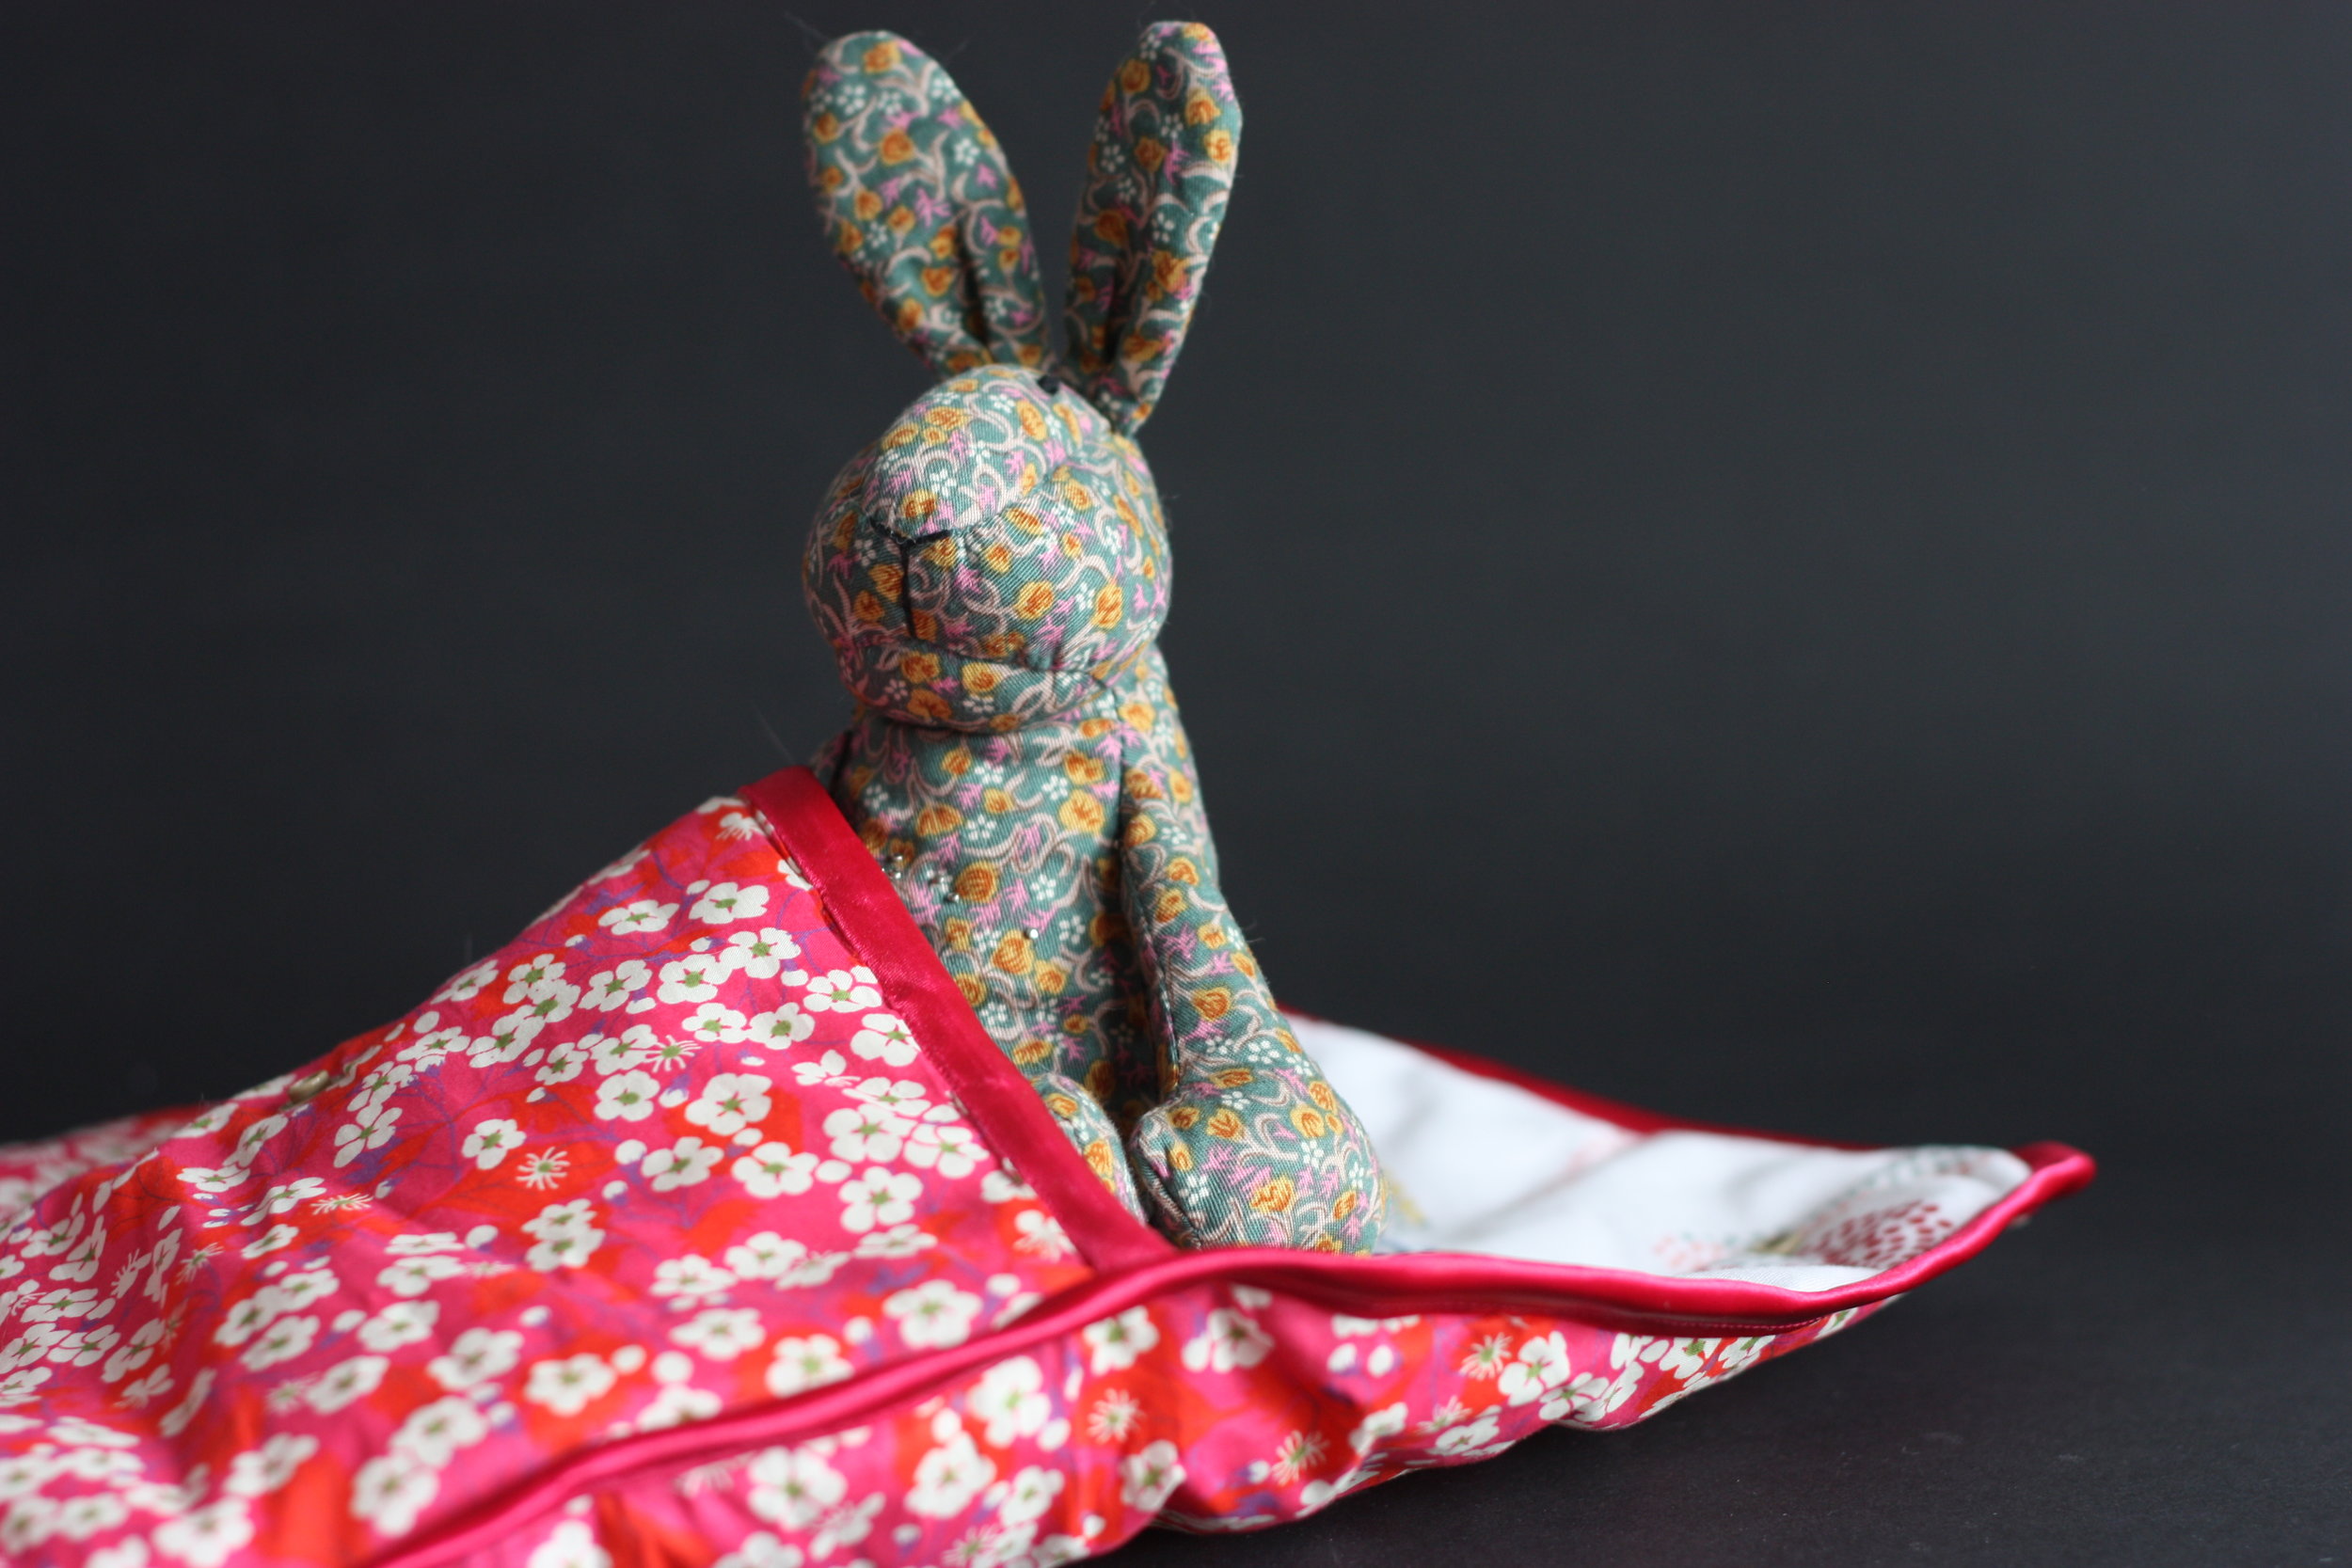
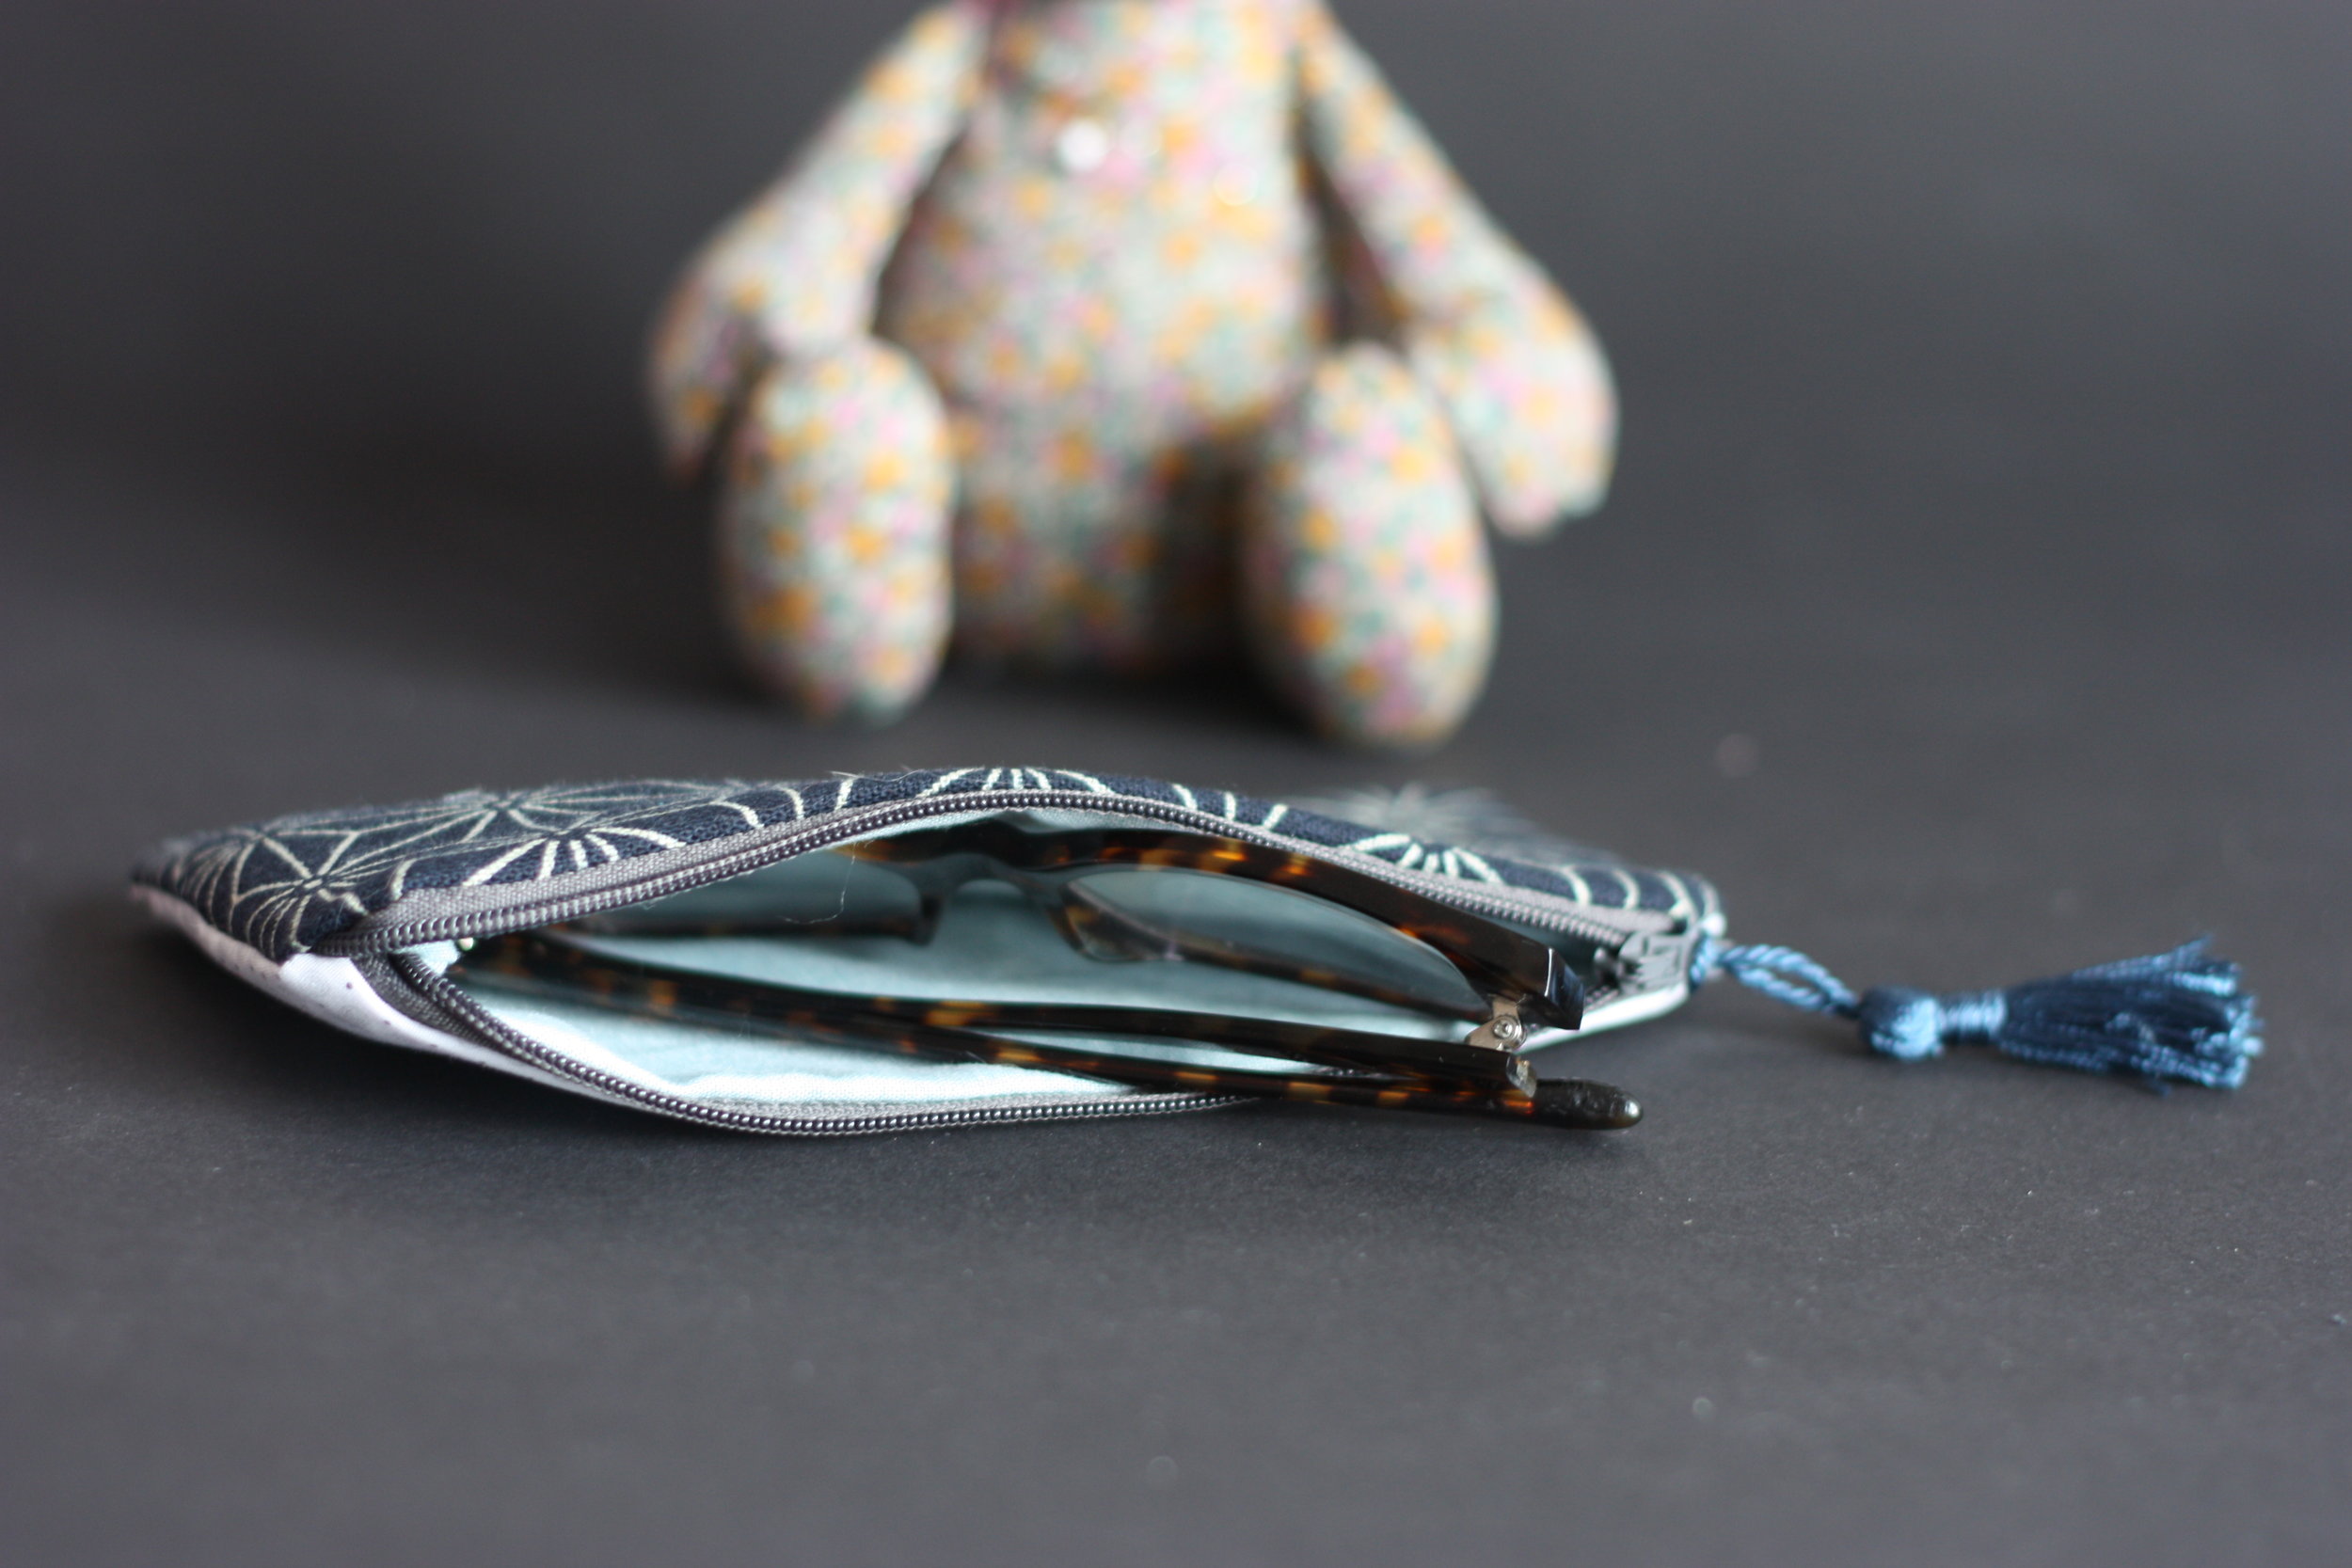
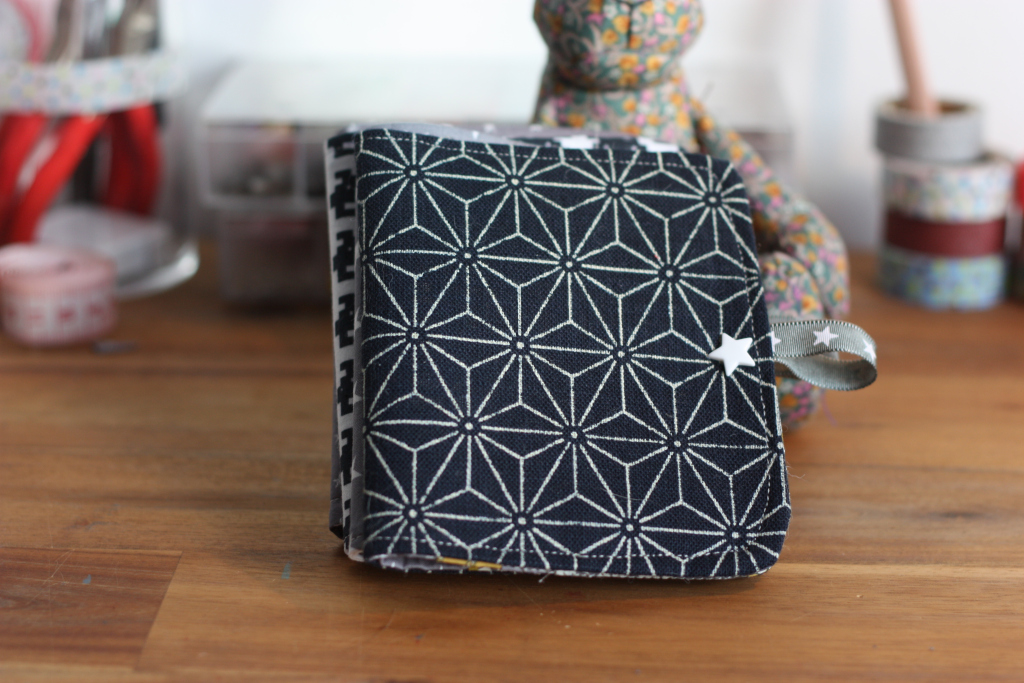
As I will be selling my L.O.D. stuff for the first time at the "kleiner Dachladen" (the little roofshop) on May 19th, I need to have some nice photos of my products for the promotion of the event. I will be posting more information about the event soon.After trying a lot of different angles and backgrounds, I decided to shoot the products on a black background with my dear rabbit-pin cushion as visual unifier - and I think it works pretty well. What do you think?