Dear international reader,
today this blogpost will be in German only, by my friend Lou from the blog Happy Serendipity.
Speak to you soon and thank you dear Lou and sweet Rafael for your great tutorial!
Elodie
Hallo kleine Love-Madame,
wir sind alle so froh und glücklich, dass du geboren bist und das es dir gut geht. Wir Blogger-Tanten haben lange Zeit mit deiner Mama gefiebert und ihr zugeschaut, wie der Bauch immer größer wurde und gestaunt, was sie dir alles tolles zurecht macht, bevor du auf die Welt kamst. Du wirst so ein hübsches Zimmer haben und ganz wunderbar weiche Garderobe. Zum Glück hatte die Mama vor deiner Geburt Zeit, alles vorzubereiten, denn jetzt bist du die kleine Person, die alle Aufmerksamkeit auf sich zieht und um die sich die Mama kümmert.
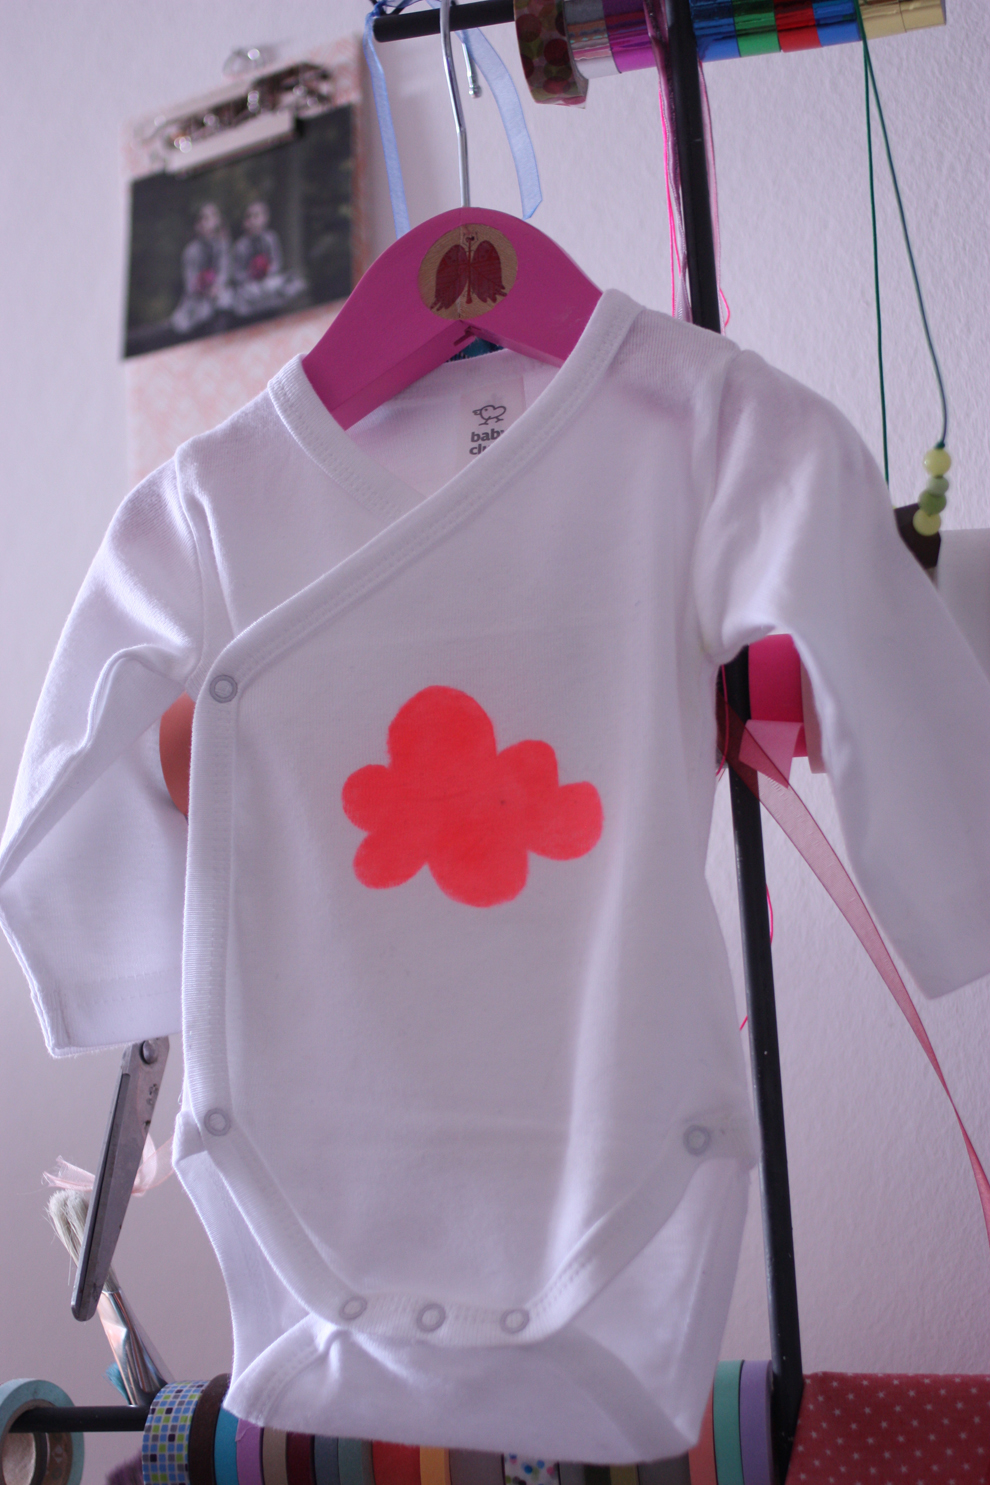
Wahrscheinlich - das wird sich noch herausstellen - wird die Mami auch nicht mehr so oft und viel Zeit haben, dir neue Kleidchen zu nähen. Deshalb zeige ich ihr heute, wie sie dir in wenigen Minuten eine warme Mütze nähen kann, wenn du mal schlummerst. Sie kann dafür Stoffe nehmen, die sie schon hat, vielleicht das alte Lieblings-T-shirt vom Papa oder einen alten Pullover von ihr. Diese Stoffe sind nämlich meisten schon ganz oft gewaschen und greifen deine zarte Haut nicht an. Außerdem hat man immer etwas im Haus, dass man neu verwenden kann.
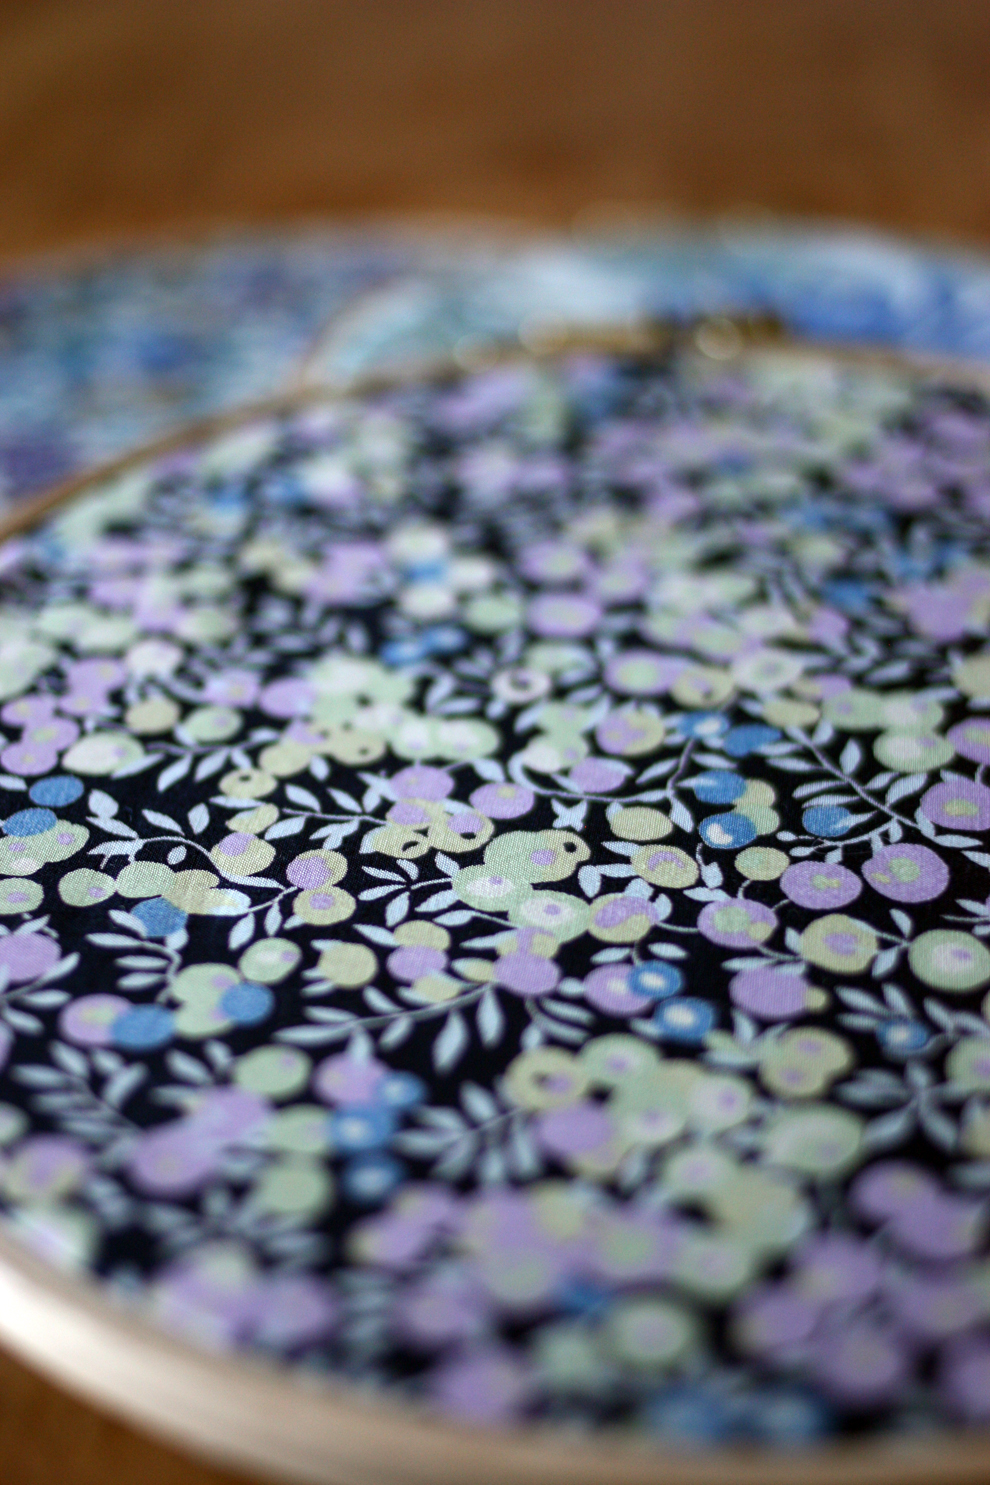
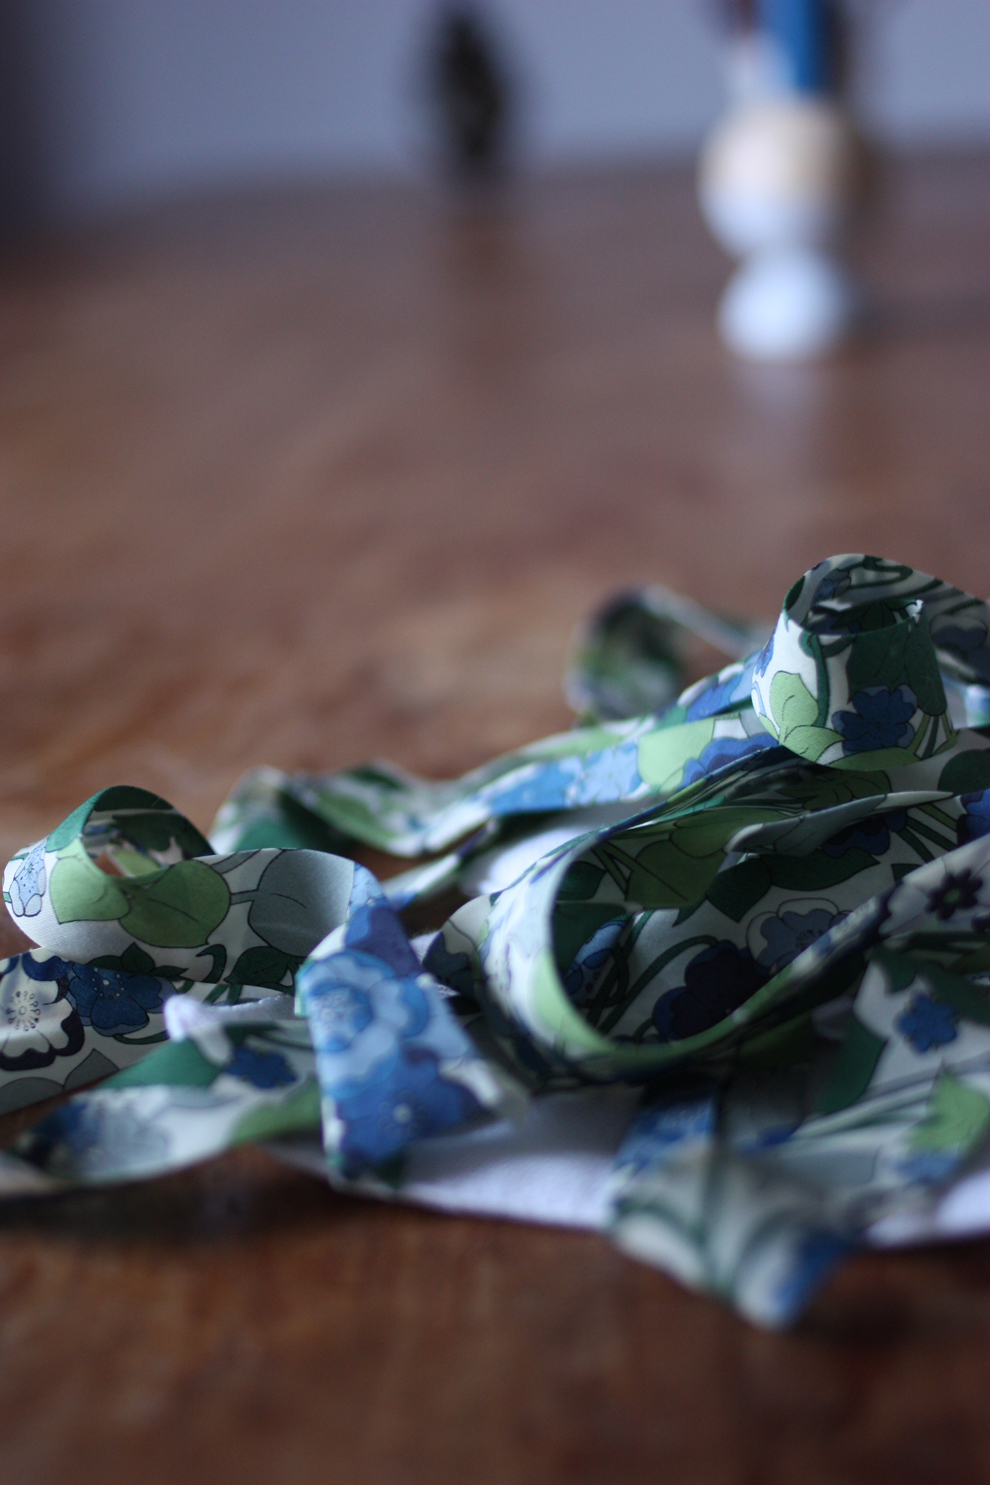
 Für meine kleine Mütze habe ich ein Stück Wolldecke und ein Stück meiner alten Cordbluse genutzt. Damit man das Mützchen zumachen kann, schnappte ich mir eine Stricklisel-Strippe, die hatte ich zufällig noch da. Man kann aber auch einen Schnürsenkel nehmen, oder sich aus einem der Stoffe die man nutzt, eine Kordel flechten.

Ich habe dann die Mama meines kleinen Neffen Rafael gebeten, mal mit dem Maßband von Mundwinkel - um das Gesicht herum - vorbei an Backen - Augen - Stirn - und auf der anderen Seite wieder zurück bis zum anderen Mundwinkel - zu messen. Das waren bei dem kleinen Kerl 42 cm. Außerdem hat sie gemessen, wie tief der Kopf ist. Dazu misst man von der Augenbraue über den Kopf bis auf die gegenüber liegende Seite am Hinterkopf. Das ergaben so ungefähr 20 cm - und weil die Mütze ja nicht klemmen soll, hab ein einfach ein paar cm dazu genommen.
D.h. wir benötigen:
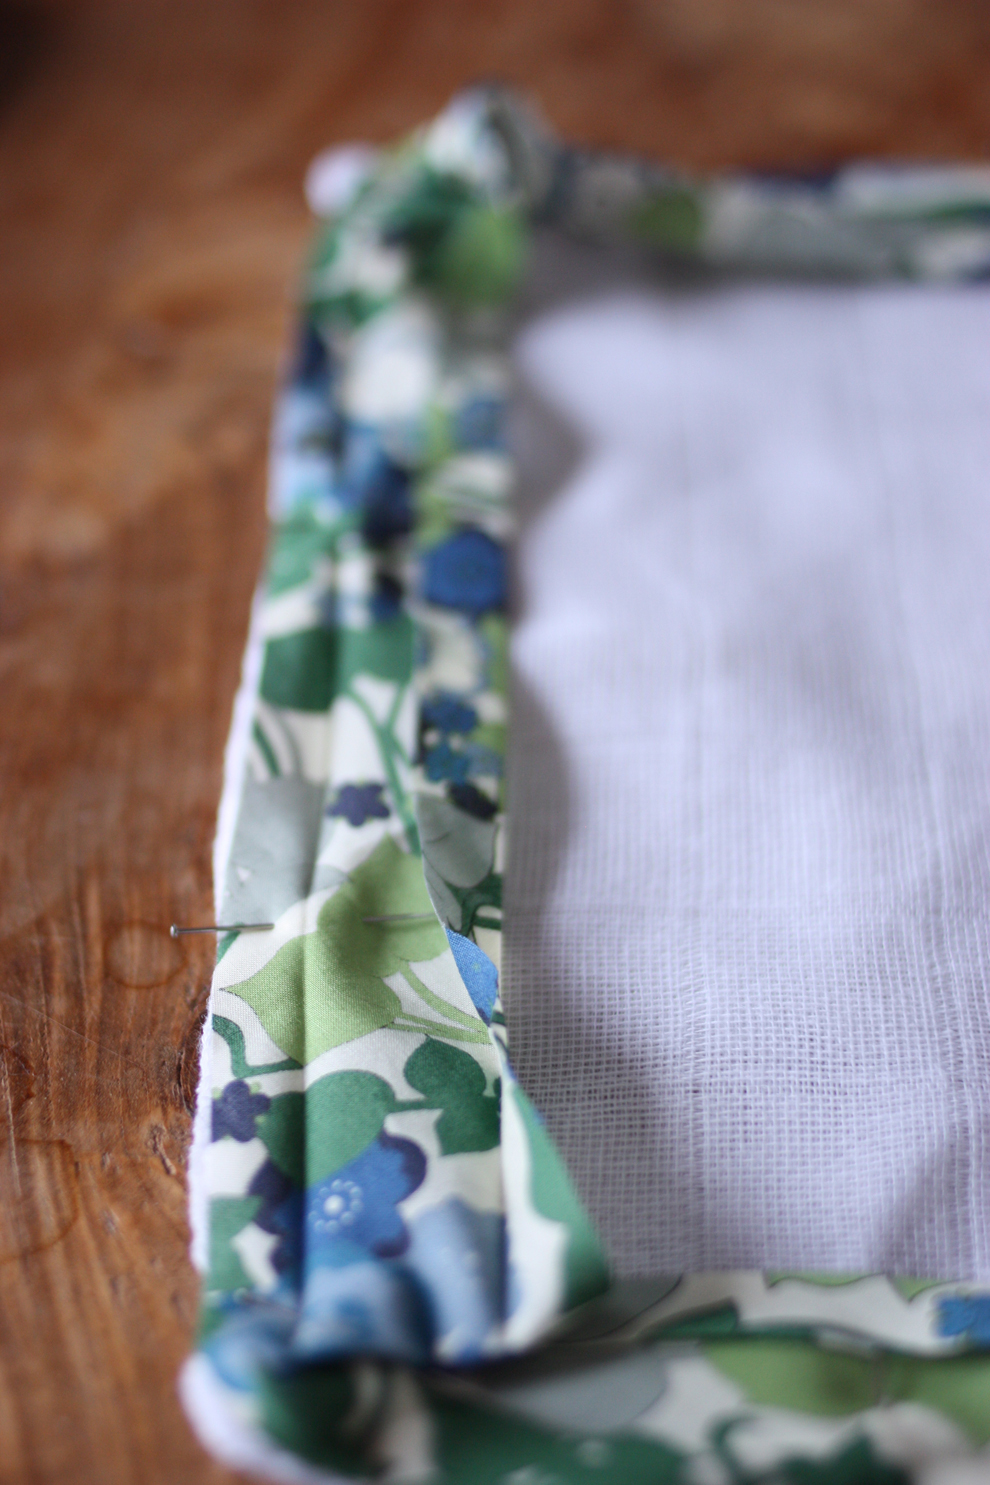
2 Rechtecke Stoff in den Maßen 42 x ca. 23 cm
Die legt man sich rechts auf rechts zusammen, in die Ecken der langen Seiten steckt man die Kordeln nach innen ein, damit die auf der richtigen Seite sind, wenn man später die Mütze umstülpt.
Man näht dann einmal rundherum und lässt sich ein Loch, durch das man die Mütze dann wendet. Dieses Loch ist idealerweise auf der Längsseite gegenüber der Kordel, so muss man später die Stülpöffnung nicht nochmal extra zunähen.
Danach faltet man das Rechteck in der Mitte, so dass die 2 Kordeln aufeinander liegen, die gegenüberliegende Seite näht man dann zu.

Siehst du, so schnell und einfach ging das. Du kannst jetzt immer mit warmen Köpfchen im Kinderwagen liegen, denn dieses Mützchen ist so schnell gemacht, dass kann man auch noch 7 Minuten vor dem Spazierengehen machen, falls man deine andere Mütze nicht findet. Ich habe gehört, Mamis müssen immer an ganz viele Sachen denken wenn sie mit euch unterwegs sein wollen. Da kann man schon mal vergessen, wo die andere Mütze liegt.
Also Schätzelein, hab einen tollen Winter und wachse und werde groß und stark. Wir werden dir dabei zusehen und freuen uns ganz arg darauf.
Ich drück dich ganz fest und kneif dir in die Backe,
Lou

 Hello everyone!
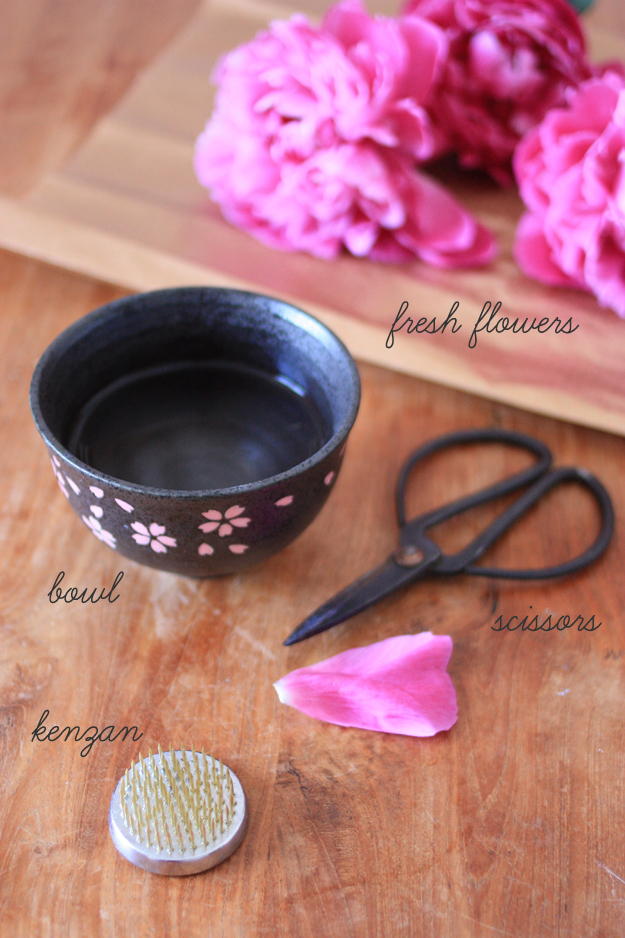
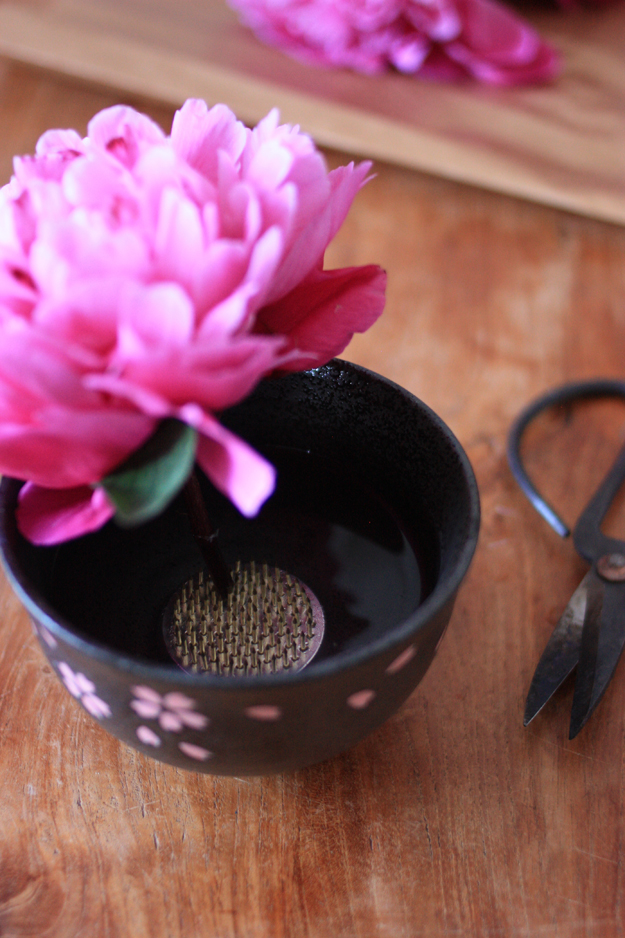
Today I would like to start a new column and show you some simple tricks to make nicer bouquets at home. The first trick I would like to show you today comes from Japan and is primarily used for the traditional Japanese floral arrangements called Ikebana.
A kenzan, also called spiky frog or flower frog is a specific metallic device used for fixing the flowers in the container. It consists of a heavy lead plate with erected brass needles where the stems are fixed. You can find them on amazon for example and they cost between 3 and 30 € depending on their size.
A kenzan is perfect for arranging bouquets in shallow vases such as bowls or small pedestal vases. It helps keeping flowers with very short stems in the water.
It is a very nice to arrange flowers on a table for dinner party for example, so that you can for instance see the person sitting in front of you. It also works very well if you want to create a vignette on a table in living room.
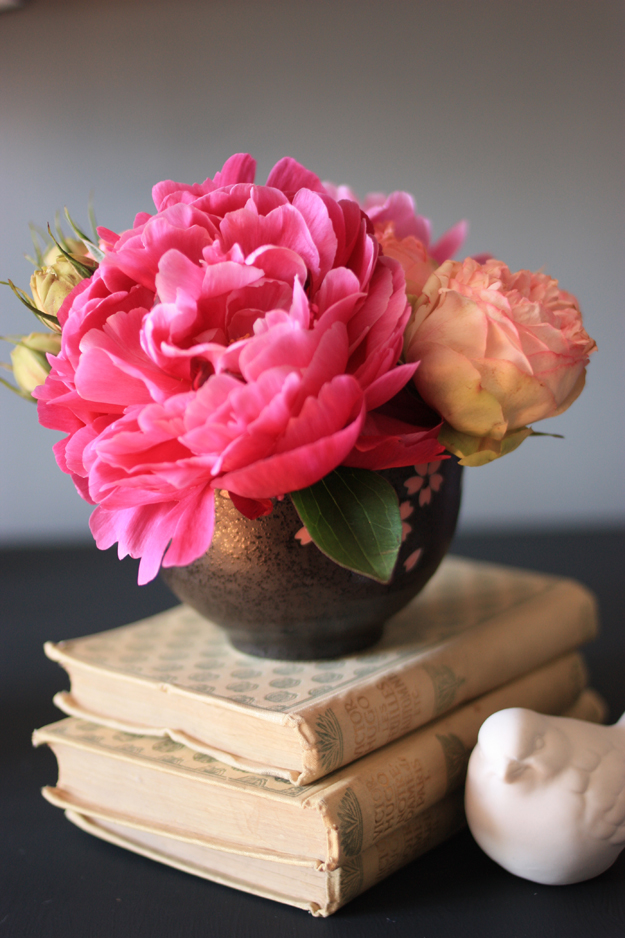
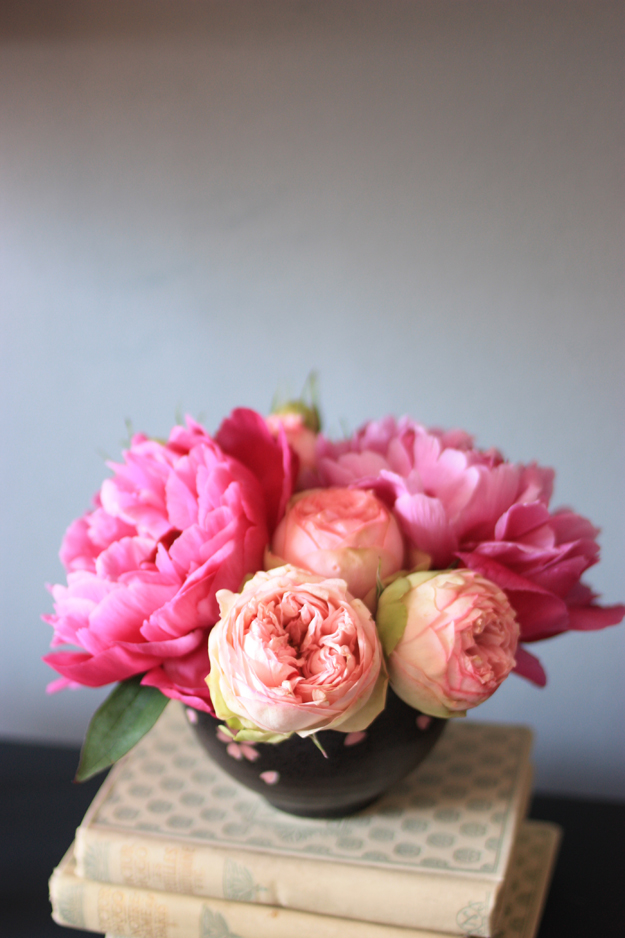
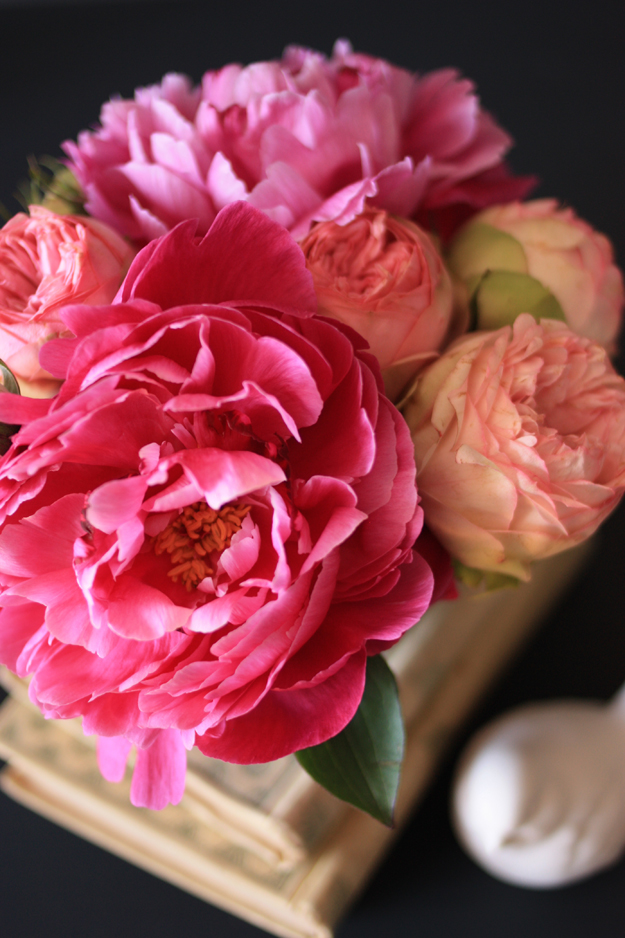
For this bouquet, I decided to mix peonies with garden roses, as I think that they really work well together.
Hello everyone!
Today I would like to start a new column and show you some simple tricks to make nicer bouquets at home. The first trick I would like to show you today comes from Japan and is primarily used for the traditional Japanese floral arrangements called Ikebana.
A kenzan, also called spiky frog or flower frog is a specific metallic device used for fixing the flowers in the container. It consists of a heavy lead plate with erected brass needles where the stems are fixed. You can find them on amazon for example and they cost between 3 and 30 € depending on their size.
A kenzan is perfect for arranging bouquets in shallow vases such as bowls or small pedestal vases. It helps keeping flowers with very short stems in the water.
It is a very nice to arrange flowers on a table for dinner party for example, so that you can for instance see the person sitting in front of you. It also works very well if you want to create a vignette on a table in living room.
For this bouquet, I decided to mix peonies with garden roses, as I think that they really work well together.

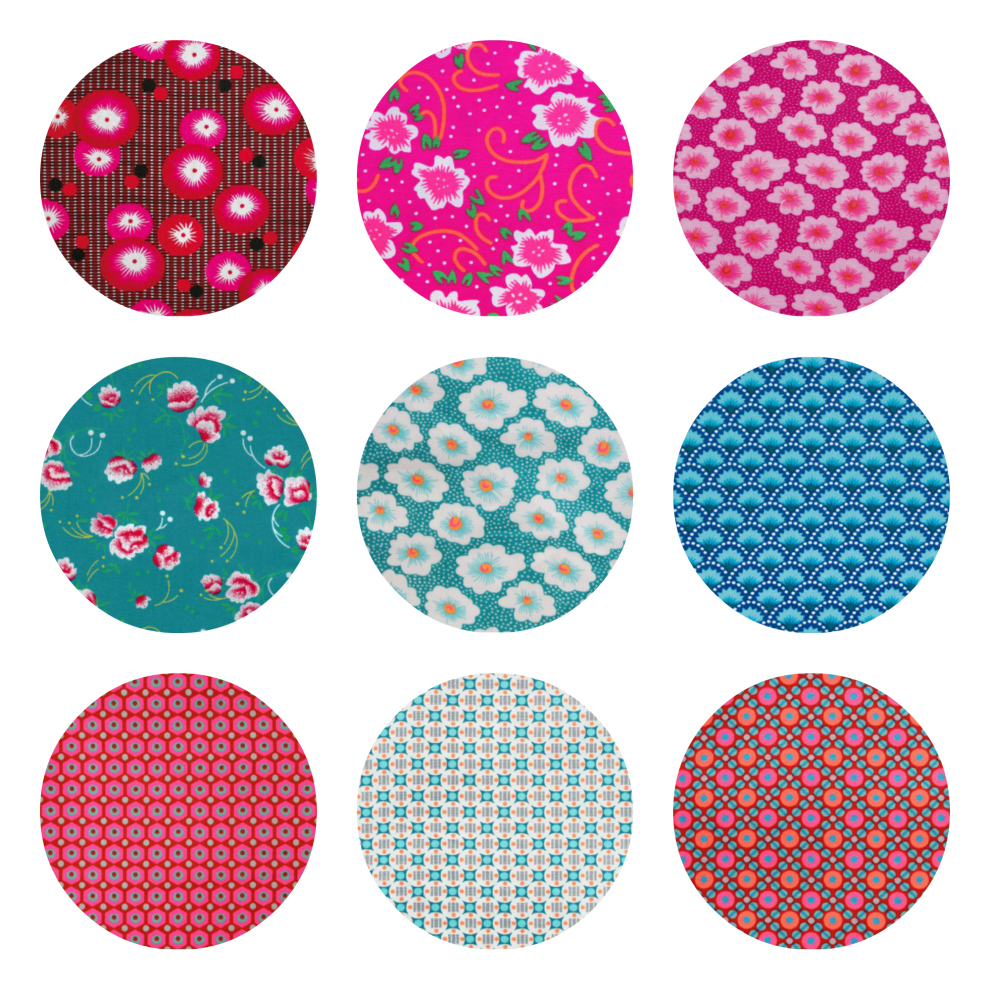
 Good morning everyone!
At the end of last year, I told you about one of my favorite French fabric designer called
Good morning everyone!
At the end of last year, I told you about one of my favorite French fabric designer called