 Dear readers,
My German blogger friend Ricarda, from the blog 23qm stil had this great idea to review your 2012 via 12 pictures. As I started searching my photo archive from 2012, there were far too many photos and great memories to only post 12 photos, so I decided to make 12 photo collages for the 12 topics that influenced me the most this year and which tell my story the best. The birth of my blog (on July 15th) was definitely my highlight and all the great projects I realised through the blog, the workshop and conferences I attended and the many more to come in 2013, and most of all, the brilliant people I met through blogging.
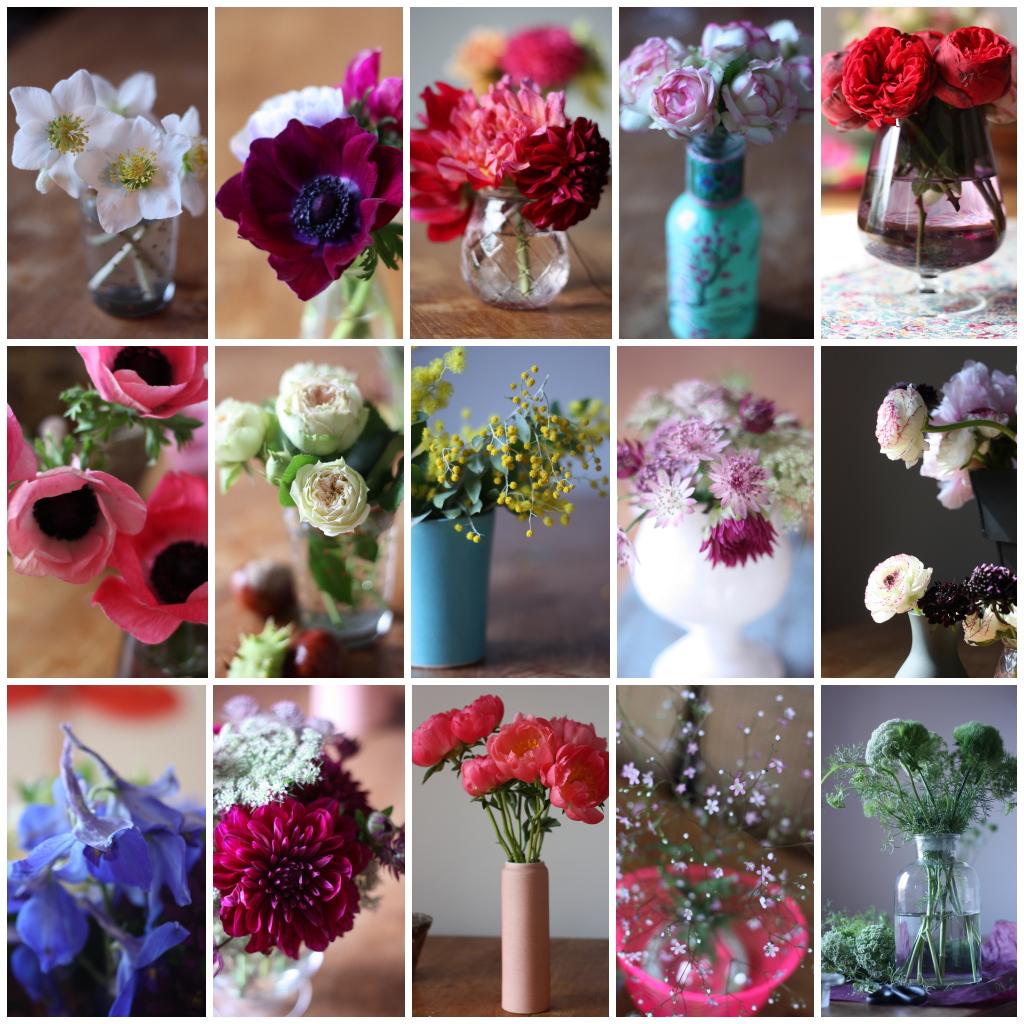
1- My year in flowers:
Flowers have been my main source of inspiration for my blog this year, they made me improve my photographic skills and transform my flat into a photo studio.
I love working with flowers and will continue to do so in 2013. I love picking the right vase, waiting for the perfect light, before work or on Saturday morning and playing with colours and textures.
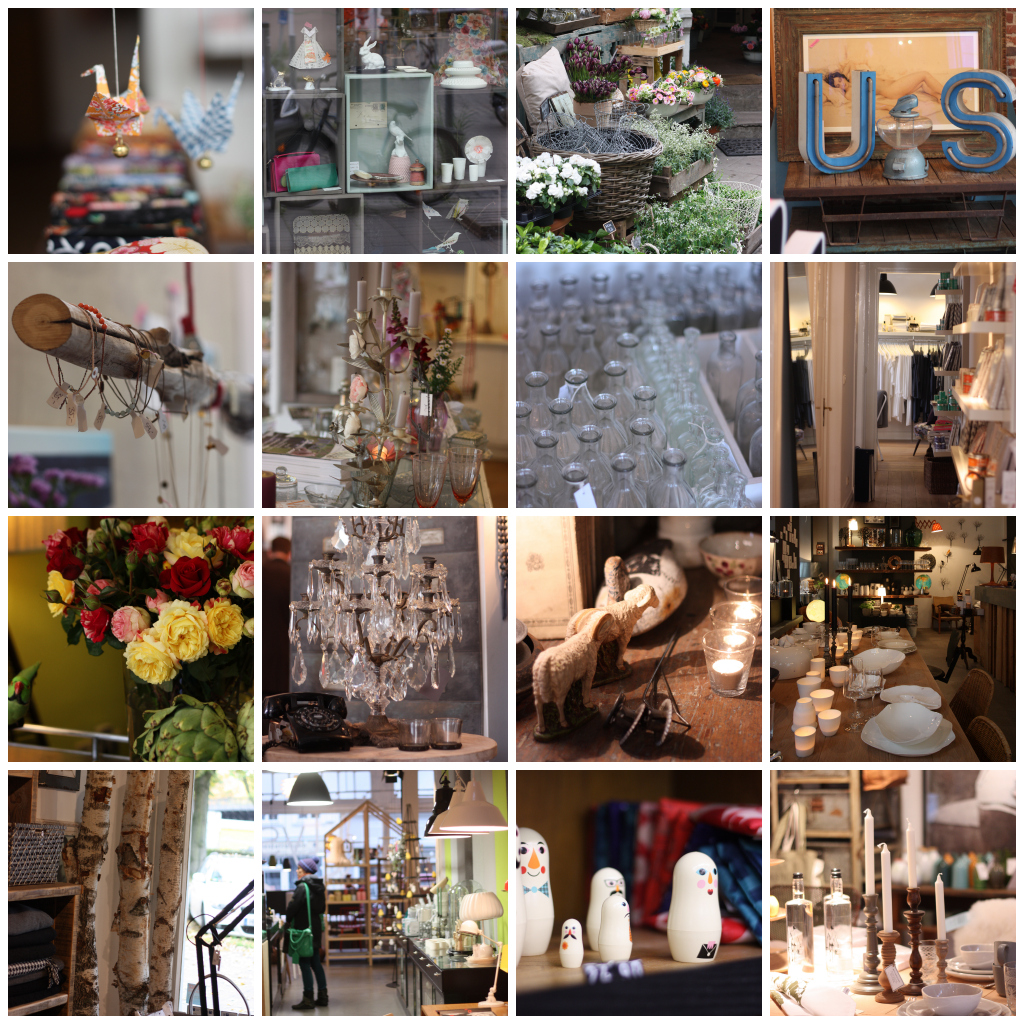
2- My year in shops:
My blog made me visit a lot of beautiful interior shops in Hamburg. Each photo belongs to one shop: here are the links to the blogposts (from left to right and from top to bottom) Akiko, Palais 13, Küchenblume, Johanna Schultz, Lieblingsstück, Nordlys, Lieblingszimmer, my perfect Sunday, Manoir/Palazzo, Morgenthau,das 7te Zimmer,Richard, Eden Living, Lys Vintage, Human Empire, SmuukeStore.
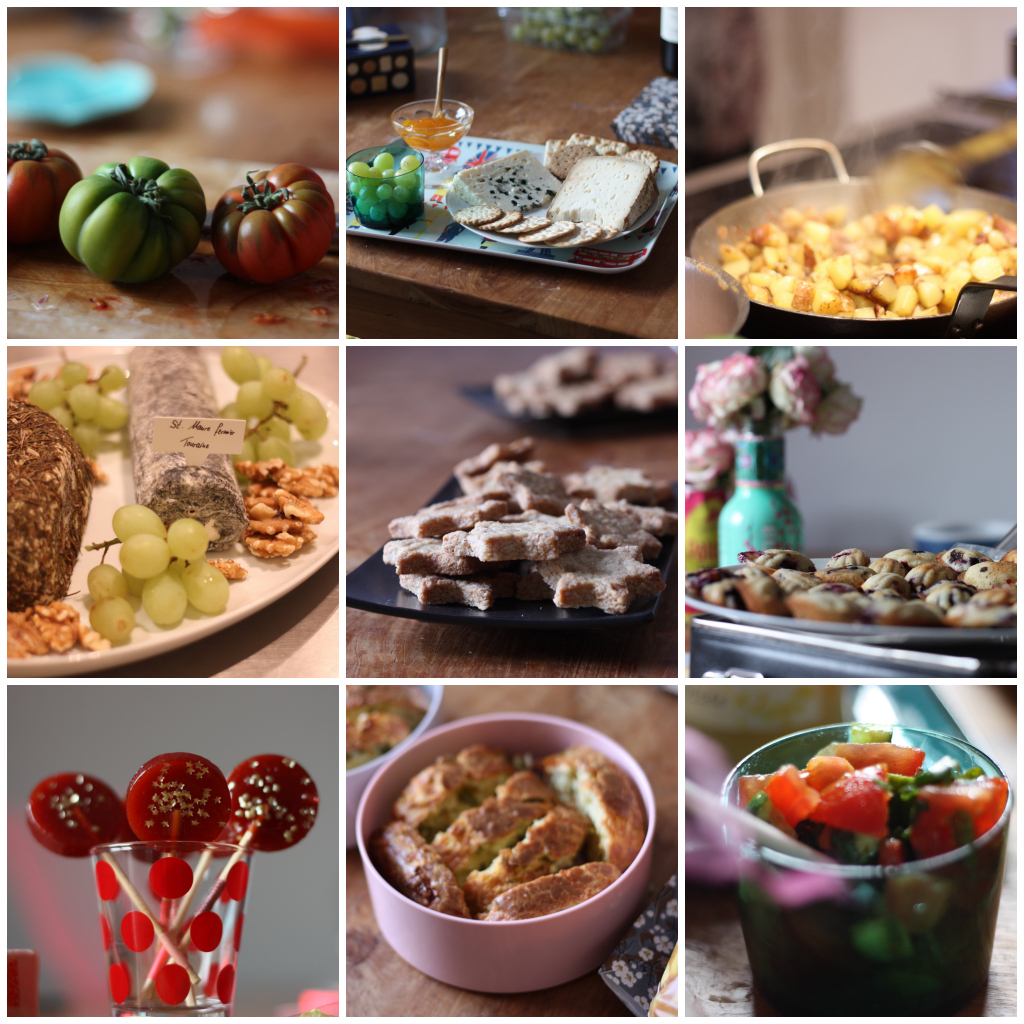
3- My culinary year:
Even if food is not the main focus of my blog, this year I took part three times in the project Post aus meiner Küche (with the strawberry lollipops, the speculoos stars, and the mini-madeleines. I also took part in the food-blogger event France Bon Appétit. Here are some impressions:
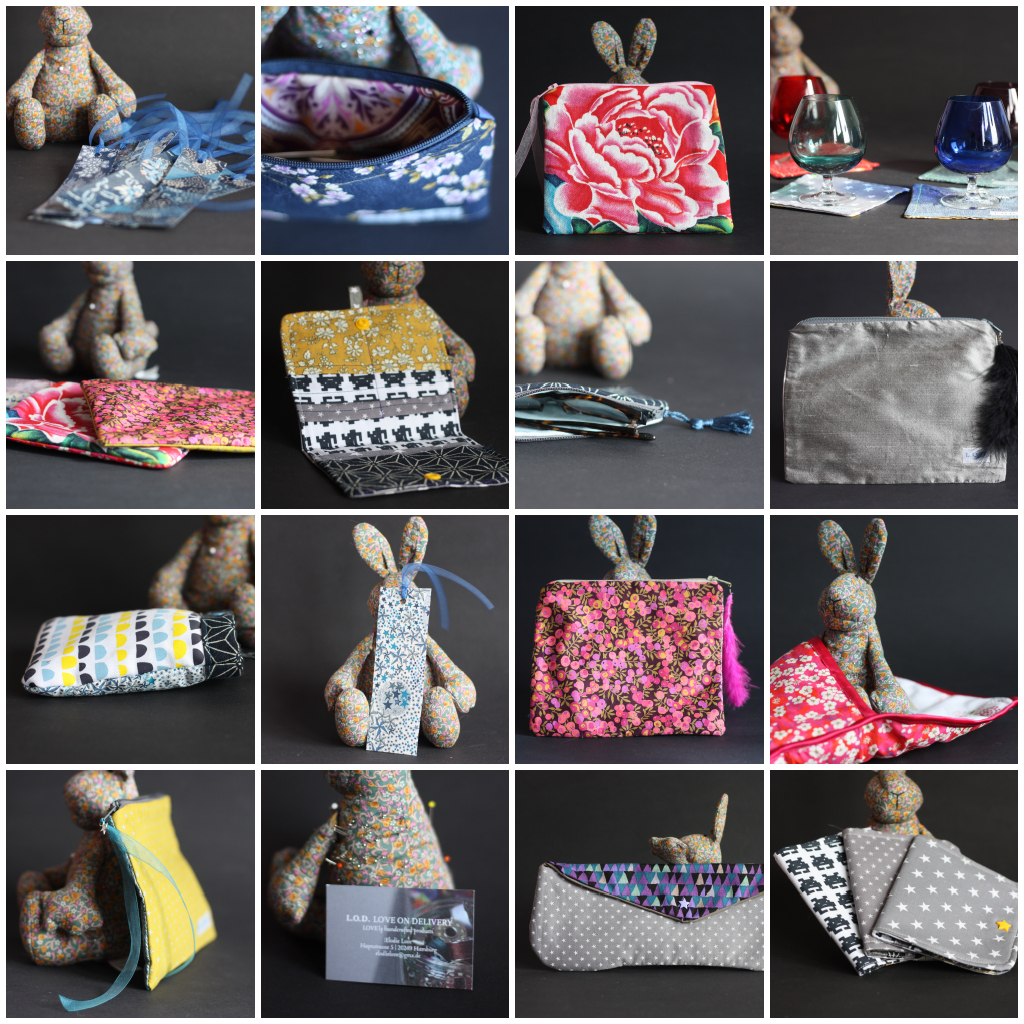
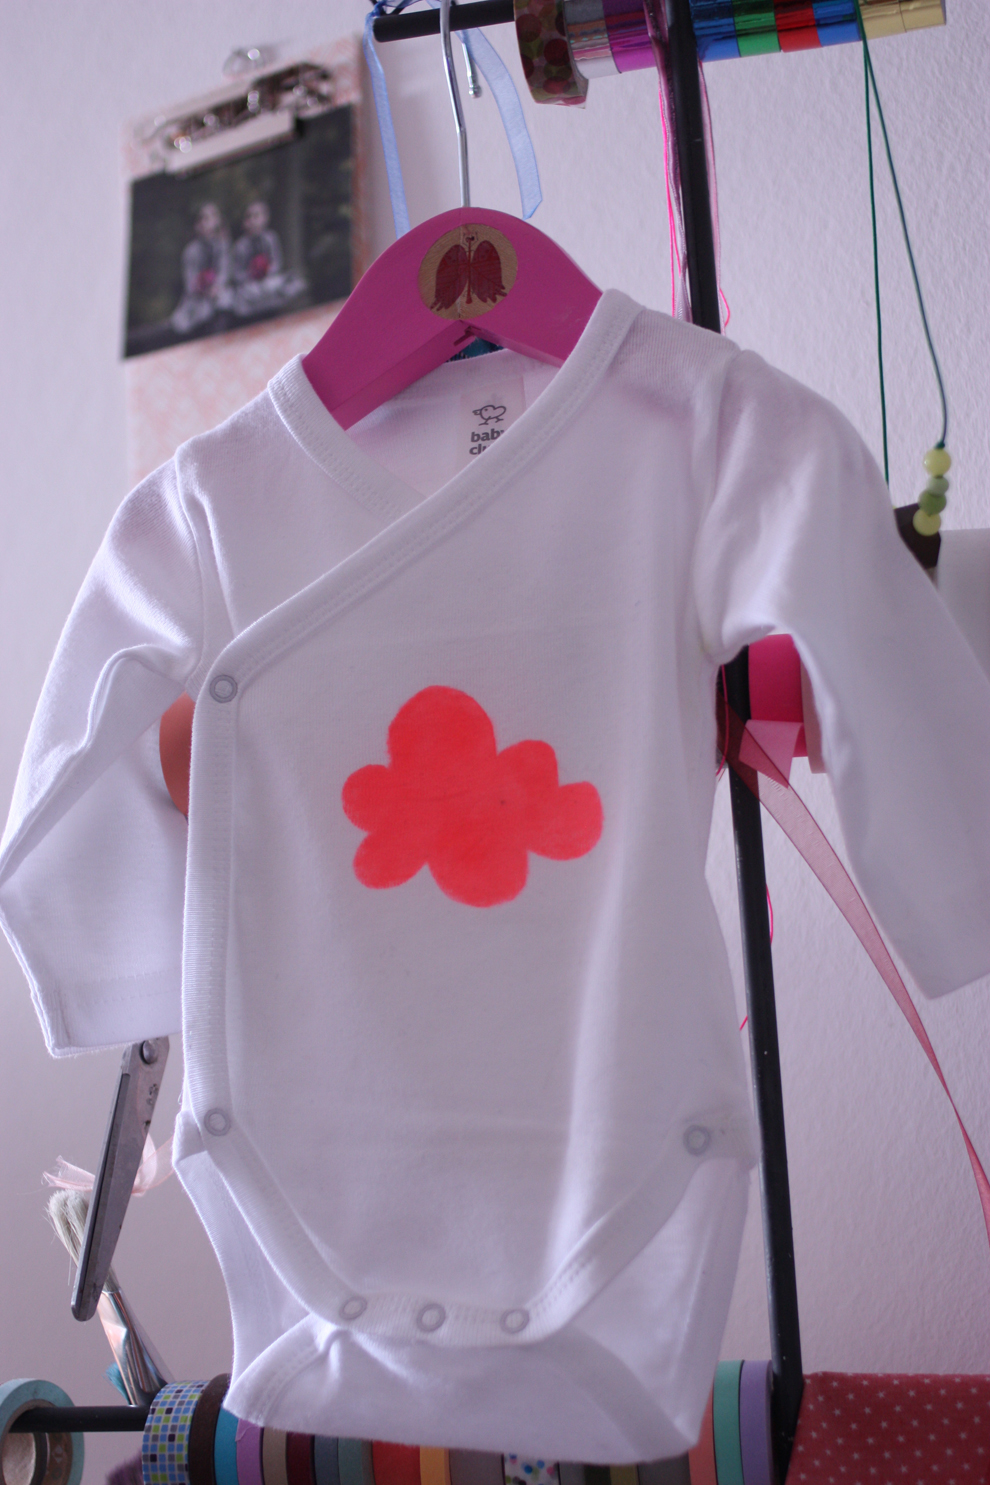
4- My creative year:
I started sewing a lot at the beginning of 2012. I was seriously thinking about creating my own little label: L.O.D. Love On Delivery, and open my own Etsy store. In the end, I used my spare time for my blog and not pursuing my first project. I took part in the designer market - Kleine Dachladen organised by my friend Merret in May, though, and I really liked it. What do you think, should I open my Etsy store in 2013?
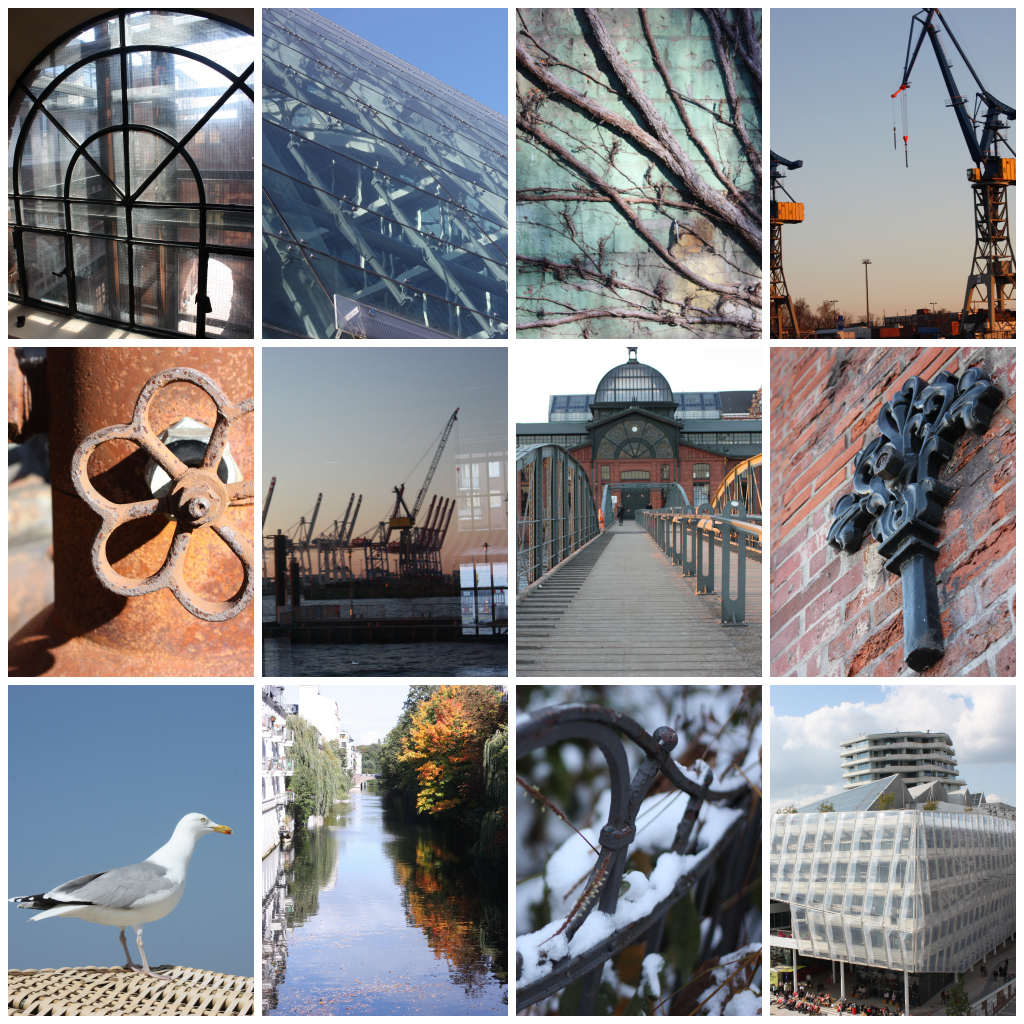
5- My year in Hamburg:
Hamburg treated me much better in 2012 than in 2011. Especially because I found a job I like at DDB Tribal and my friendships grew deeper. Thanks Hamburg - you almost made me forget Berlin (but not my dear Berlin friends).
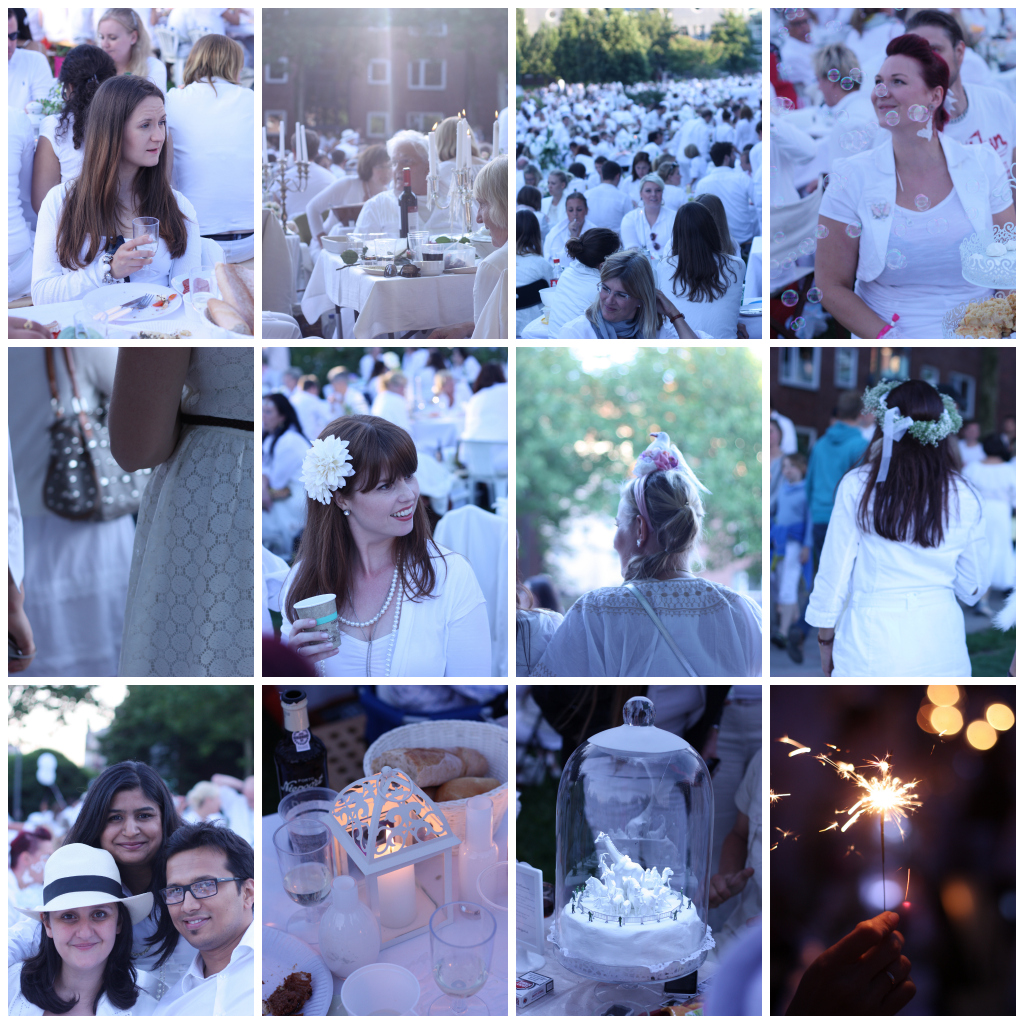
 6- LOVEly white dinner
In August, I shared a beautiful white dinner with my dear friends from Girl Gone International.
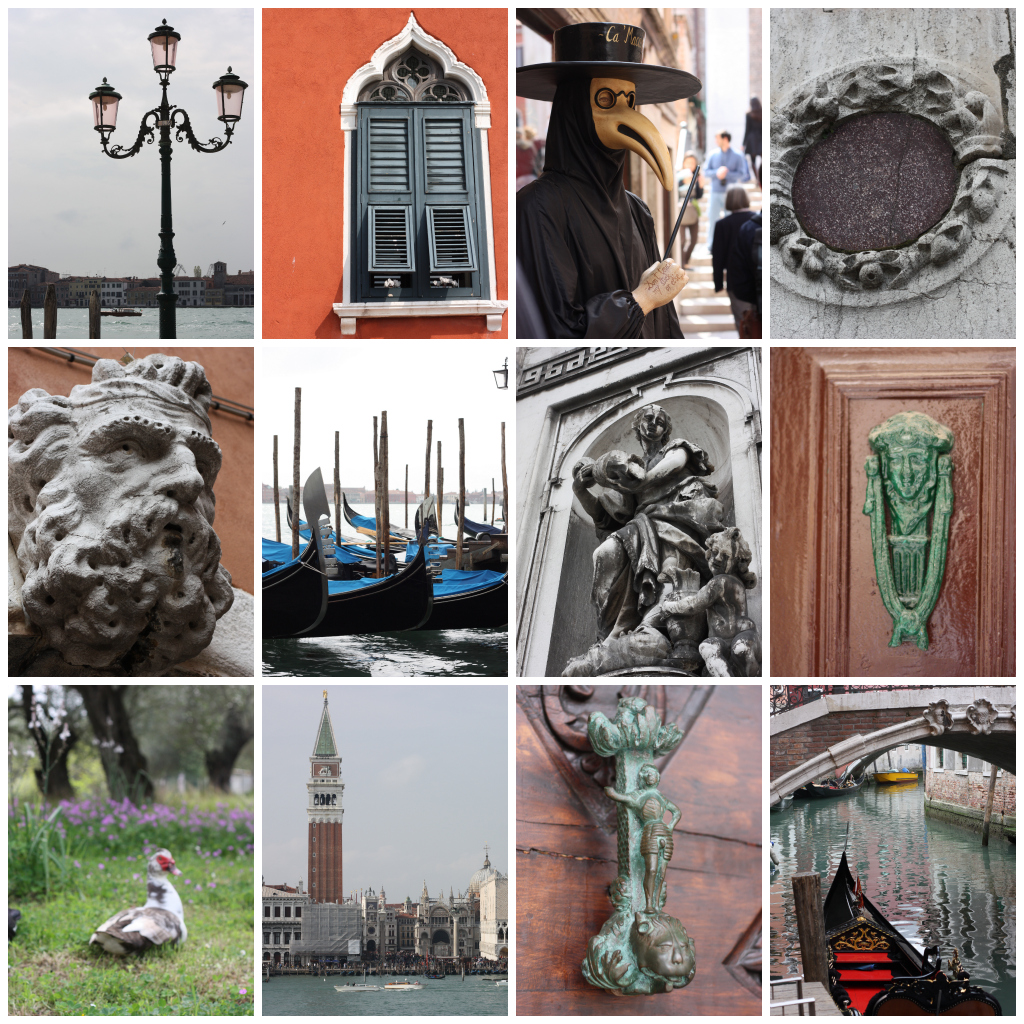
7- LOVEly cruise
In May, just before starting my new job at DDB, I went on a cruise with Mr. Love. Venice, Dubrovnik and Corfu. Needless to say, it was lovely!
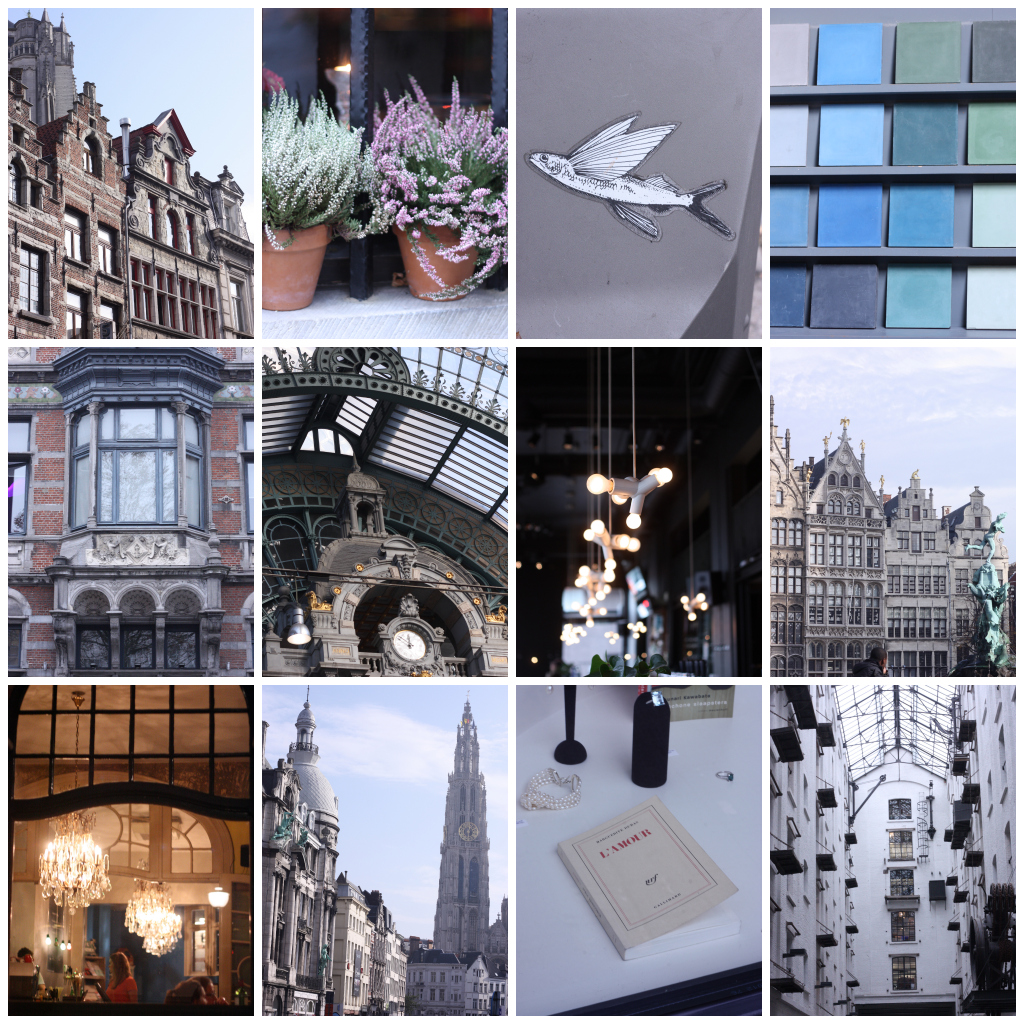
 8- LOVEly Antwerp:
To celebrate my birthday, Mr. Love and I spent a couple of days in Antwerp, and as expected, I really enjoyed the city, its architecture and interior shops.
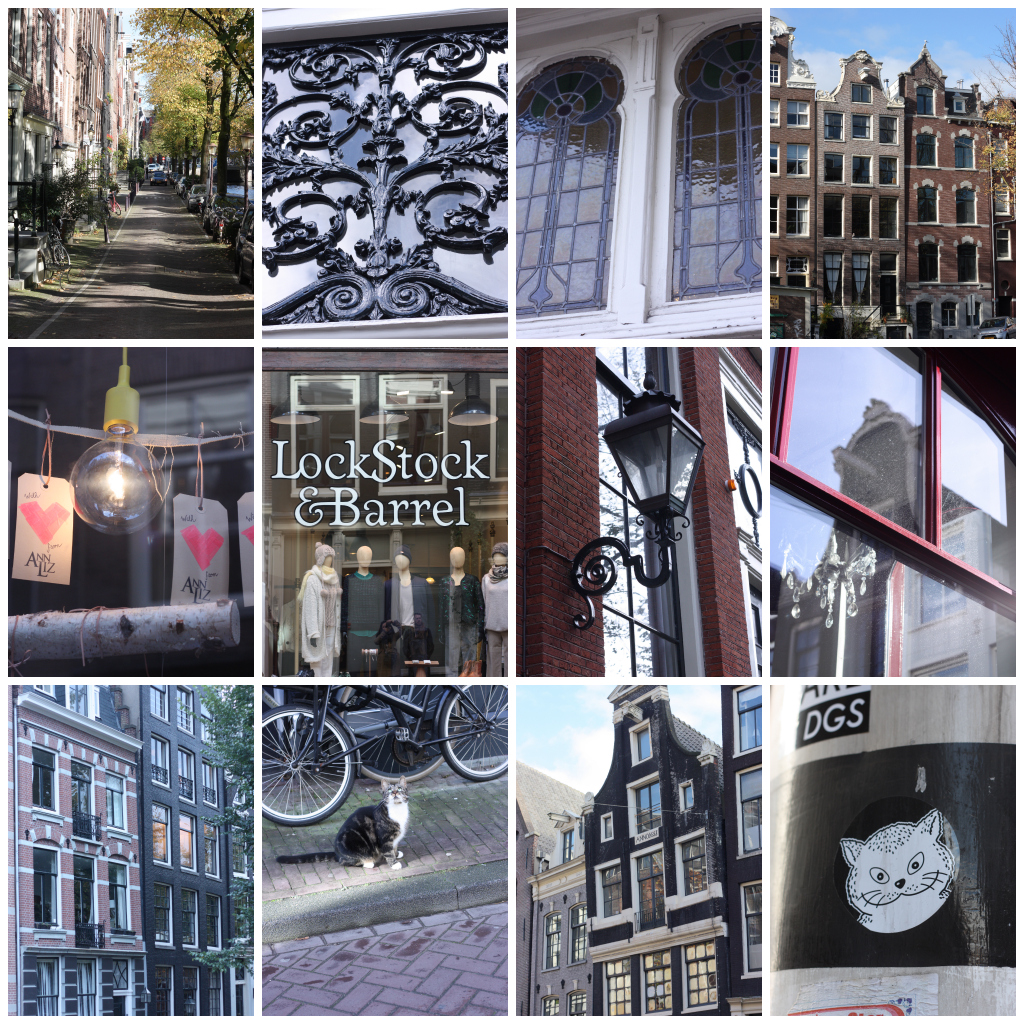
 9- LOVEly Amsterdam:
On the way back to Hamburg, after leaving Antwerp, we stopped in Amsterdam to visit friends and I loved the city very much too. As another friend of mine just moved there, I will be visiting again soon. My blogpost about Amsterdam is coming up soon as well...
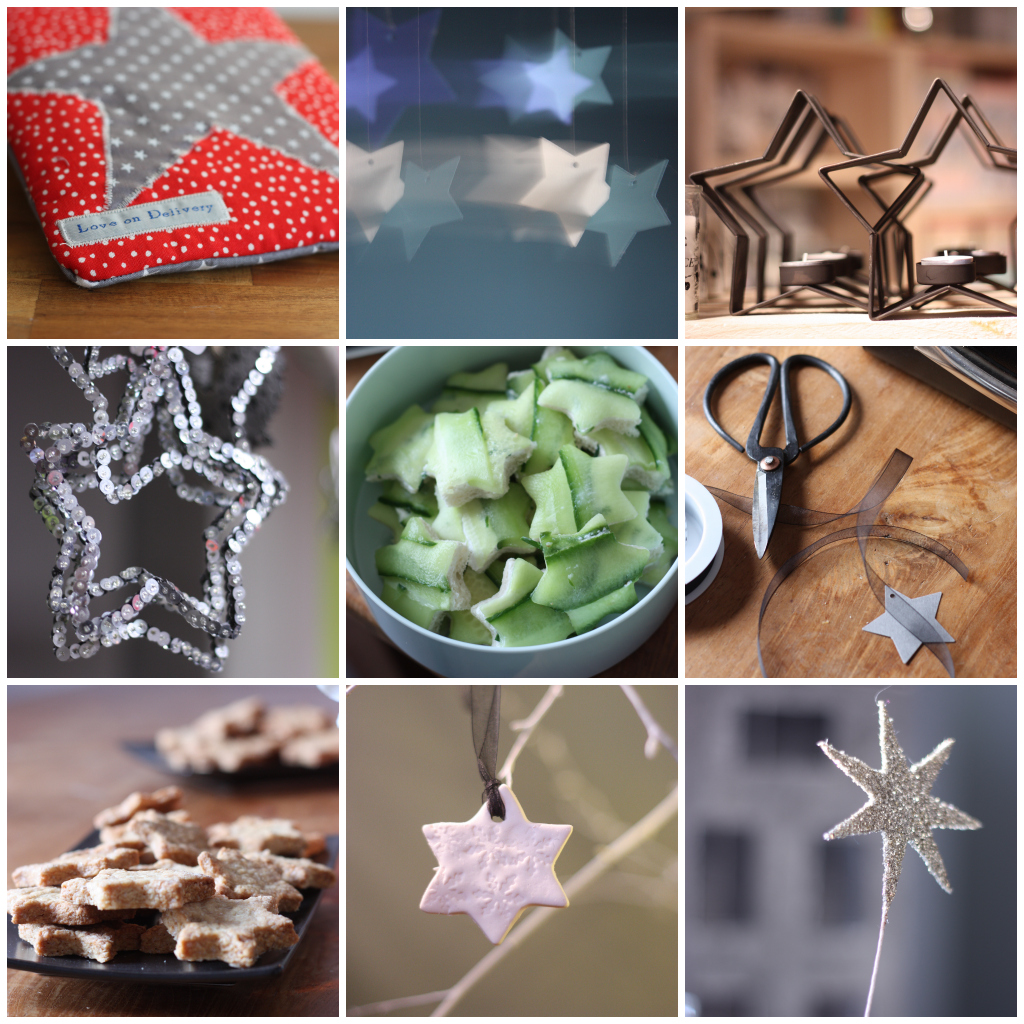
10- My star obsession:
Another thing I noticed while browsing through my pictures, is that I have been using a lot of stars this year in my sewing and DIY projects, as well as in my food projects....
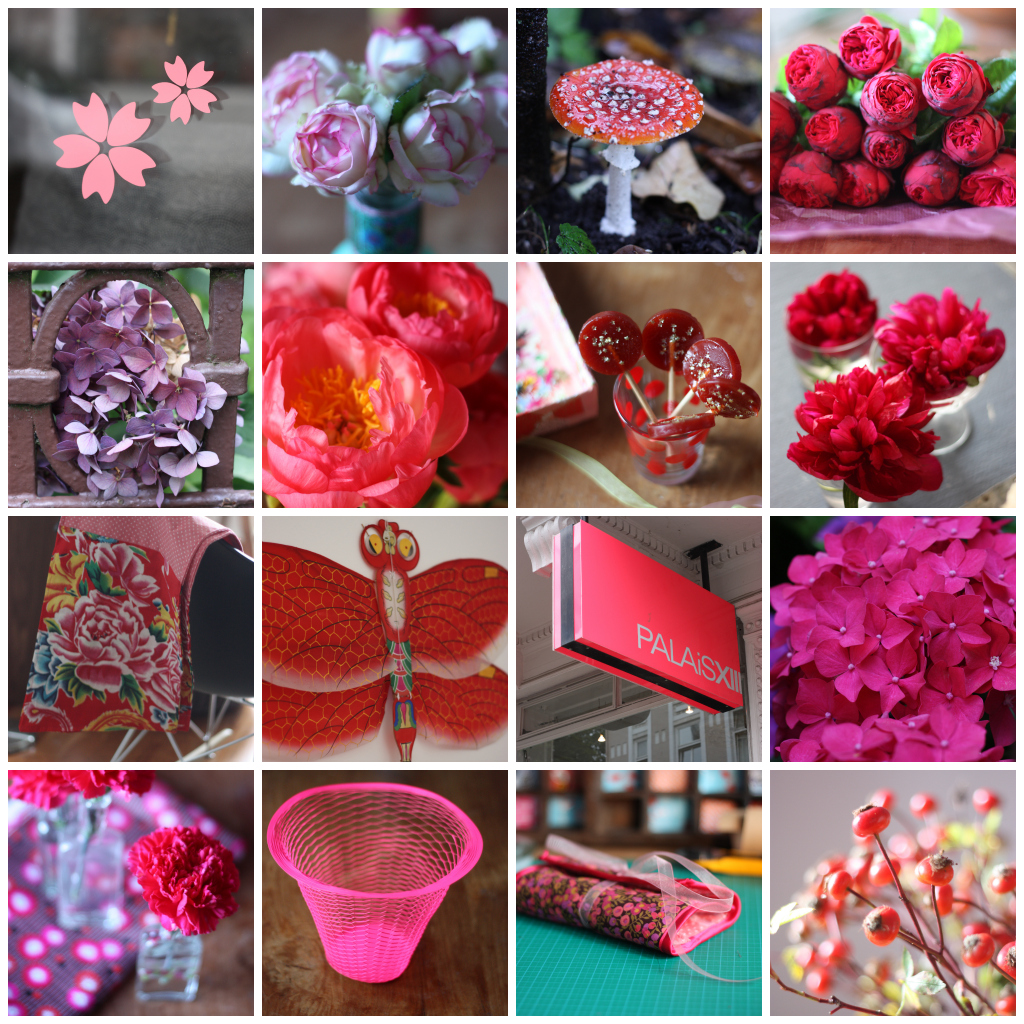
 11- My year in red & pink:
...and that I have been using a lot of red and pink in everything I did.
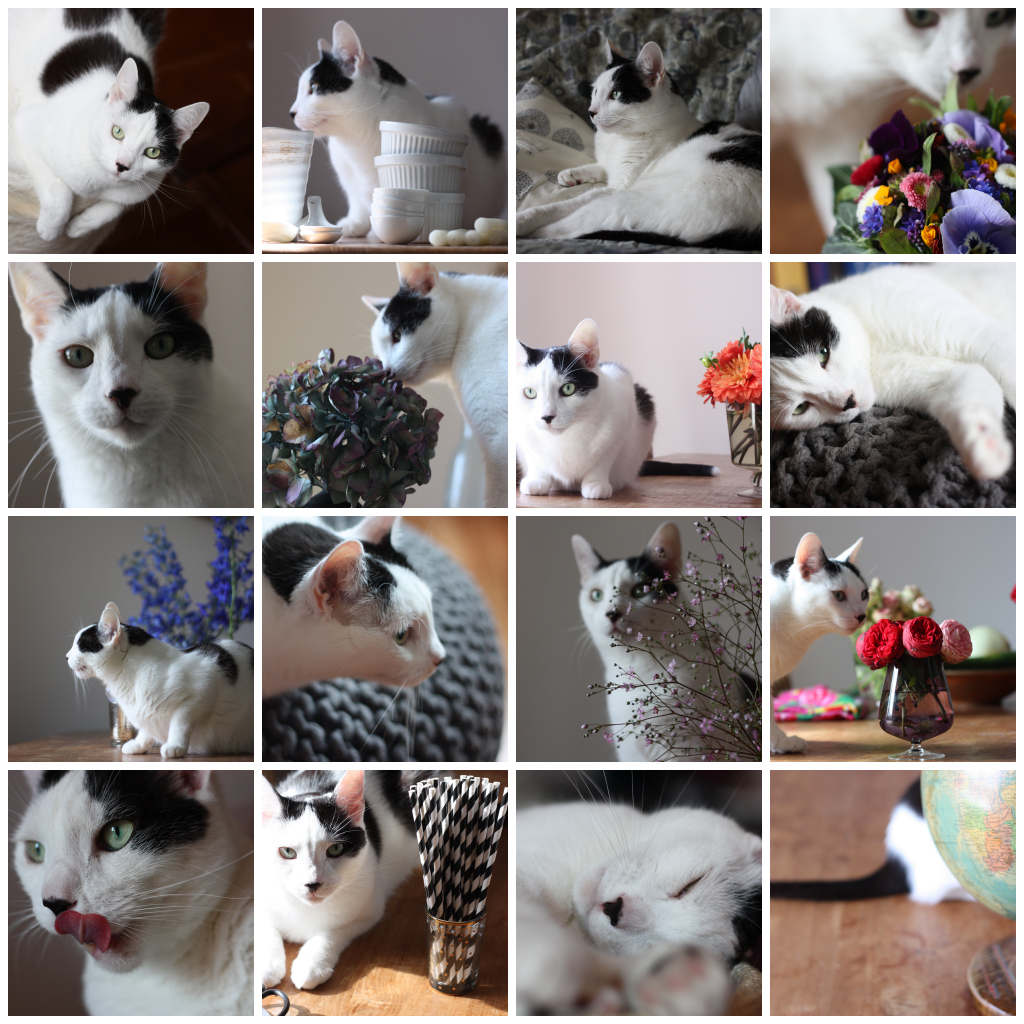
12- My year with Cheddy
My cat Cheddar loves being the centre of attention, and while searching for photos, I found a least one picture of him in each album. So here comes a little collage - *cat content*
So I am ready! 2013 can come. I hope you enjoyed my little review.
If you want to read what other bloggers think about 2012, here is a link to Ricarda's blog.
Only 7 days to go before Christmas!
xxx
Elodie
 Hello everyone!
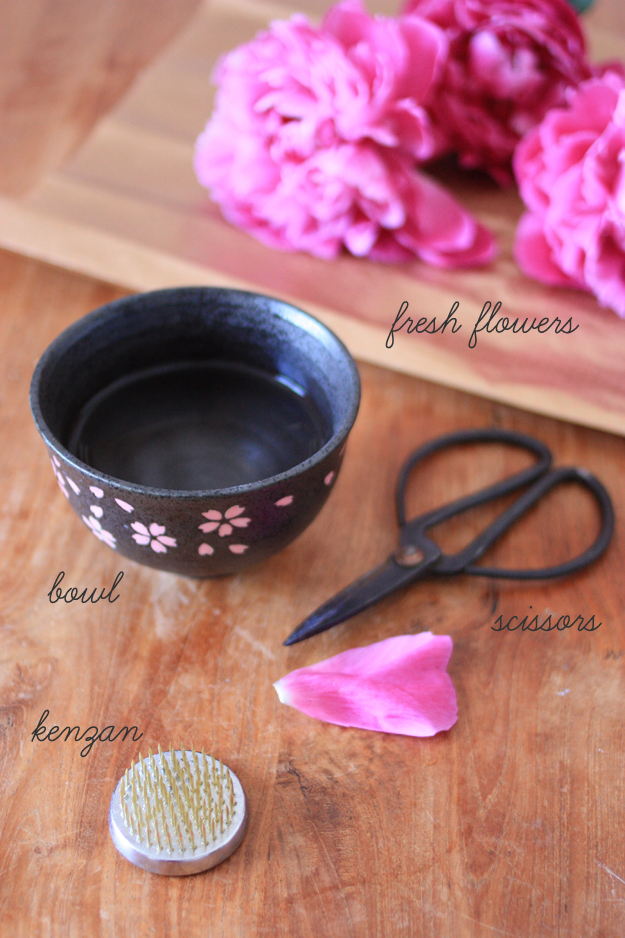
Today I would like to start a new column and show you some simple tricks to make nicer bouquets at home. The first trick I would like to show you today comes from Japan and is primarily used for the traditional Japanese floral arrangements called Ikebana.
A kenzan, also called spiky frog or flower frog is a specific metallic device used for fixing the flowers in the container. It consists of a heavy lead plate with erected brass needles where the stems are fixed. You can find them on amazon for example and they cost between 3 and 30 € depending on their size.
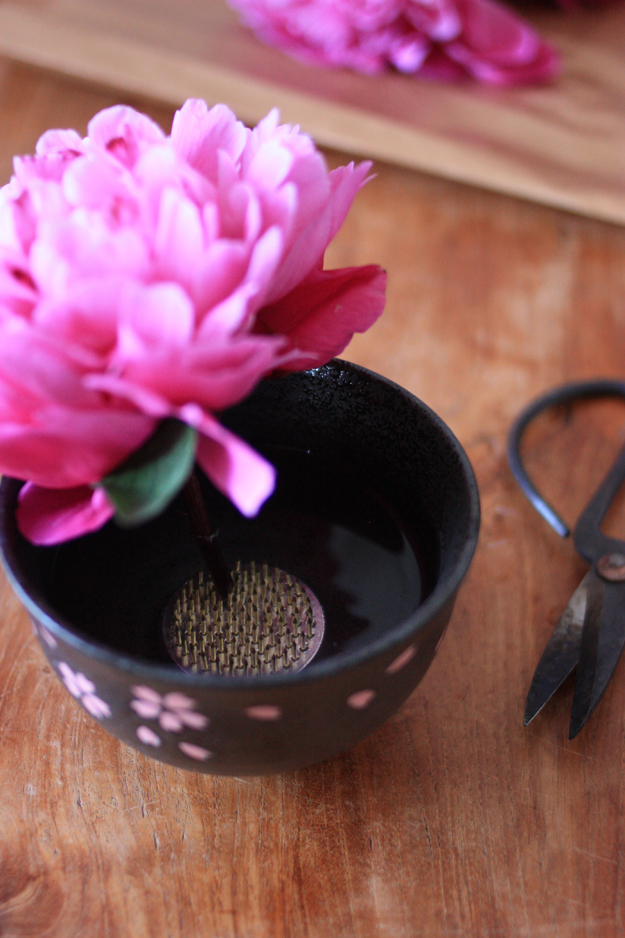
A kenzan is perfect for arranging bouquets in shallow vases such as bowls or small pedestal vases. It helps keeping flowers with very short stems in the water.
It is a very nice to arrange flowers on a table for dinner party for example, so that you can for instance see the person sitting in front of you. It also works very well if you want to create a vignette on a table in living room.
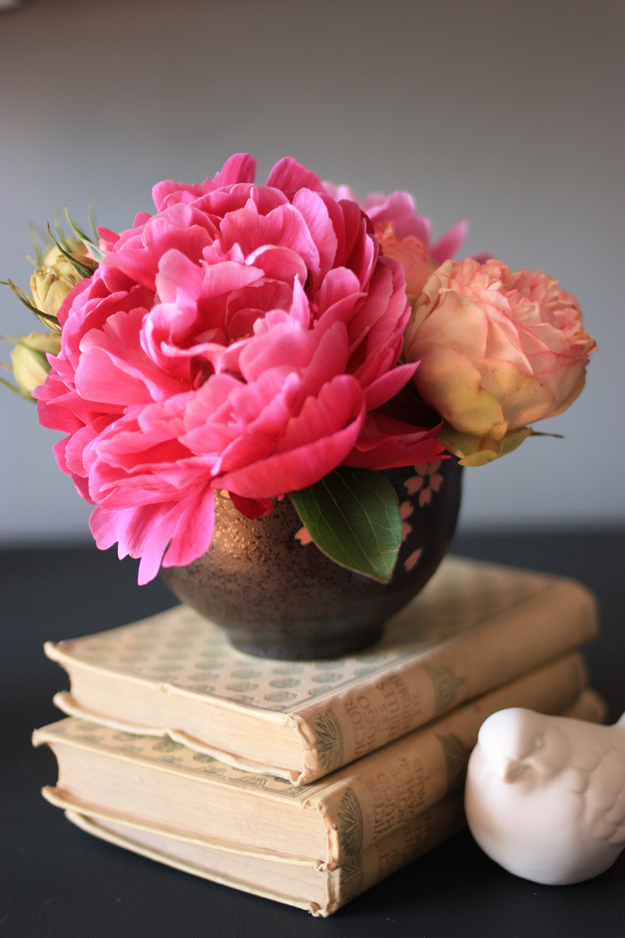
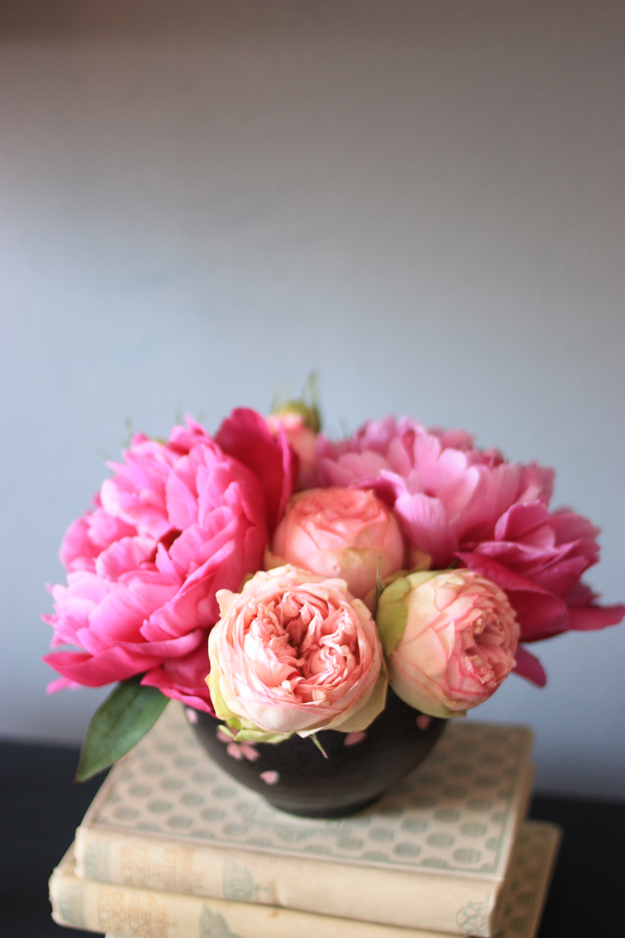
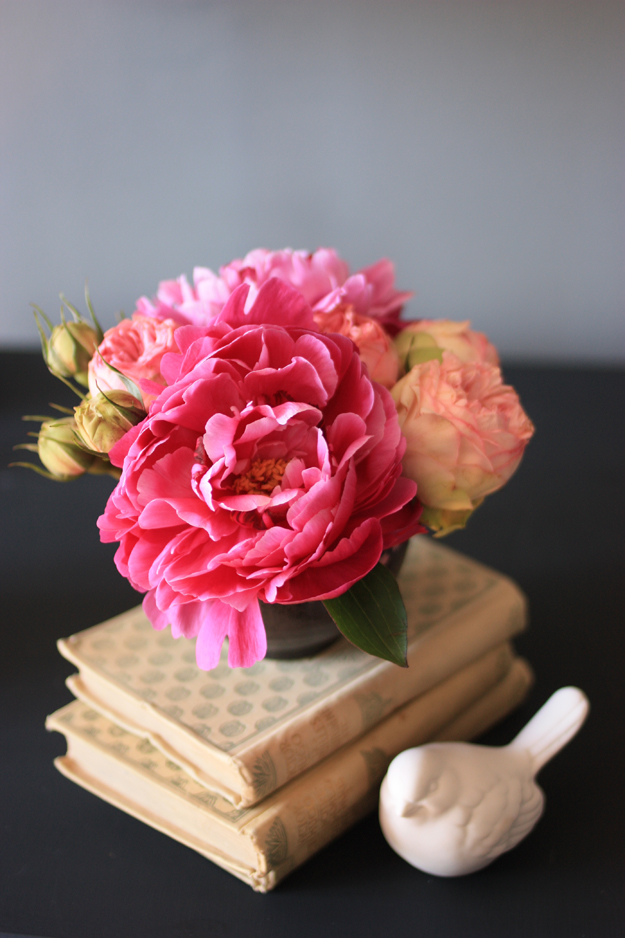
For this bouquet, I decided to mix peonies with garden roses, as I think that they really work well together.
Hello everyone!
Today I would like to start a new column and show you some simple tricks to make nicer bouquets at home. The first trick I would like to show you today comes from Japan and is primarily used for the traditional Japanese floral arrangements called Ikebana.
A kenzan, also called spiky frog or flower frog is a specific metallic device used for fixing the flowers in the container. It consists of a heavy lead plate with erected brass needles where the stems are fixed. You can find them on amazon for example and they cost between 3 and 30 € depending on their size.
A kenzan is perfect for arranging bouquets in shallow vases such as bowls or small pedestal vases. It helps keeping flowers with very short stems in the water.
It is a very nice to arrange flowers on a table for dinner party for example, so that you can for instance see the person sitting in front of you. It also works very well if you want to create a vignette on a table in living room.
For this bouquet, I decided to mix peonies with garden roses, as I think that they really work well together.


