Some dahlias for baby love

Hello everyone,

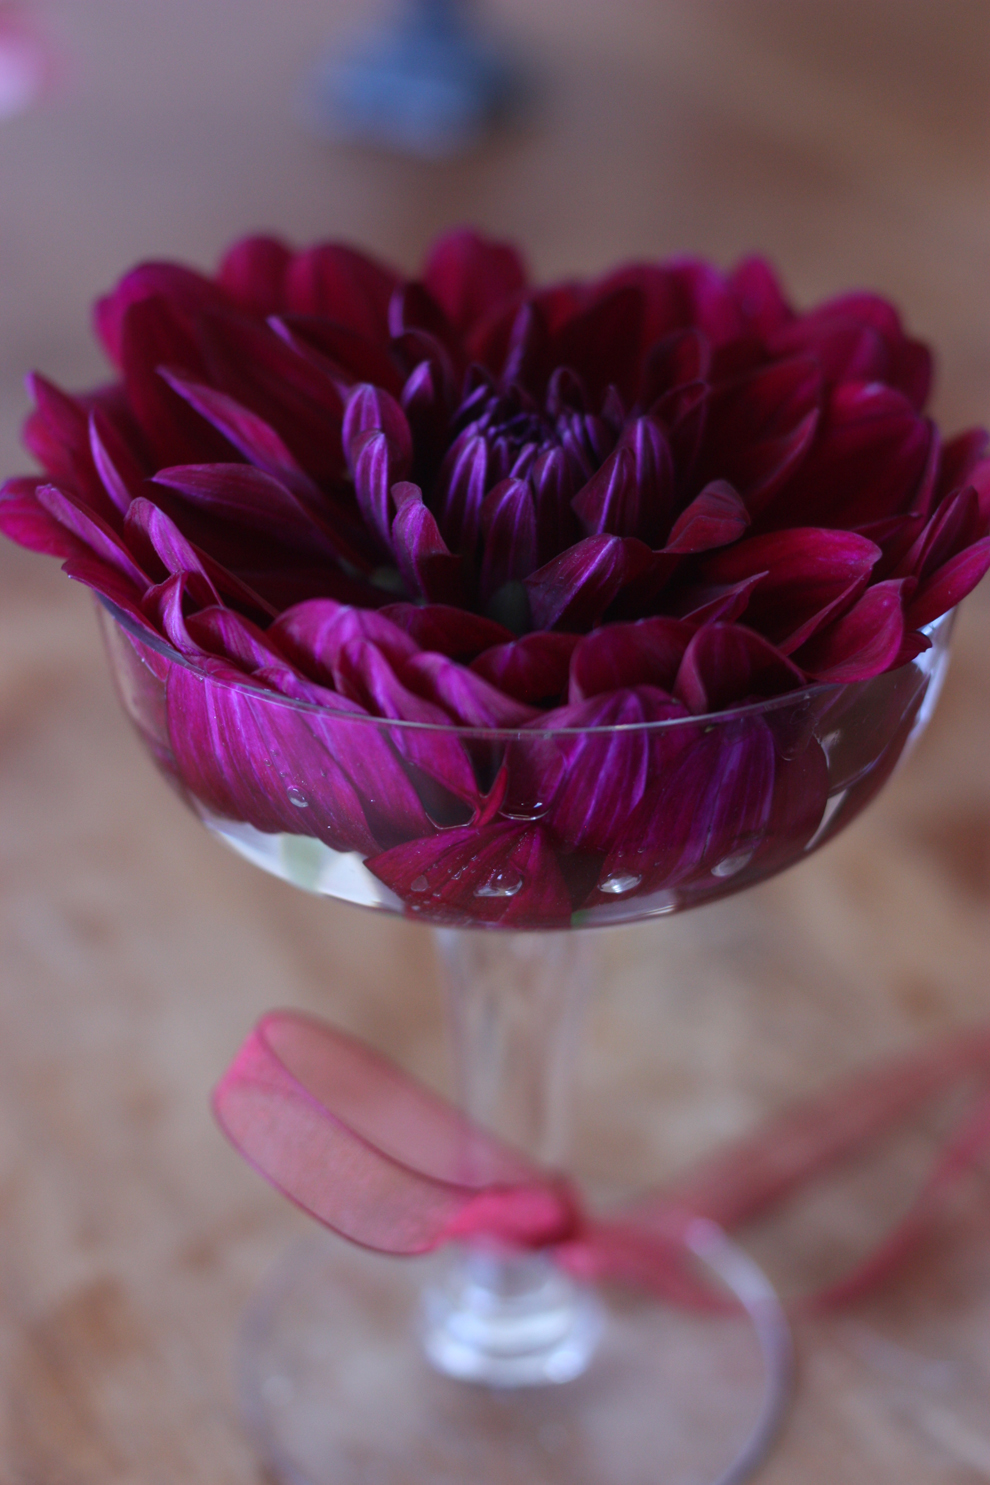
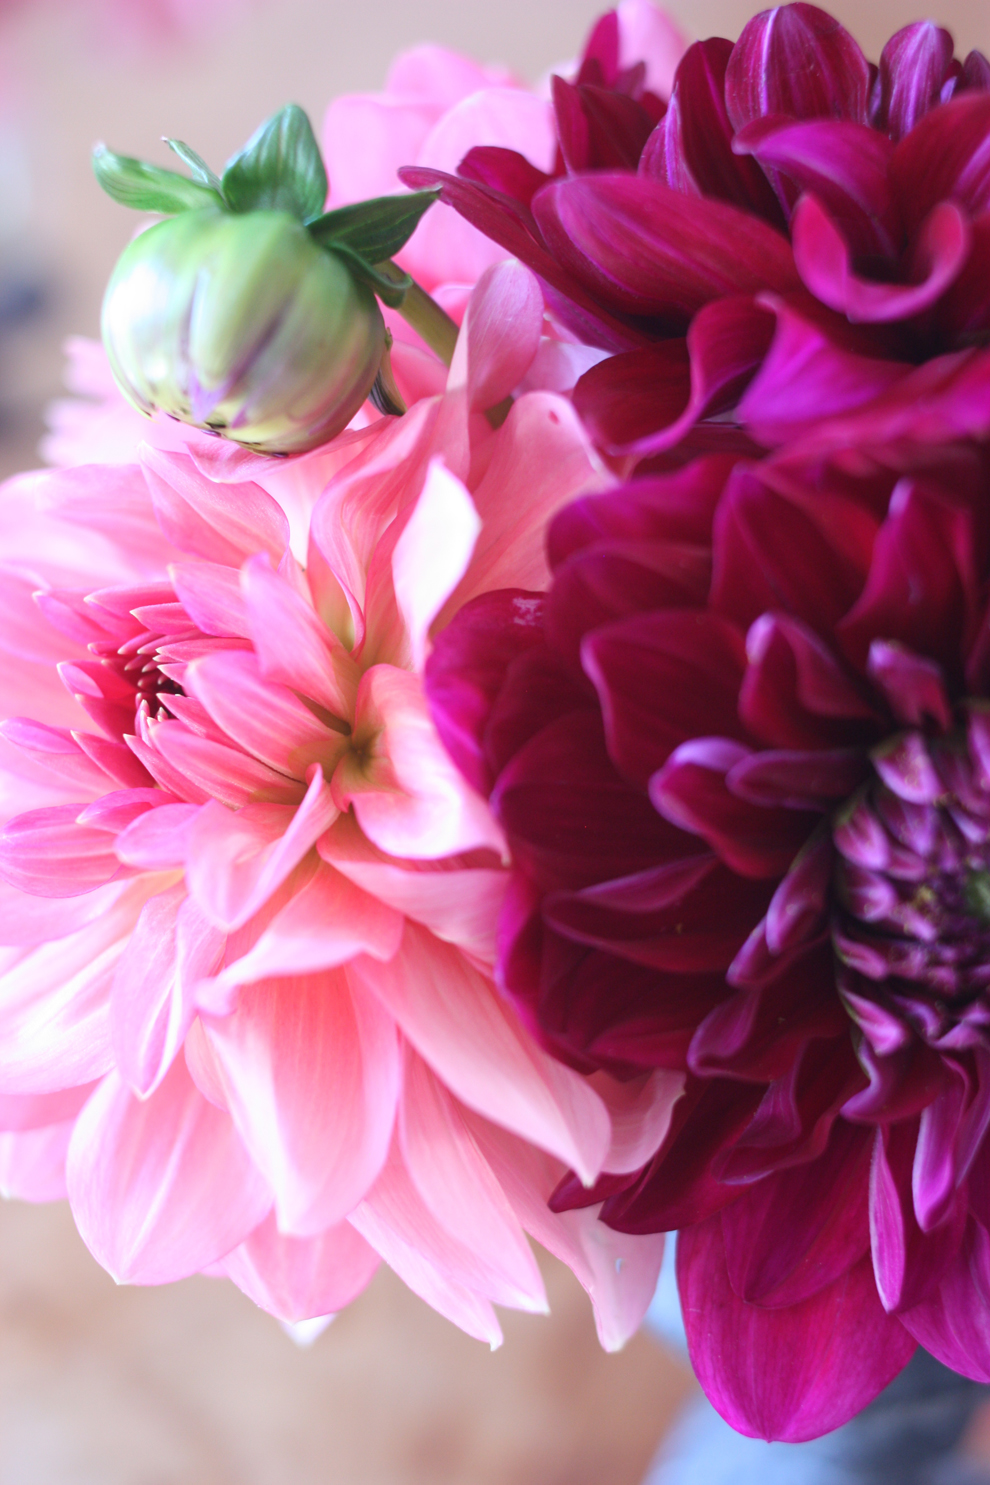
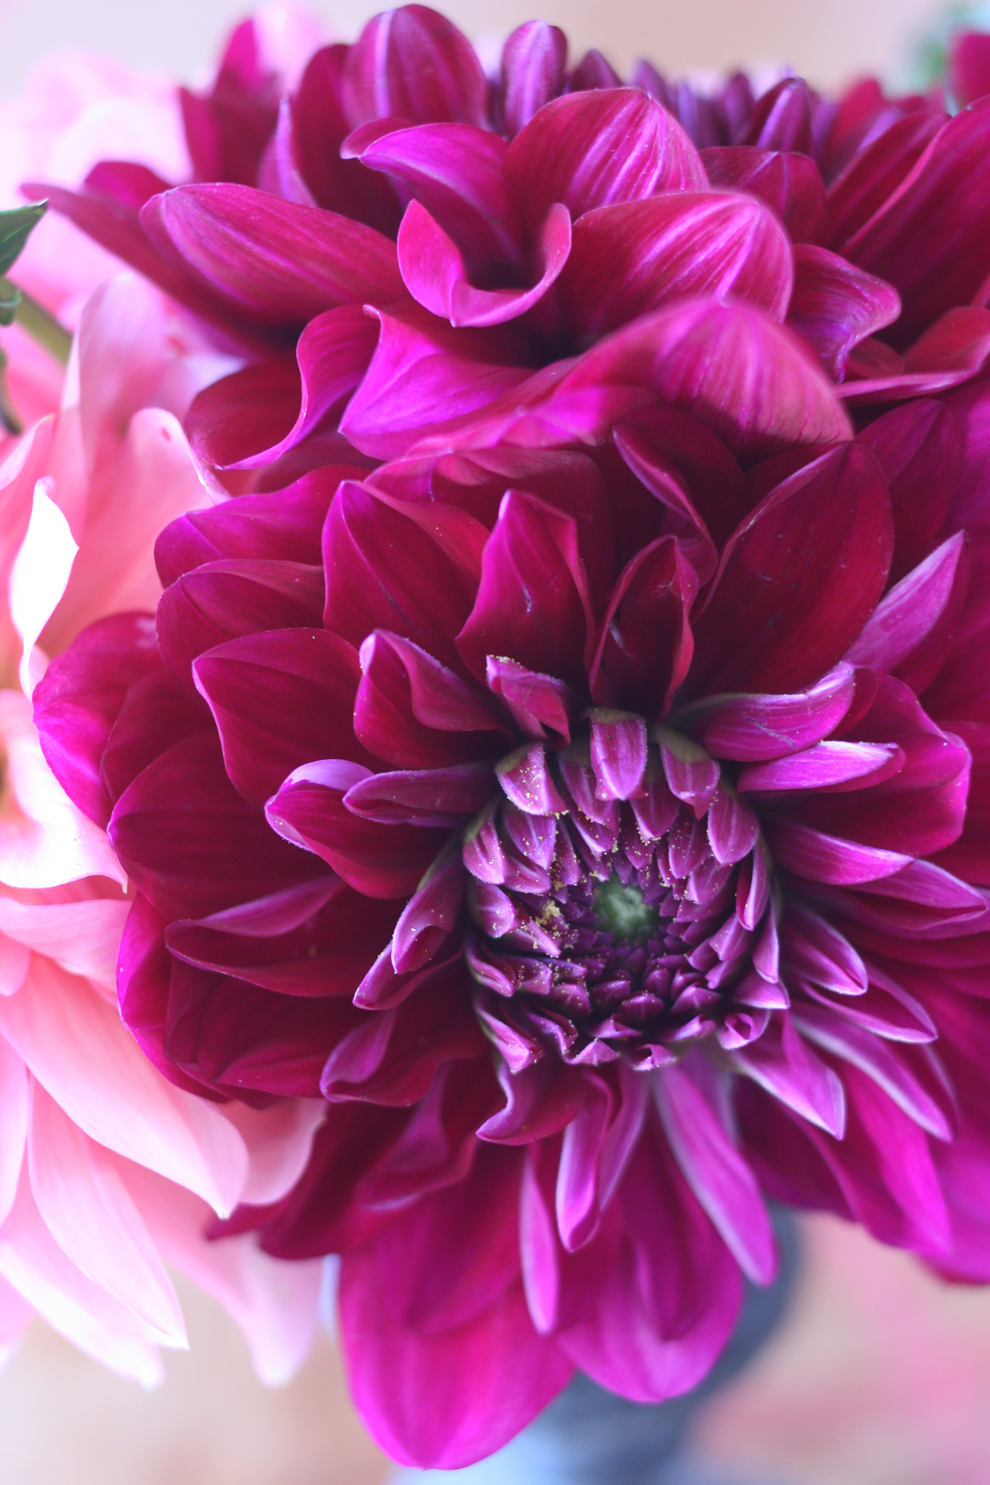
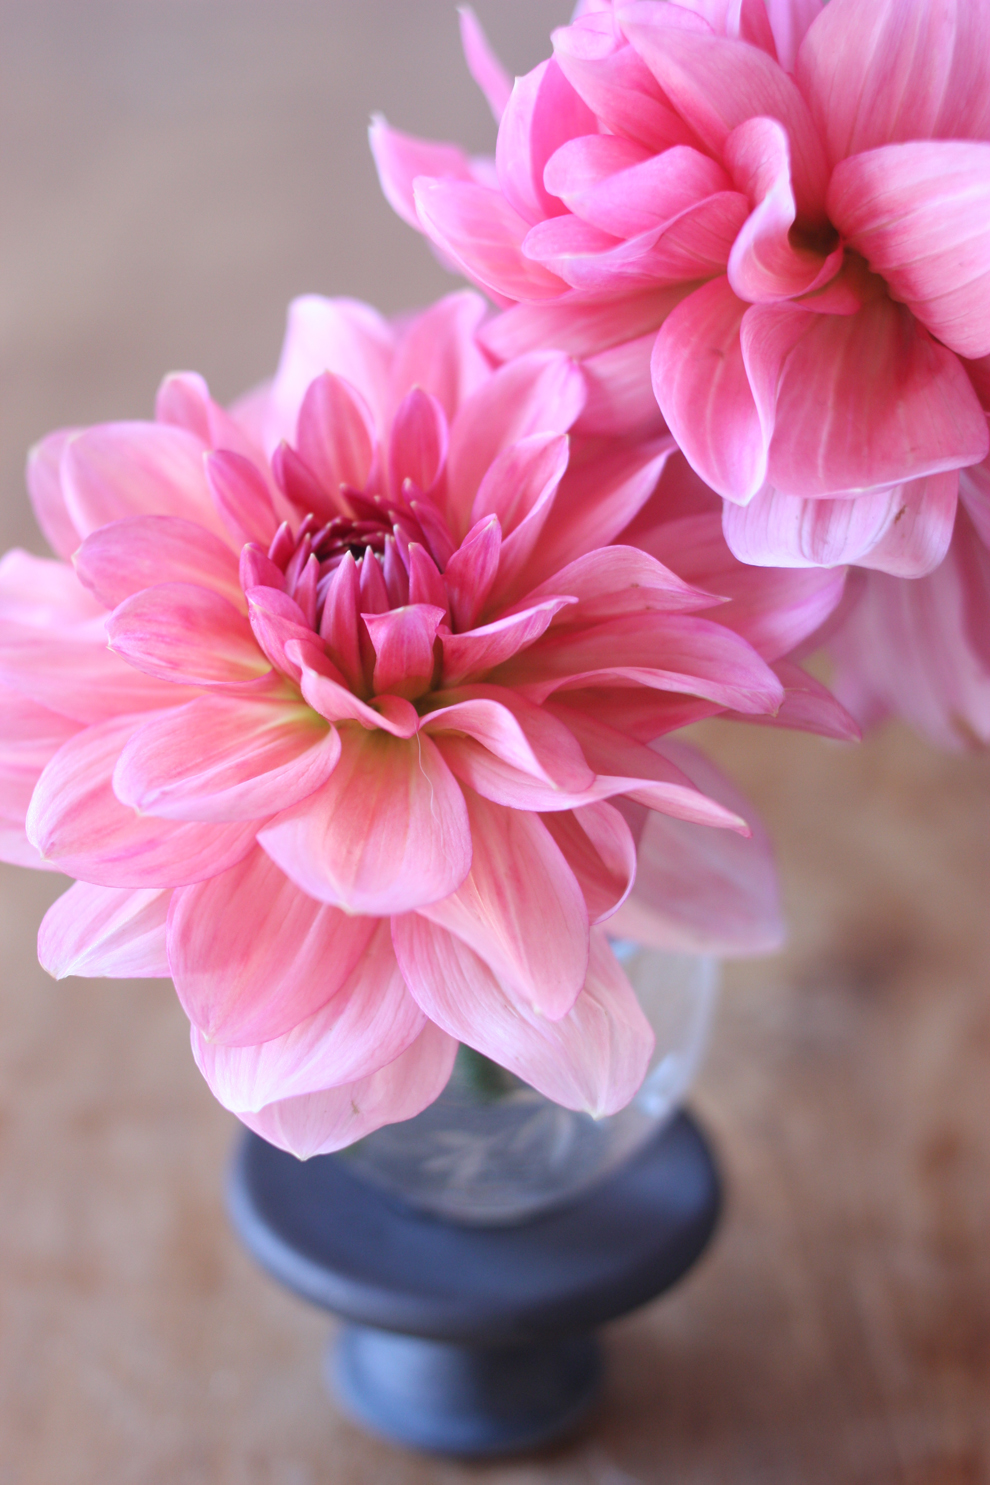
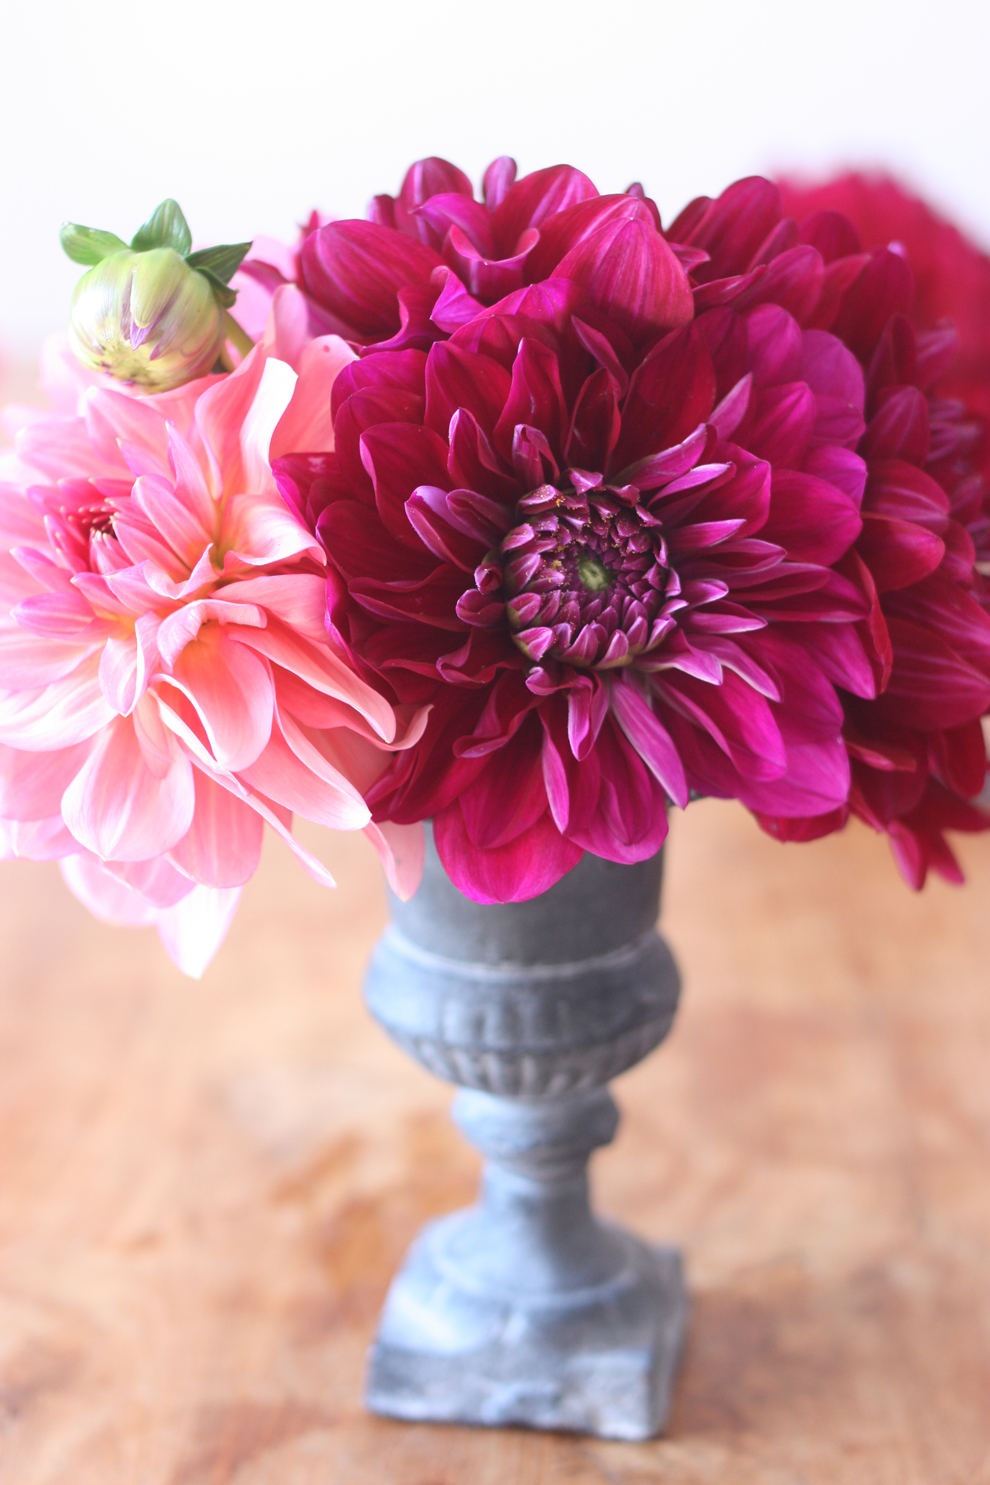
When I saw these gorgeous dahlias at the market yesterday, I couldn't resist! I decided to be crazy and spend € 2.50 even if I could go to the hospital any moment now, as I am already 8 days overdue. I think the shades of pink, red and purple are just beautiful. They make me look forward to the autumn and its fantastic range of warm colours. I also wanted to use my new mini-medicis vase I found last week. So here are a couple of photos for you and for my baby love. Maybe she will want to come out if she already feels the beauty of flowers. Have a nice day and talk to you soon! Elodie

Dahlia_for_baby_love_13

Dahlia_for_baby_love_4

Dahlia_for_baby_love_5

Dahlia_for_baby_love_11

Dahlia_for_baby_love_12

Dahlia_for_baby_love_14

Dahlia_for_baby_love_15

Dahlia_for_baby_love_Medicis_3

Dahlia_for_baby_love_16

pennant banner tutorial + free pattern

Hello everyone, As promised when I showed you the pictures of the nursery, here is a little tutorial for the big and the mini pennant banner I made for baby love.

pennant banner

So here you go! It is a very simple project that will not take you more than an evening or a week-end to complete and that is suitable for beginners. I also made a mini-version of the pennant banner. You just have to use the smaller triangle and a smaller portion of bias tape. I made some pictures to illustrate the steps of the tutorial and a pattern to download:

FREE DOWNLOAD

Items needed for a two-metre pennant banner:

You will need:

  • the pattern (see above)
  • 32 fabric triangles (for 16 triangles). It is good to use leftover fabric pieces from other projects. You don't need 16 different fabrics - just be careful not to put the same pattern next to each other when you assemble the garland
  • 2.5 metre bias tape.
  • assorted thread (same colour as the bias tape)
  • a cutting mat and a rotary cutter (or some fabric scissors)
  • masking tape
  • a sewing machine
  • pins
  • iron and ironing board
  • 2 curtain rings to attach the banner to the wall.

pennant_Banner_1

Step 1: download the pattern, print it and cut it out. Place the pattern on your fabric on the cutting mat and fix it with masking tape. Step 2: cut your fabric. Always cut at least two of each pattern for both sides of your triangles. Step 3 - 4 : place your triangles' right sides against each other and sew them along the two longer edges.

pennant_Banner_2

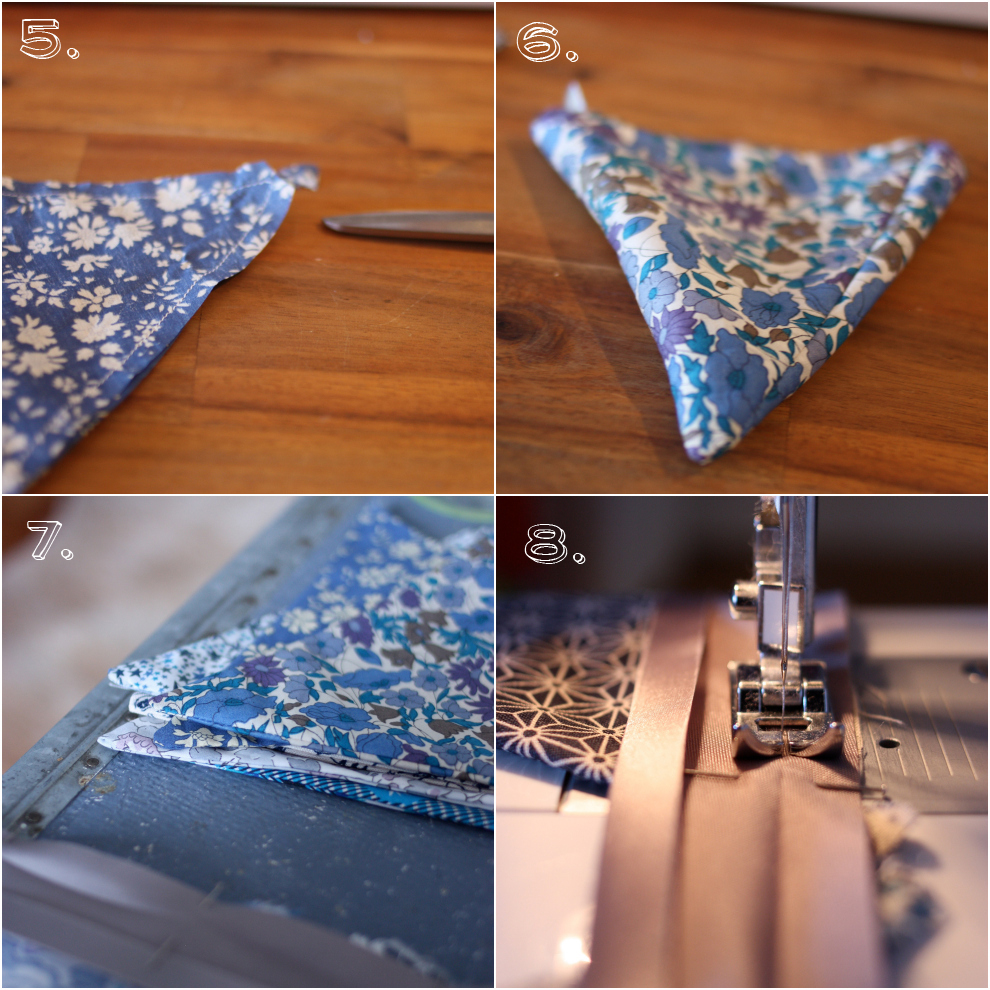
Step 5: cut the point of each triangle with a pair of fabric scissors. Step 6: return your fabric on the right side. Step 7: iron your triangles flat. Step 8: iron one side of your bias tape flat and pin your triangles (2 to 3 pins per triangle) next to each other. Be careful when you assemble the banner not to put the same pattern next to each other and to have a harmonious succession of fabric. Sew on the fold of your bias tape. Leave at least 8 cm of tape on each side, so as to be able to attach your banner to the wall. Take away your pins.

pennant_Banner_3

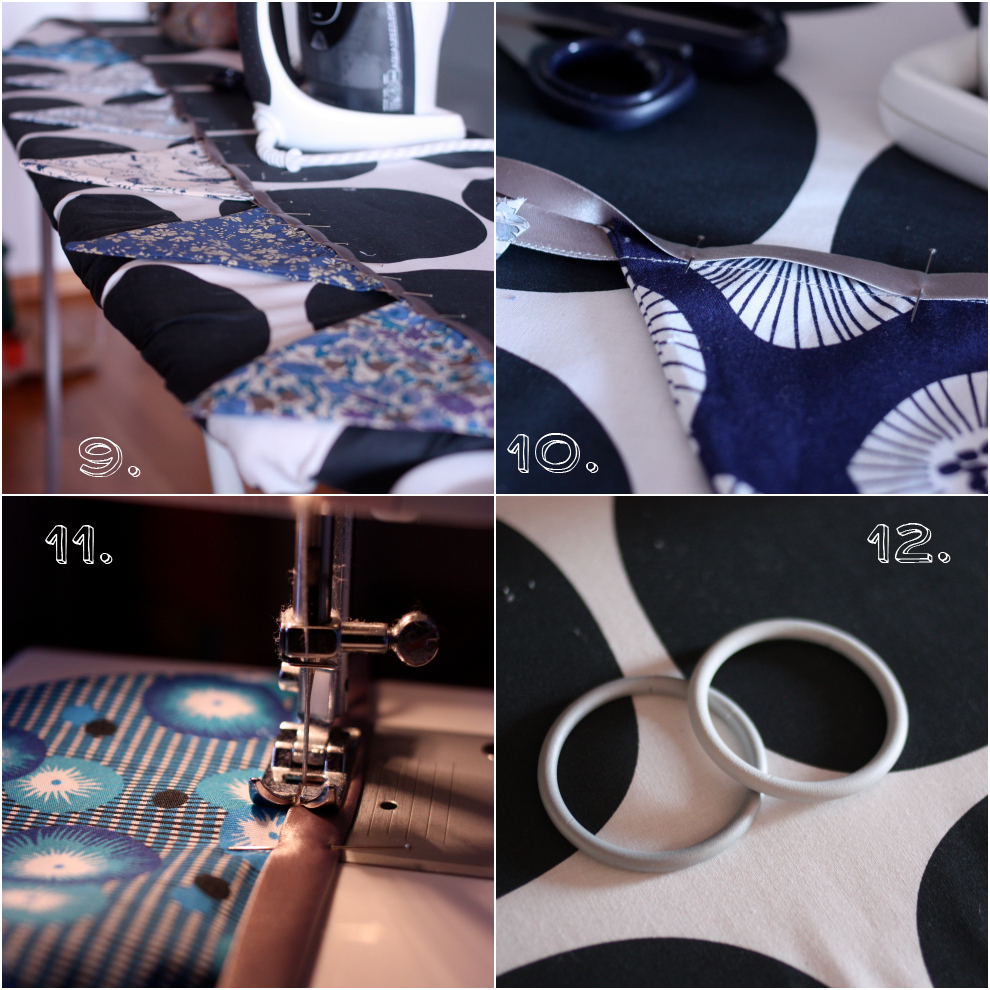
Step 9 - 10: with the help of your iron, fold your bias tape and pin it in place. Step 11: sew your bias tape as close to the edge as possible -  backstitch at the end. Step 12: attach the rings at each sides of the banner, and fix it to wall with simple nails.

Voila!

Take care and talk to you soon! (I really hope this time after the birth...)

Elodie

Theresa's flower diary #1

Good morning everyone, Today I have a special guest on the blog: let me introduce Theresa. Theresa is a blogger and one of my readers, and she sent me the sweetest email a couple of weeks ago with a picture of flowers from her garden and a link to her lovely blog. I asked her if she wanted to regularly guest blog about flowers and cooking with flowers on madame love, and I am so glad she accepted. She will be guest blogging on the 1st of each month with treasures from her garden in Luxembourg. The post is going to be in German and English. I will be back on the blog, I hope next time with some good news about baby love's birth. I will take a little blogging break in September, but my lovely blogger friends from all over the world have prepared some beautiful blogposts for you. Inga and I will also be back in October with a new edition of #2flowergirls and a great flower for you to style!

Talk to you soon, xxx Elodie
Theresa_6

Eine Homage an den Küchengarten!

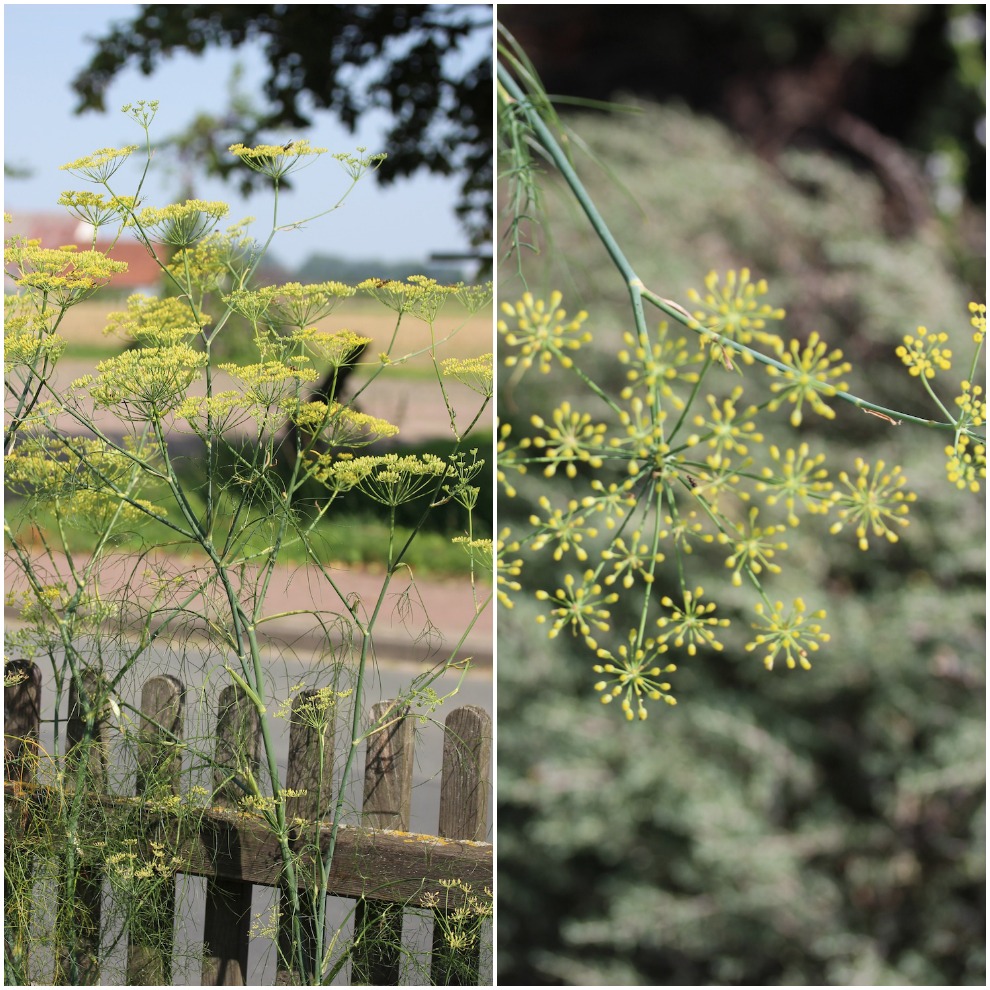
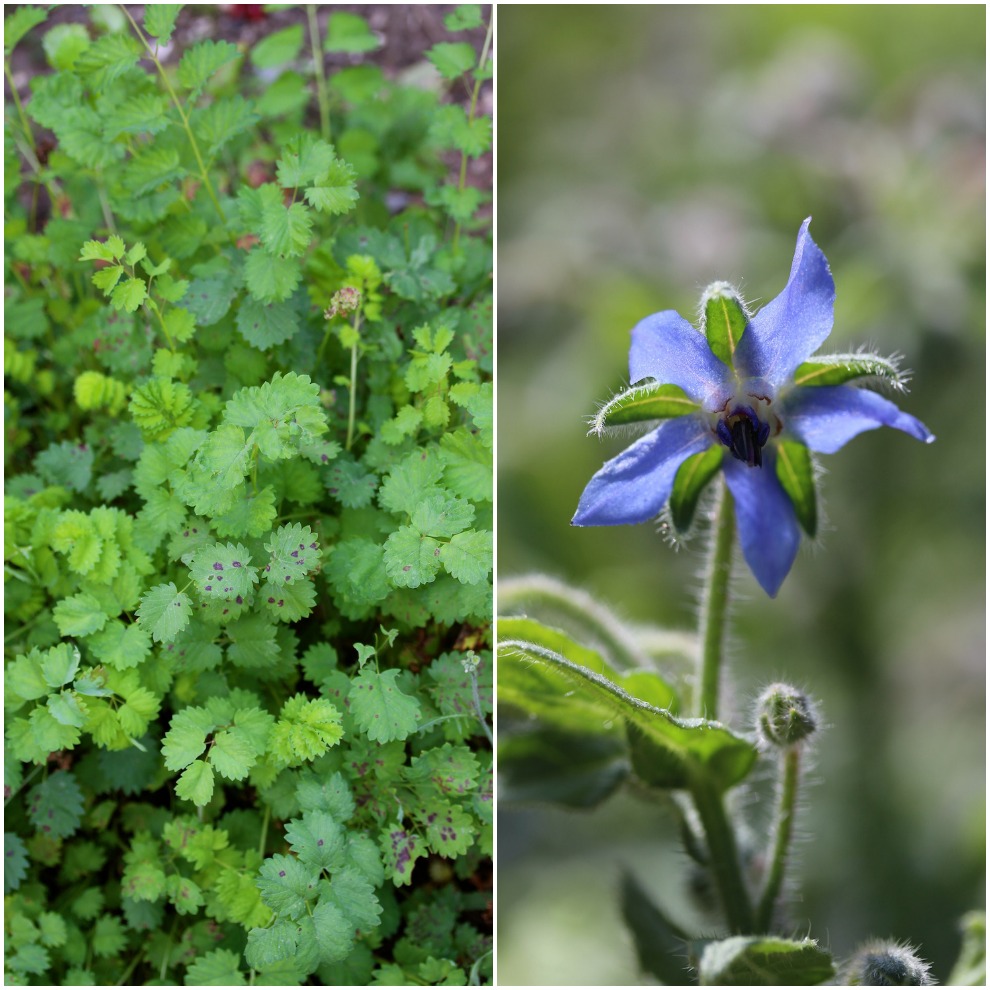
Nichts geht über ein frisch gebackenes Brot mit Schnittlauch oder wilder Rucola aus dem Garten, dekorativ verziert mit essbaren Blüten! Ich liebe es, wenn ich ab dem Frühjahr frische Kräuter in die Küche holen kann. Und da ich oft und großzügig ernte, habe ich von den meisten Sorten gleich mehrere Exemplare im Beet. Von vielen Kräutern lassen sich nicht nur die Blätter, sondern auch die Blüten verwenden. Für eine orange-rote Farbpalette auf dem Sommersalat sorgt z.B. die Kapuzinerkresse. Die Blütenblätter des Borretschs hingegen leuchten in zarten Pastellfarben von hellblau bis dunkel-violett. Der meterhohe Fenchel ist besonders prachtvoll und um einiges robuster als der feine Dill.

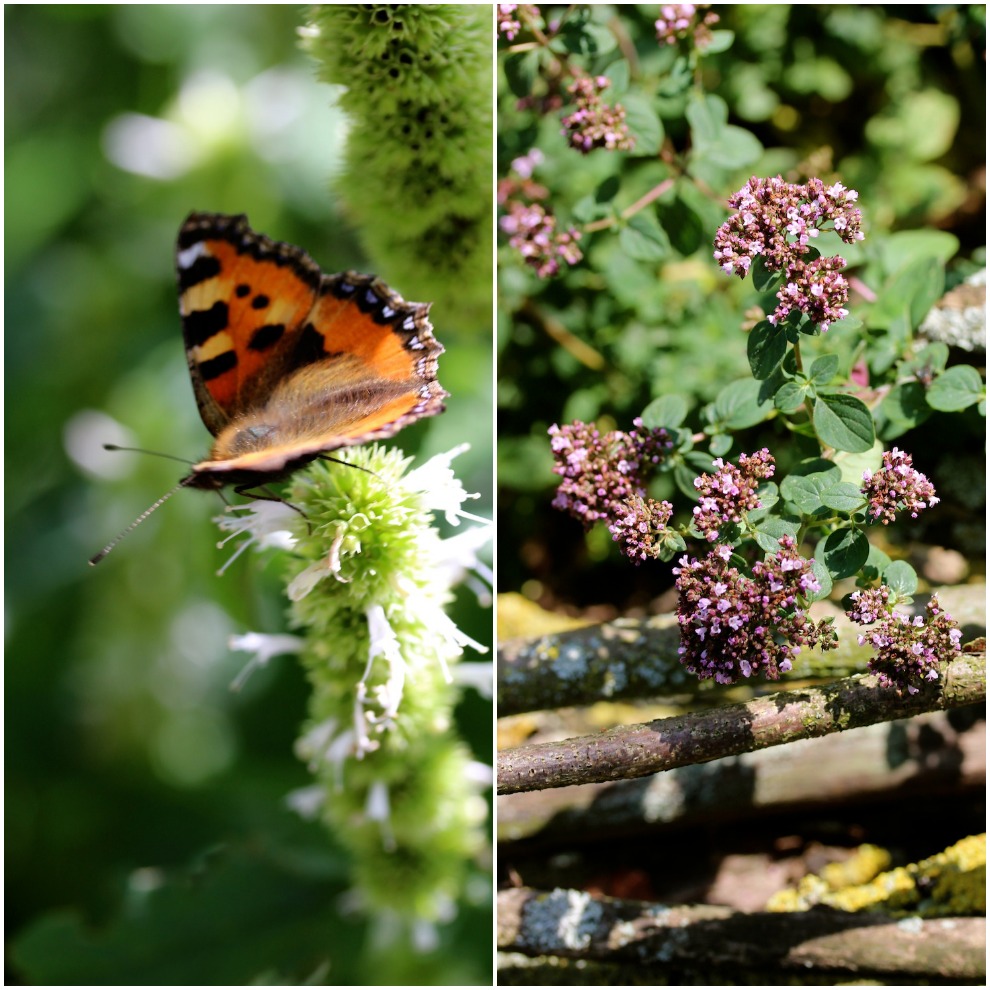
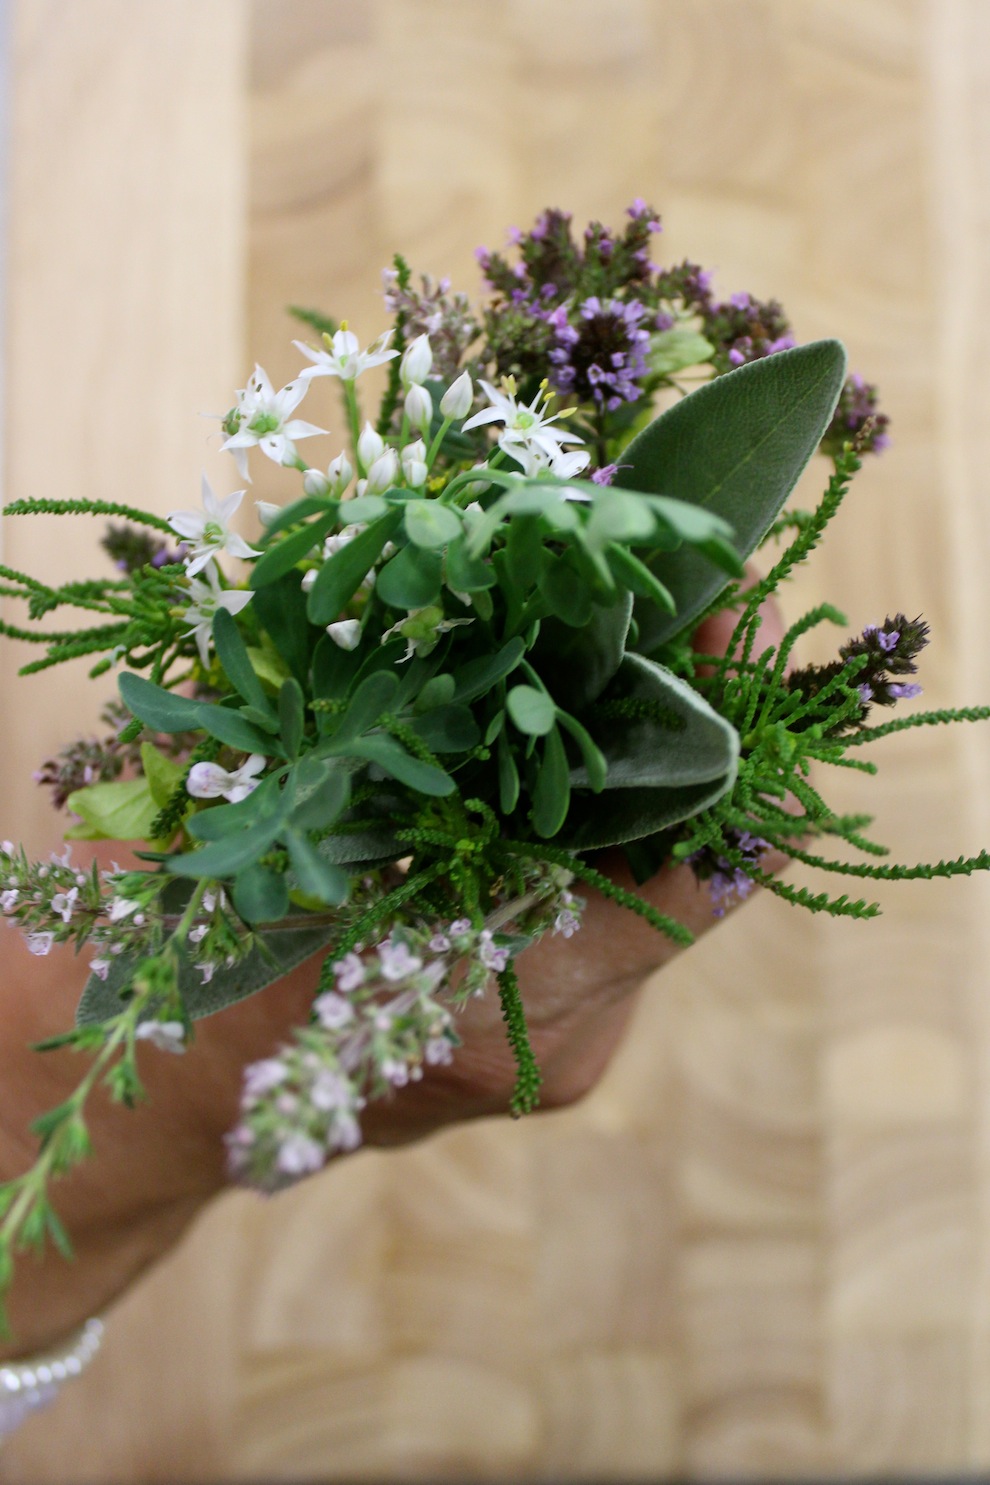
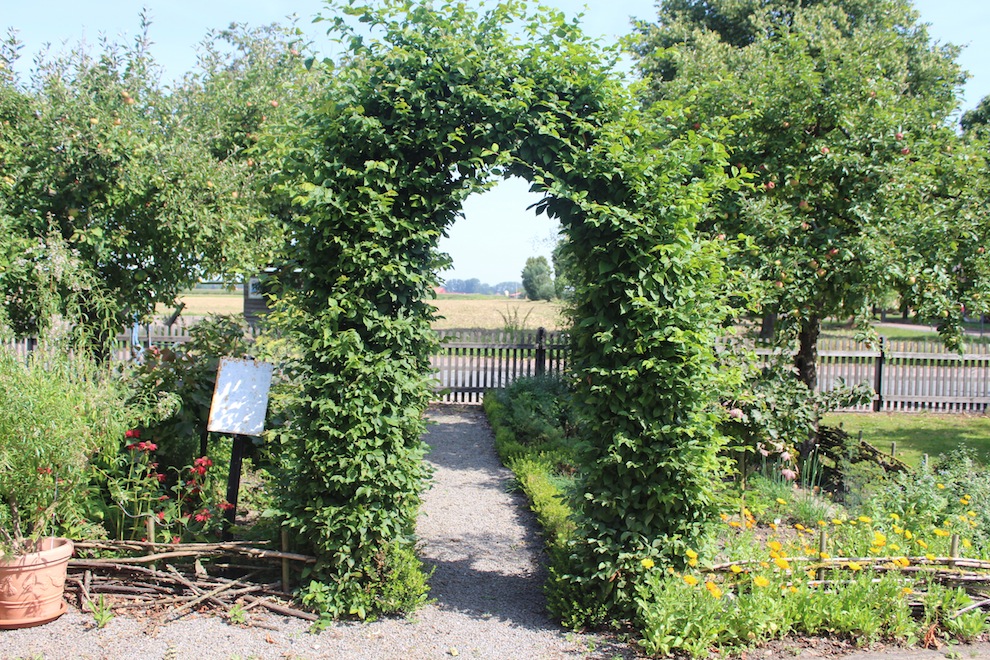
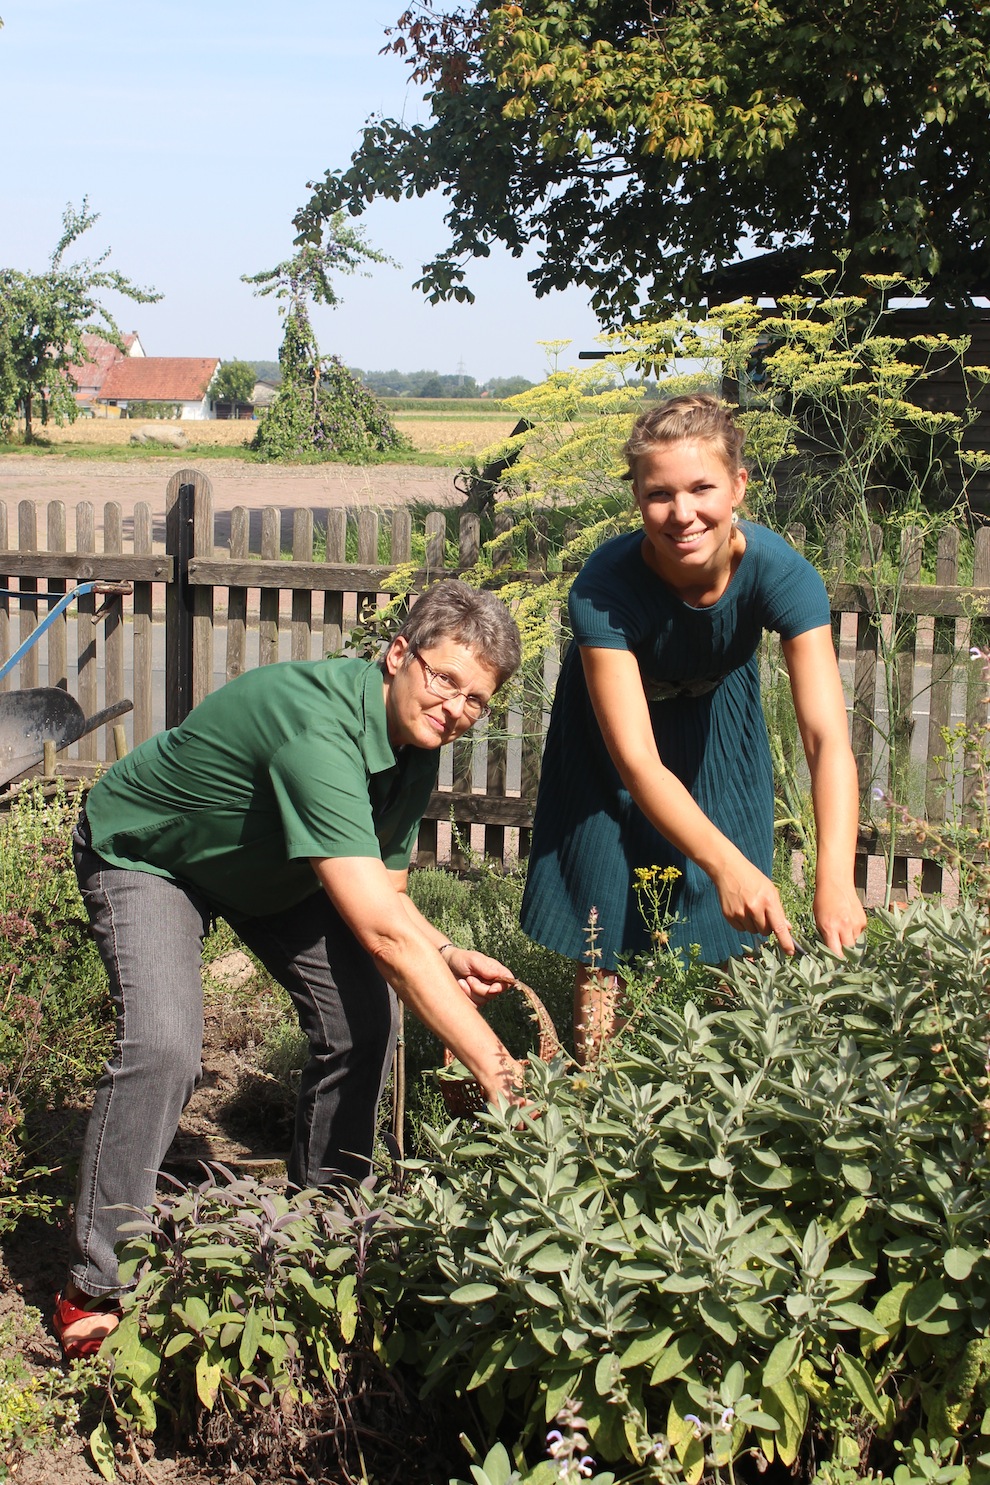
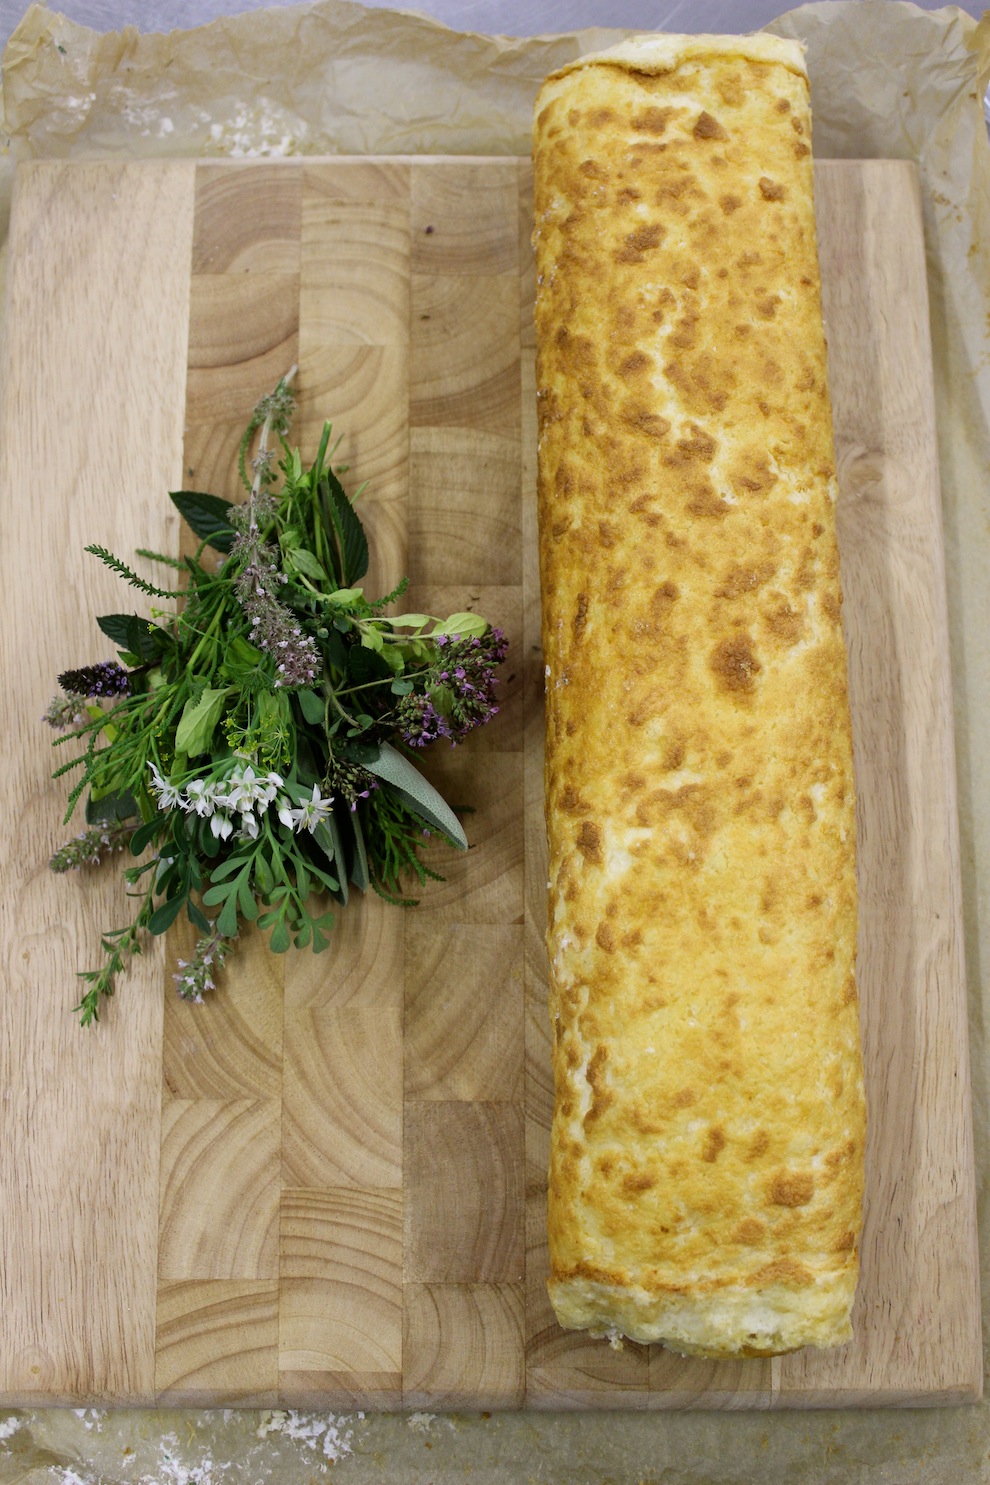
Ich bin immer auf der Suche nach neuen Inspirationen für meinen Kräutergarten! Fündig geworden bin ich im Bauerngarten von Hannelore Eggelmann aus Niedersachsen. In ihren liebevoll angelegten Beeten wachsen verschiedene Sorten Thymian, Petersilie, Pimpinelle, Raute, Salbei, Schafsgarbe, Lauchzwiebeln und was auf keinen Fall fehlen darf: Französischer Estragon. Diese Varietät ist geschmacklich viel zarter und feiner, als die weit verbreitete russische Sorte. Angesichts dieser Kräutervielfalt im Beet gerate ich ins Schwärmen. Wir ernten von jedem etwas und machen uns gleich darauf an den Herd! Die Kräuterrolle von Hannelore Eggelmann ist ein wunderbares Rezept für das späte Frühstück oder als Appetizer zu einem erfrischenden Sommerdrink!

An homage to the herb garden!

There is nothing better than freshly-baked bread with chives or wild rocket from the garden, with edible flowers for decoration! I love being able to bring fresh herbs into the kitchen from springtime onwards. And as I "harvest" frequently and in large quantities I have numerous examples of most types of herb growing in the garden. With many herbs you can use not only the leaves, but also the flowers. For an orange-red colour palette on a summer salad you can use nasturtium for example. Borage petals on the other hand light up in soft pastel colours from light-blue to deep purple. Metre-high fennel looks particularly splendid and is quite a bit more robust than fragile dill.

I'm constantly on the lookout for new inspiration for my herb garden and made a discovery in the form of Hannelore Eggelmann's farm garden in Lower Saxony. Various types of thyme, parsley, burnet, rue, sage, yarrow, spring onions and what absolutely has to be there: French tarragon are present in her carefully arranged beds. This variety has a softer, more refined taste than the more common Russian type. When I see this amount of variety in the herb beds I get really excited! We took back a little bit of everything into the kitchen. Hannelore's herb roll is a great recipe for a late breakfast or as an appetizer with a refreshing summer drink!
Theresas_flower_diary_1

Theresas_flower_diary_2

Theresa_3

Theresa_4

Theresa_5

Kräuterrolle mit Blüten aus dem Küchengarten

Zutaten: Für den Teig:

  • 300 ml Milch
  • 4 Eier
  • 2 EL Öl
  • 100 g Mehl
  • etwas Salz

Für die Füllung:

  • Ein Bund mit verschiendenen frischen Kräutern aus dem Garten oder vom Markthändler (z.B.: Schnittlauch, Bärlauch, Kresse, Fenchel, glatte Petersilie, Kapuzinerkresse, Lauchzwiebel, Pimpinelle, Dill)
  • 200 g Frischkäse
  • 200 g Schmand
  • 100 g Quark
  • 100 g Kochschinken
  • 1/4 TL Salz
  • 1 gehäufter TL Meerrettich
  • etwas Cayennepfeffer

Zubereitung:

Den Backofen auf 200° C Umluft vorheizen.

Die Milch erwärmen. Die Eier trennen. Das Eigelb in eine Schüssel geben. Das Eiweiß mit dem Salz steif schlagen. Die Milch unter Rühren nach und nach zum Eigelb geben, bis die Masse schaumig geschlagen ist. Das Öl unterschlagen. Schließlich erst das Mehl und dann das Eiweiß mit einem Schneebesen unterheben. Ein Backblech mit Backpapier auslegen, den Teig darauf verteilen und 15 Minuten im Ofen goldbraun backen.

In der Zwischenzeit die Kräuter waschen und fein hacken. Den Kochschinken in feine Würfel schneiden. Die Kräuter und den Schinken mit den restlichen Zutaten verrühren.

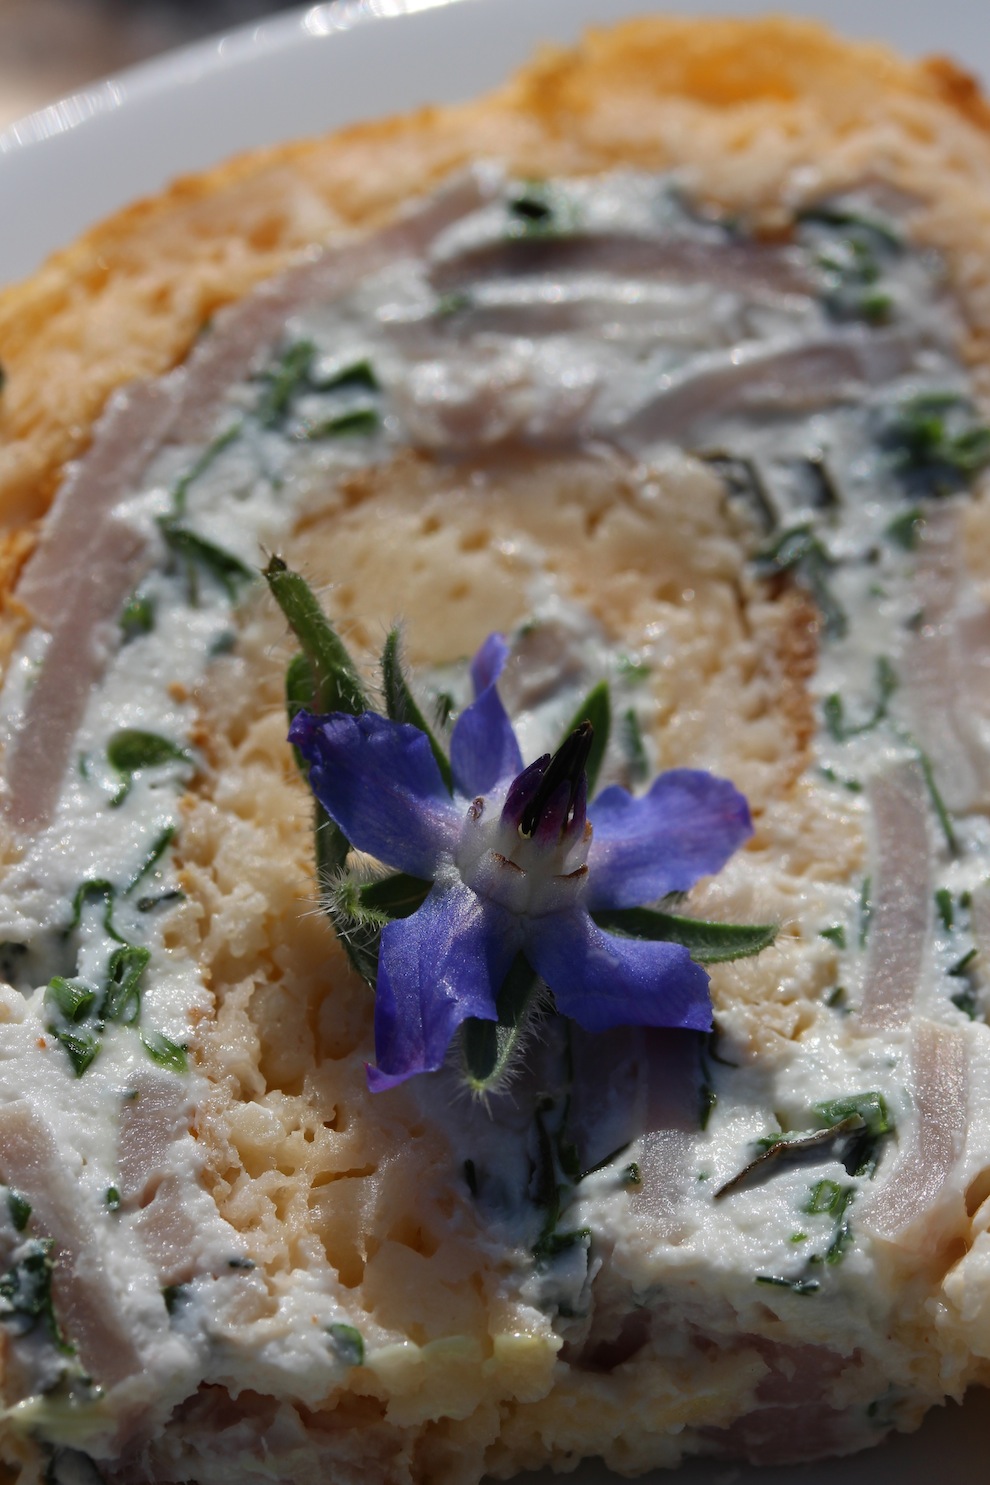
Den Pfannkuchen vom Blech auf ein sauberes Handtuch stürzen, das Backpapier abziehen und den Pfannkuchen lauwarm abkühlen lassen. Die Kräuter-Frischkäse-Creme darauf verstreichen und gleichsam wie eine Biskuitrolle einrollen. Mit Klarsichtfolie einwickeln und für eine Stunde in den Kühlschrank stellen. Zum Servieren die Kräuterrolle in feine Scheiben schneiden und mit Blüten aus dem Garten verzieren.

Ein gute Gelingen und Bon Appetit!


Herb roll with flowers from the kitchen garden

Ingredients:

For the roll:

  • 300 ml milk
  • 4 eggs
  • 2 tablespoons olive oil
  • 100 g flour
  • a pinch of salt

For the filling:

  • A bunch of mixed fresh herbs from the garden or from the market (e.g. chives, wild garlic, cress, fennel, Italian parsley, nasturtium, spring onions, burnet, dill)
  • 200 g cream cheese
  • 200 g sour cream
  • 100 g curd cheese (quark)
  • 100 g cooked ham
  • 1/4 teaspoon salt
  • 1 heaped teaspoon horseradish
  • a pinch of cayenne pepper

Preparation:

Pre-heat the fan-assisted oven to 200° C.

Roll: Warm the milk. Separate the eggs. Put the yolks in a bowl. Beat the egg whites with the salt until stiff and leave to one side. Mix the milk bit by bit with the egg yolks and beat until the combination has a slight foam covering . Mix in the olive oil. Then mix the flour and then the egg whites into the egg yolk mixture with a whisk. Put baking paper on a baking tray and spread the mixture on it and put it in the oven for 15 minutes until golden brown.

Filling: In the meantime wash and finely chop the herbs. Cut the cooked ham into small cubes. Mix the herbs and the ham with the remaining ingredients.

Remove the roll on the baking paper from the baking tray and flip it onto a clean tea towel, then remove the baking paper and leave the roll to cool until it is luke warm. Spread the filling on the roll and then roll it up as for a log roll. Cover in cling film and leave in the fridge for an hour. Cut the herb roll into thin slices and decorate with edible flowers from the garden to serve.

Enjoy it!
 

Theresa_7

Theresa_8

(c) All photography by Theresa Baumgärtner
First Feingemacht - Designer market in Hamburg
Hello everyone, A new designer market took place last Saturday in Hamburg. As I was feeling well and baby love hadn't decided to show up yet, I decided to give it a try. It was situated in a very nice part of the Hamburg Conference Centre with a lot of day light and a direct access to the botanical garden "Planten & Blomen". Here is an overview of my favorite exhibitors:
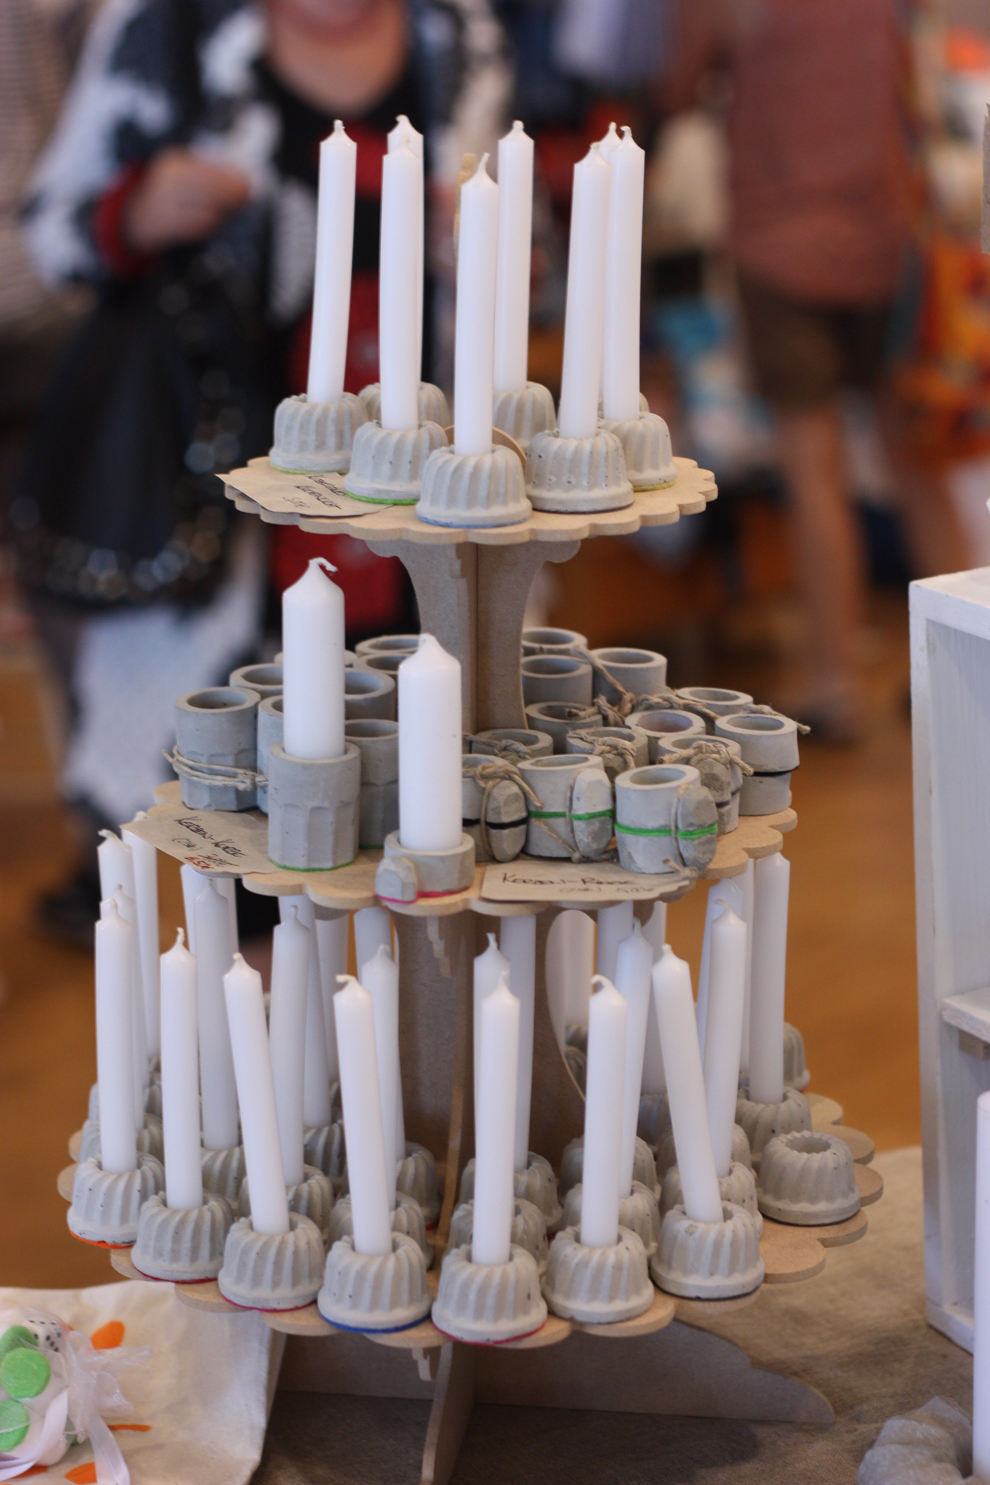
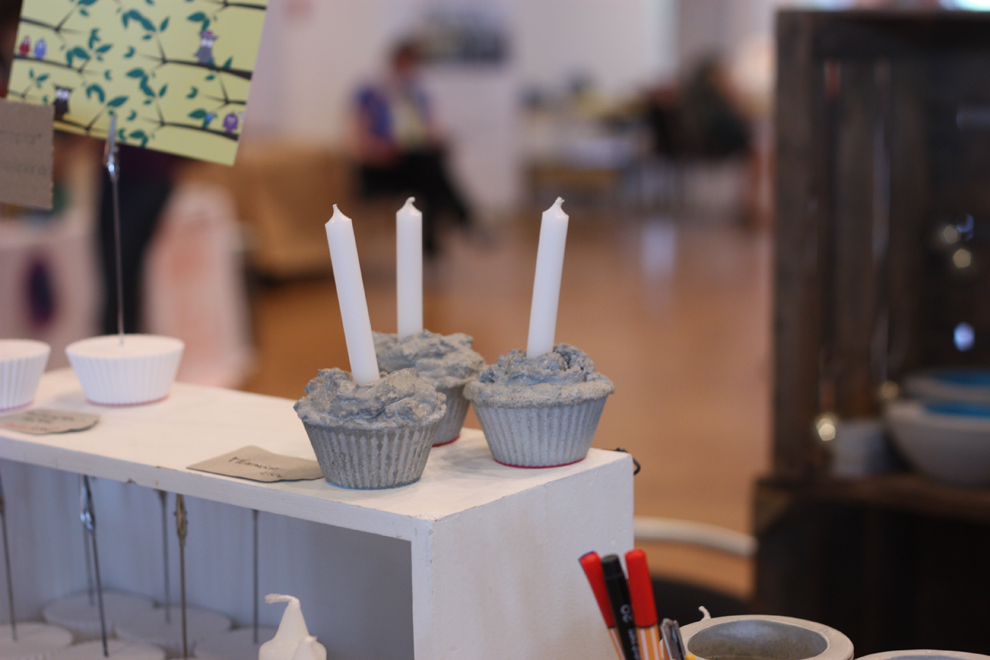
1. Beton Schere Papier:

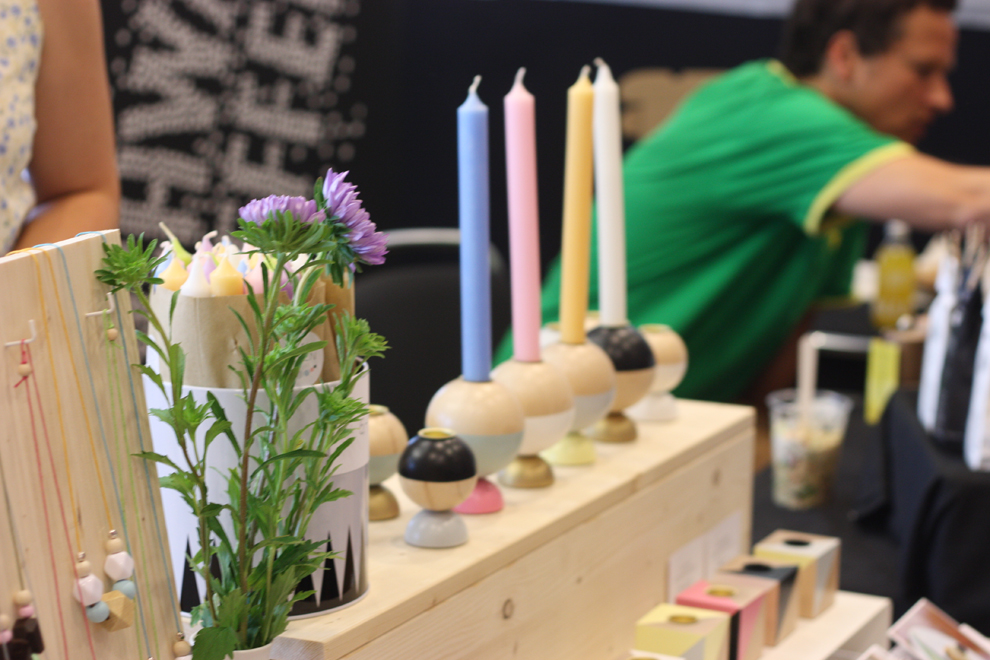
Beton schere papier is a very sweet brand that produces concrete objects. I am in love with their cute candle holders.
Feingemacht_beton_schere_papier_3

Feingemacht_beton_schere_papier_2

2. nikoki:

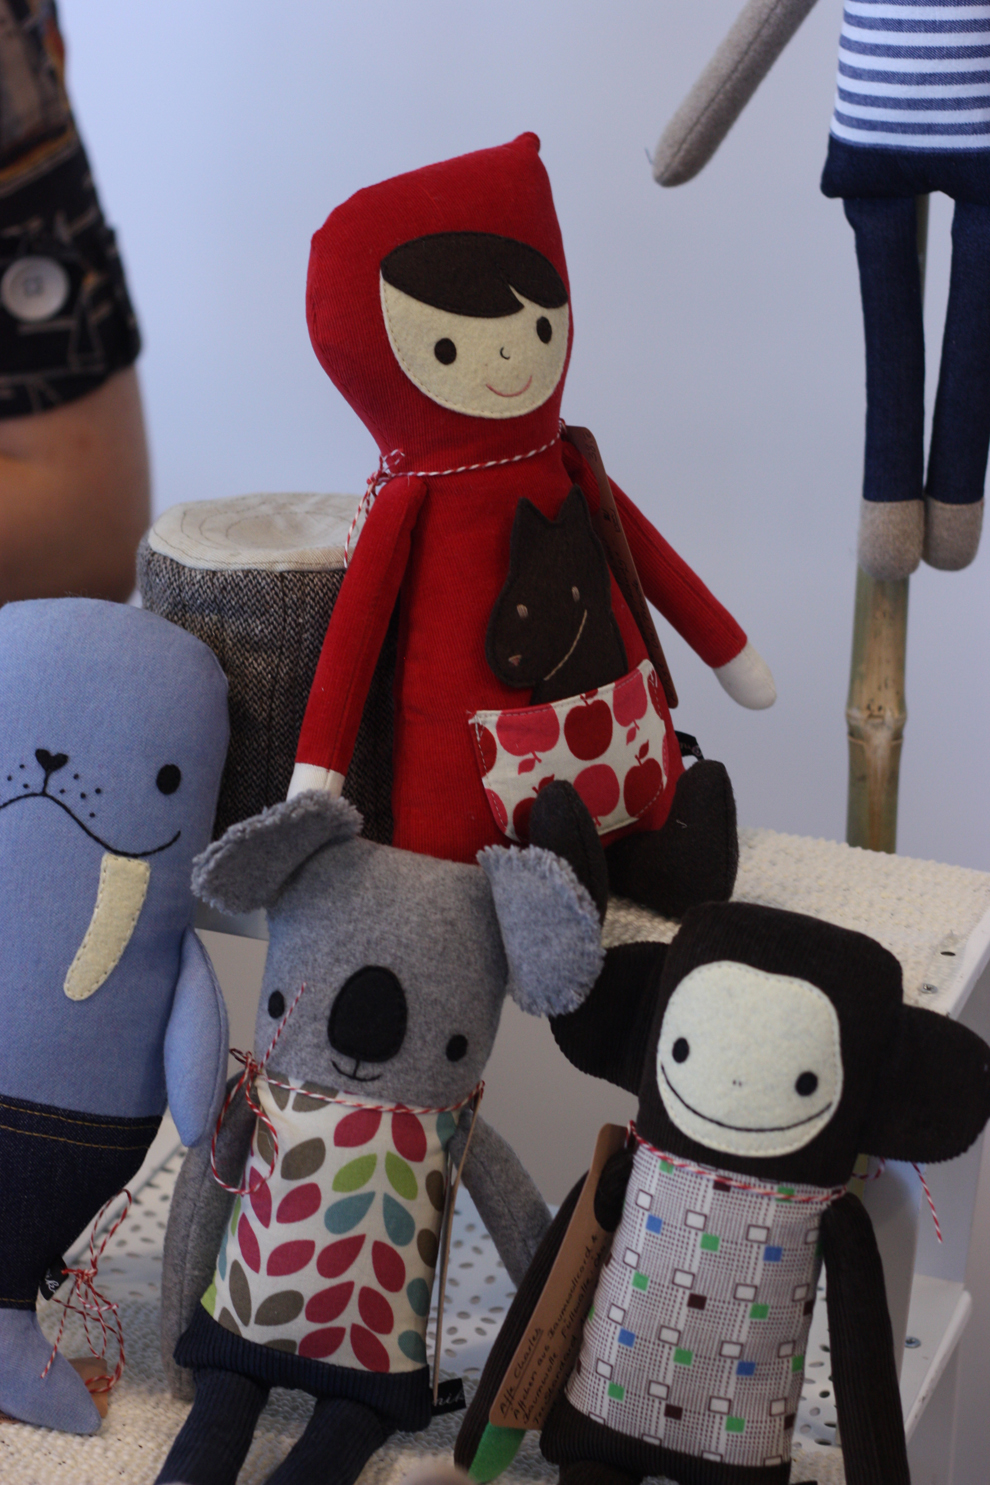
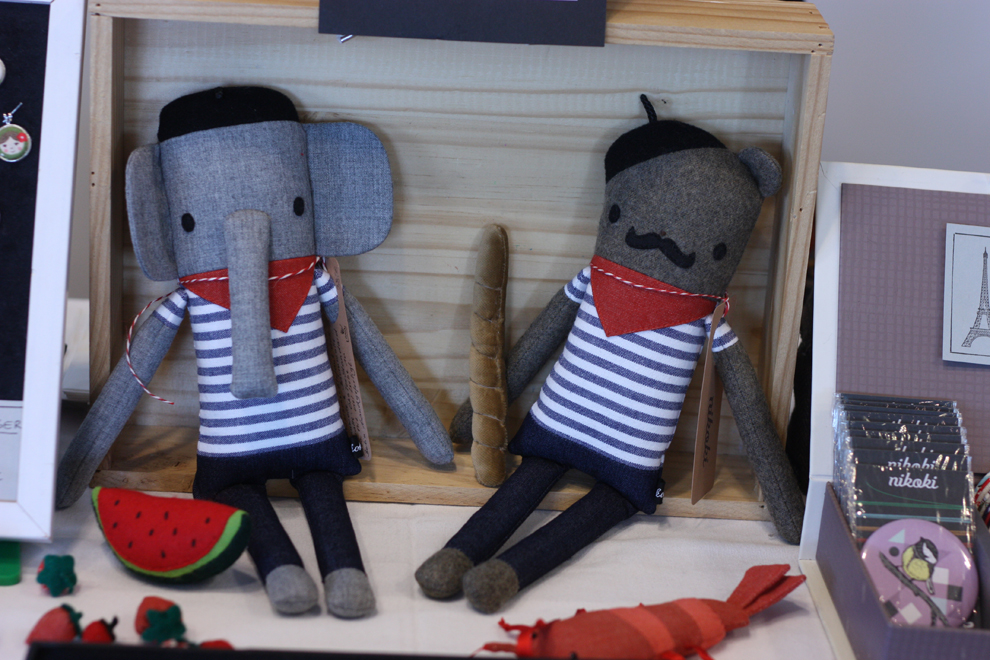
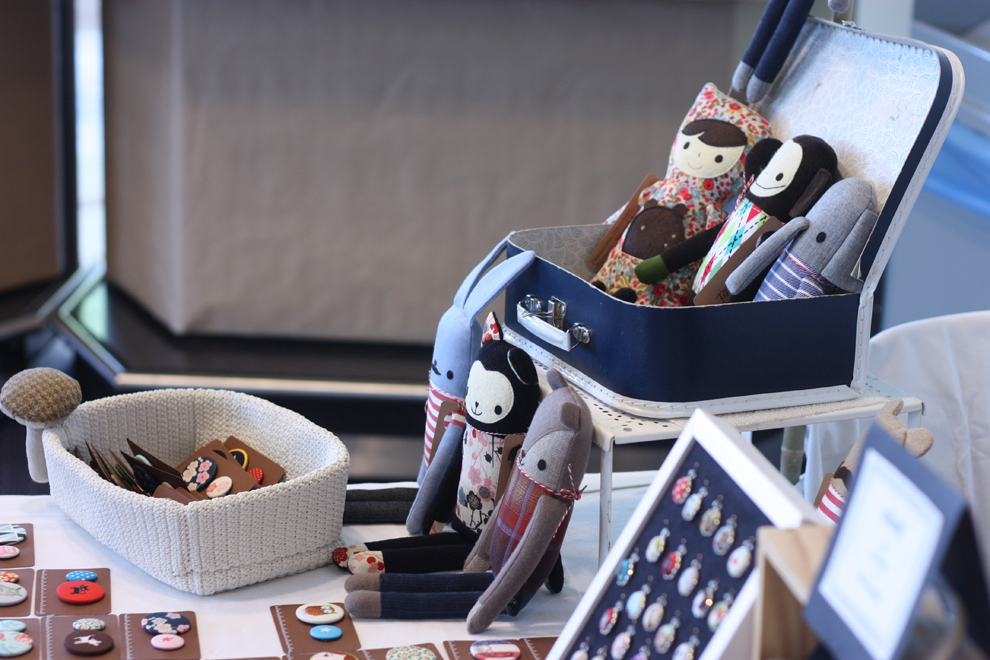
nikoki is a doll maker from Berlin. I have met her several times already in Hamburg and Berlin and I am a big fan of her work. Her little grey giraffe already moved into baby love's little nursery. Her handmade dolls are so creative and she gives so much attention to details. I also love her choice of fabrics and how much she loves Japanese fabric. She is working on her website and there should be some new little animals to buy from next week. I am very much in love with Jean Luc the elephant and Pierre the bear and their little baguette. 

Feingemacht_nikoki_4

Feingemacht_nikoki_3

Feingemacht_nikoki_2

3. BOUBOUKI

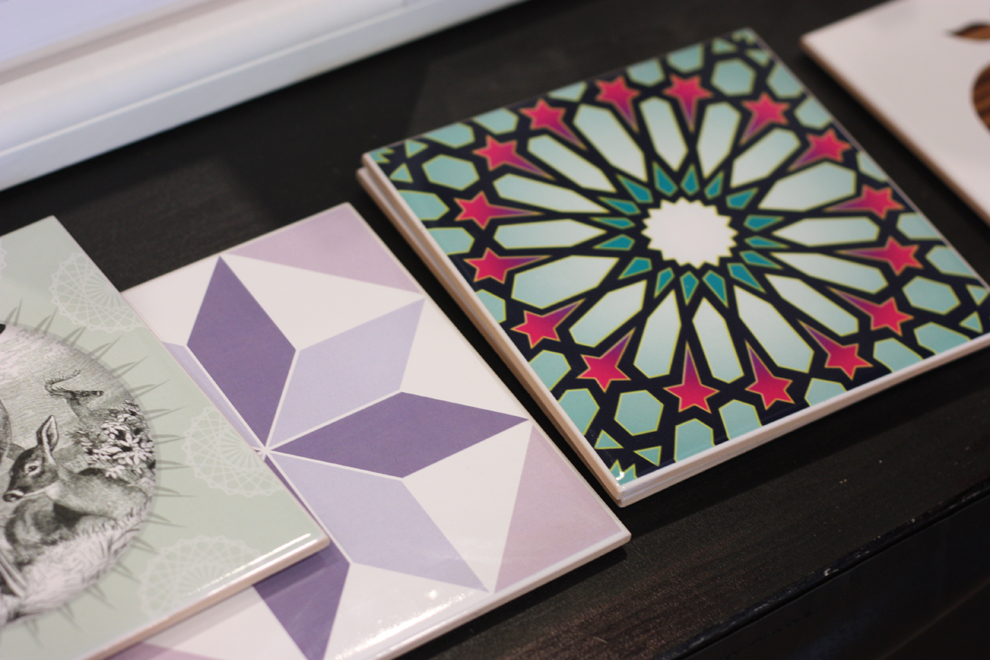
Boubouki offers great solutions to pimp the tiles in your bathroom or in your kitchen, with very beautiful tiles stickers in the standard format 10x10 cm, 15x15 cm, 20x20 cm. You can also order some custom-made sizes on their website.

Feingemacht_boubouki_1

Feingemacht_boubouki_3

4. Frau Sieben:

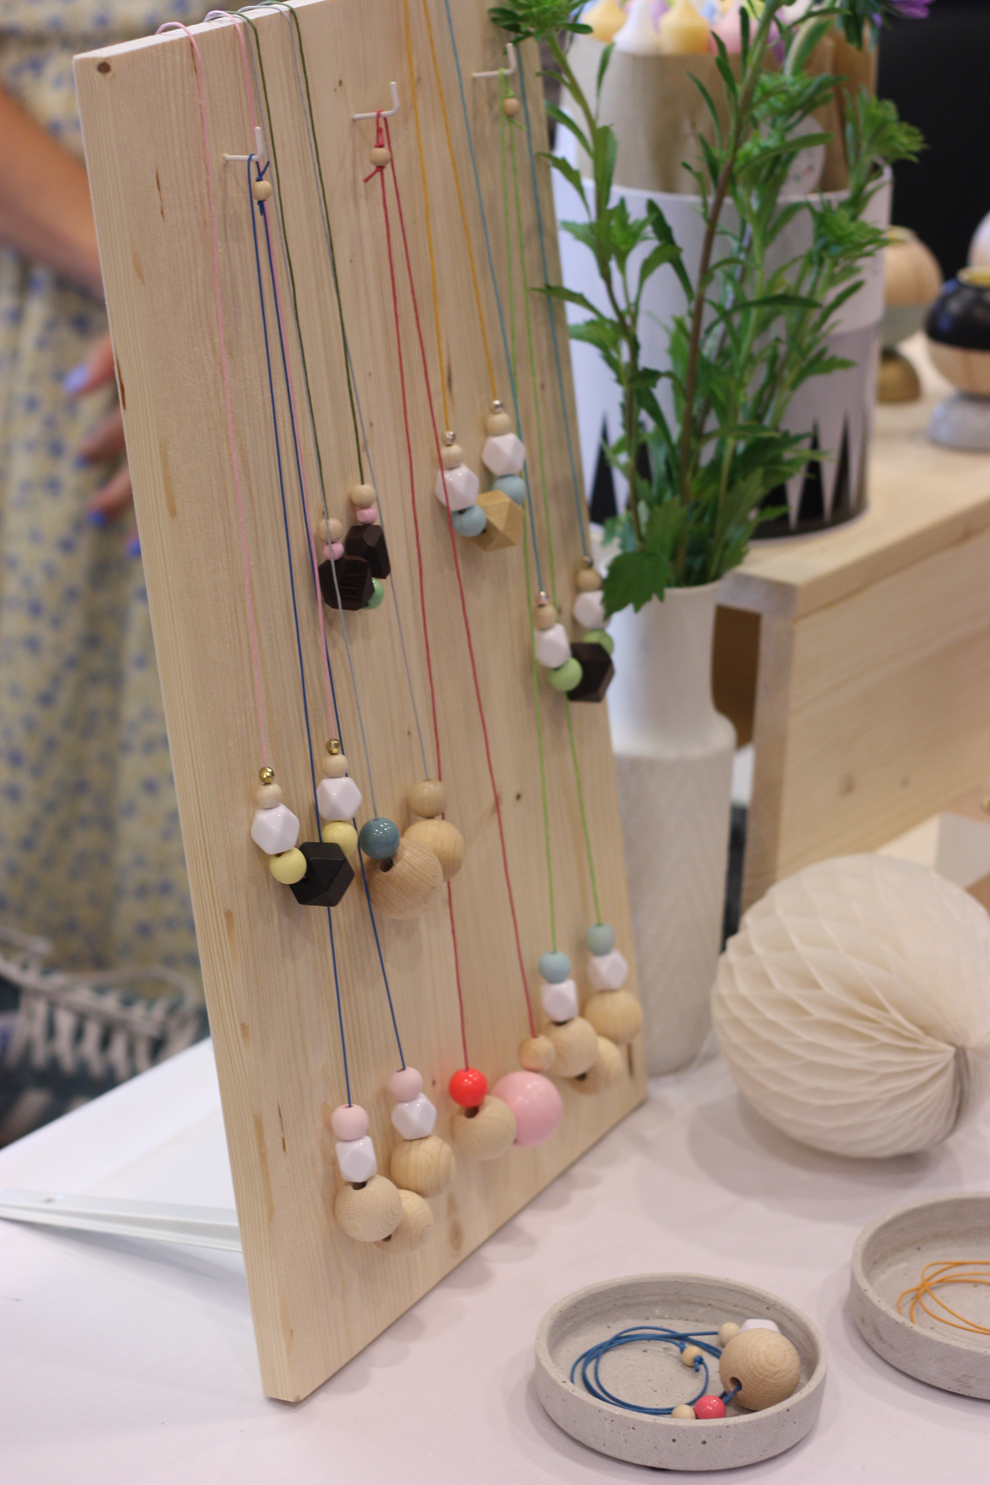
My friend Trixi from the label Frau Sieben was also there. I talked about her Etsylab on the blog a couple of weeks ago. I love her jewelry and wooden candle holders. I think I need a golden one for my living room. Trixi is also a graphic designer and designed the lovely logo for my sweet virtual baby shower.

Feingemacht_frau_sieben_1

Feingemacht_frau_sieben_3

Feingemacht_frau_sieben_2

Voila! I hope you discovered a couple of designers you didn't know in this post. My friend Maria also visited the market on Saturday, and you can read more about it here, and see Trixi's beautiful pictures on her blog.

I wish you nice day!

Elodie

my favorite French online shops for babies

Hello everyone, there you go. I have another baby related post for you. I hope you don't get bored with it, but I am only a couple of days away from the delivery and getting a little obsessed... A friend asked me the other day for online shop tips for the decoration of the nursery. I have been online a lot, searching for inspiration and I thought I would share some of my favorite French online shops with you.

1. Smallable:

Smallable is my favorite one - I purchased the baby's bed on grey (which you can see below) as well as some very cute baby's clothes and toys. Smallable is a French shop but they also deliver in many European countries and the website is also available in many languages.


Moodboard_smallable


1Grey cloud Mobile by the BUTTER FLYING | 2. Mobile Mr Magique by JALL AND TOFTA |  3. Cloud carpet by PILPOIL |  4. baby bed by COMBELLE | 5. Miffy light by PAPAMARIA

2. Petit Pan

Petit Pan is not only an online shop. It's a parisian decoration and fabric shop, with a lot of asian influence, vibrant colours and beautiful bamboo accessories. Their collection for babies (accessories and clothes) is really beautiful.

moodoard_petitpan

1. White animal head | 2. Mobile | 3. fabric banner | 4. plaid | 5. little blue dragonfly

3. Les enfants du design:

Les enfants du desig - is a great website if you want a stylish nursery. They have a great selection of brands such as the British Donna Wilson, or the designer Seventy tree.

Moodboard les enfants du Design


1. Chinese paper lamp | 2. cushion by LUCKY BOY SUNDAY | 3. white pompom | 4. Squirrel by Donna Wilson | 5.Poster by seventytree  | 6. grey cushion by NUMERO 74 | 7. pigeon lamp by Thorsten Van Elten  | 8. cushion Liberty Betsy

I wish you a great afternoon!

xxx

Elodie


Baby love's little nursery

Good morning everyone,As promised several times, today is the day of the big reveal: I will show you the finished baby nursery. Maybe baby love will want to visit it soon! So here is what I did with this room after I decided on the colour scheme and did a virtual moodboard and collected some inspiration on Pinterest. I will start with the main pieces of furniture and show you the little details:

Little_sheep

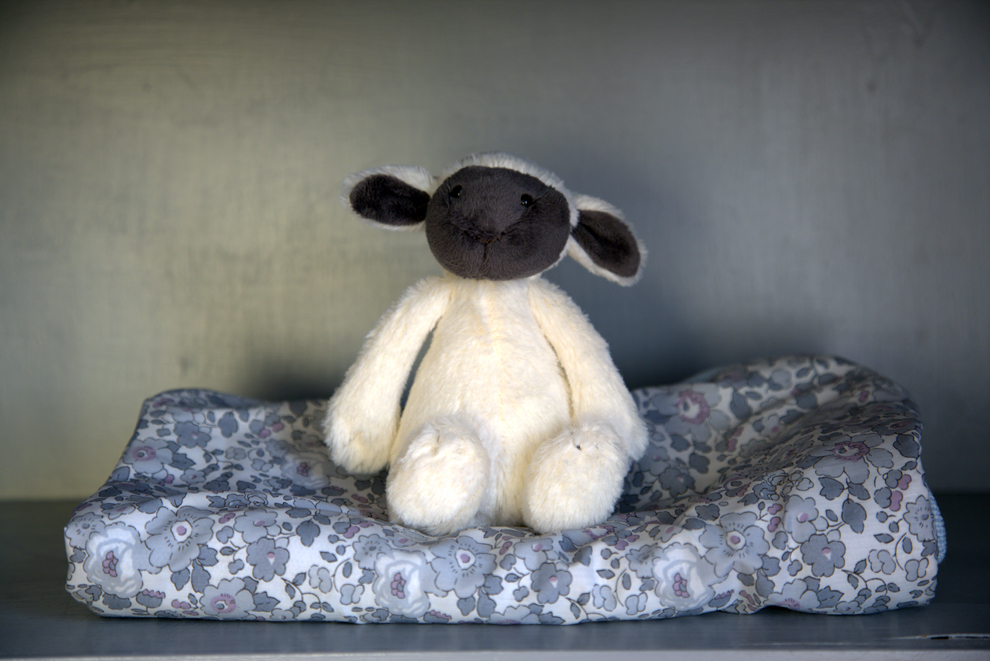
Little black sheep by Jellycat

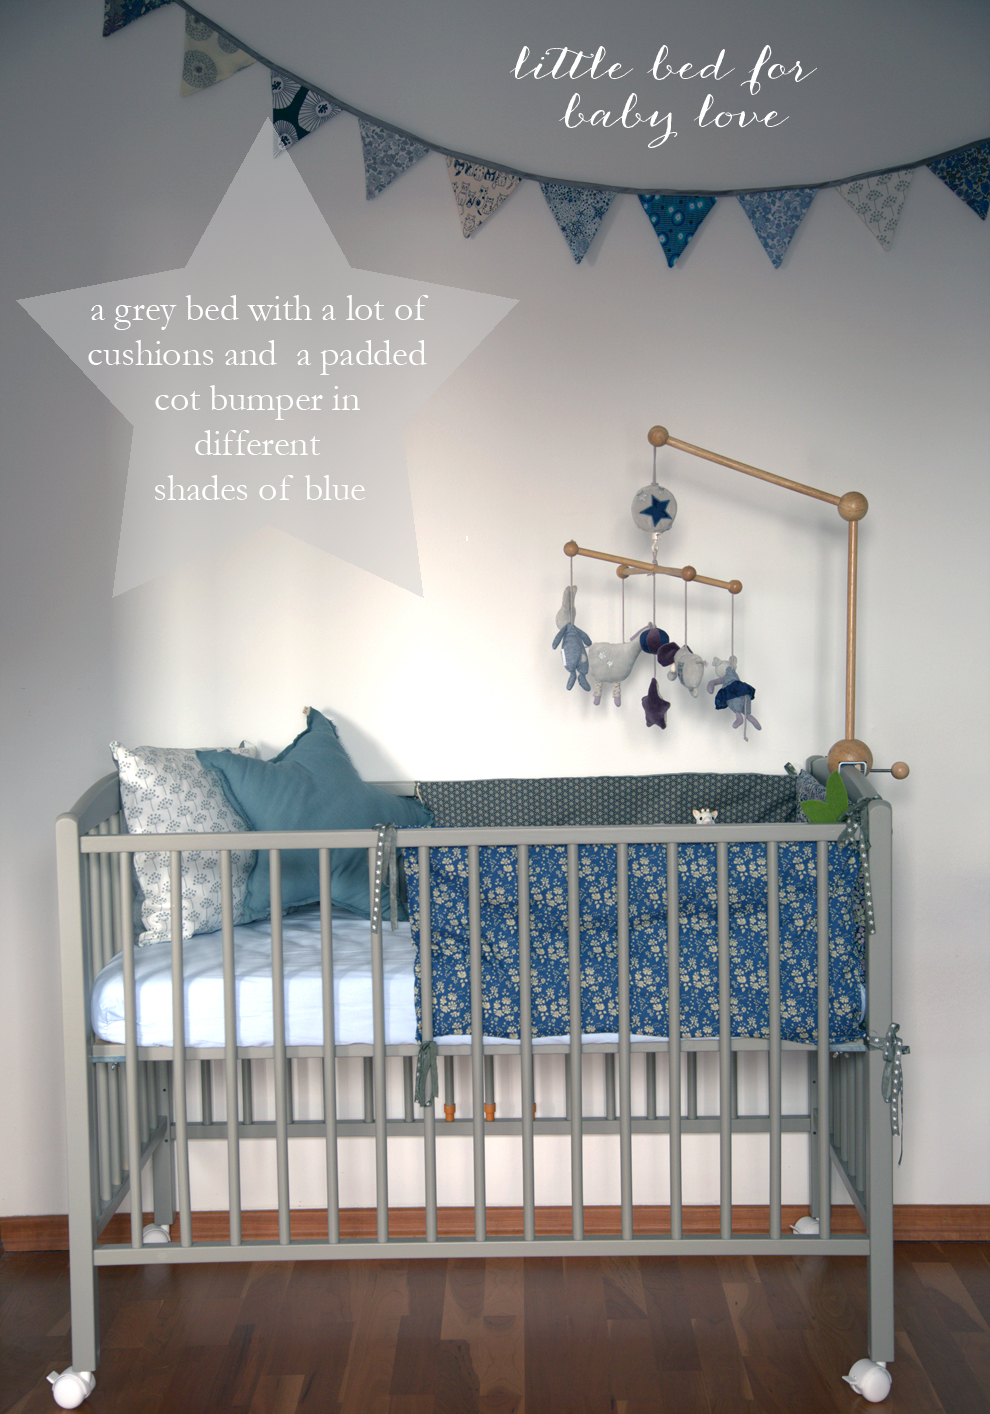
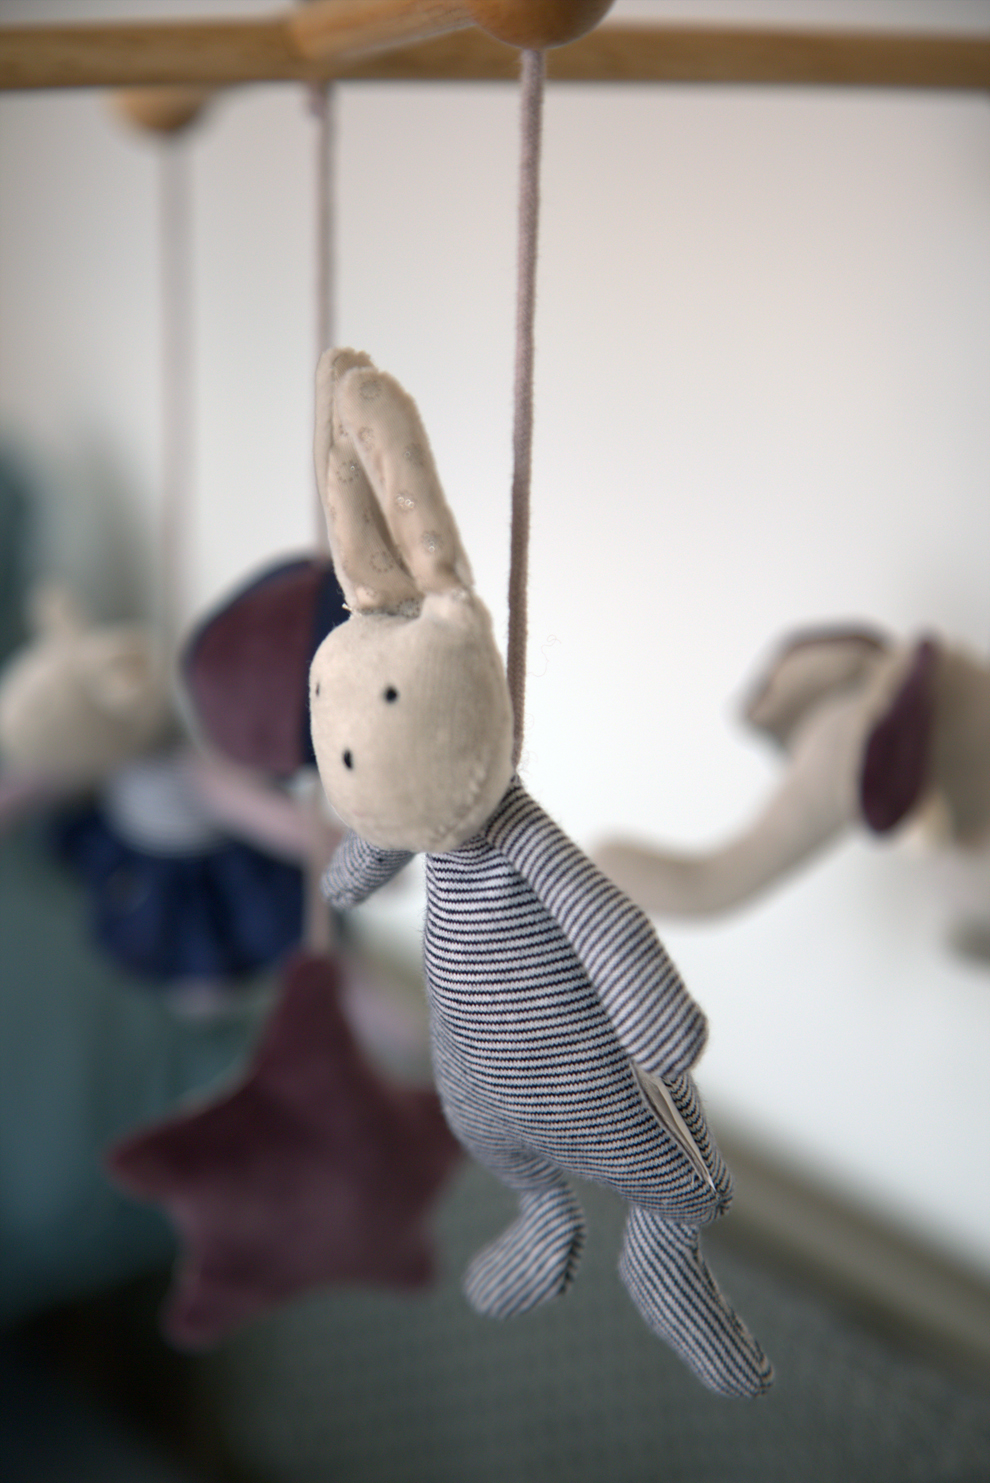
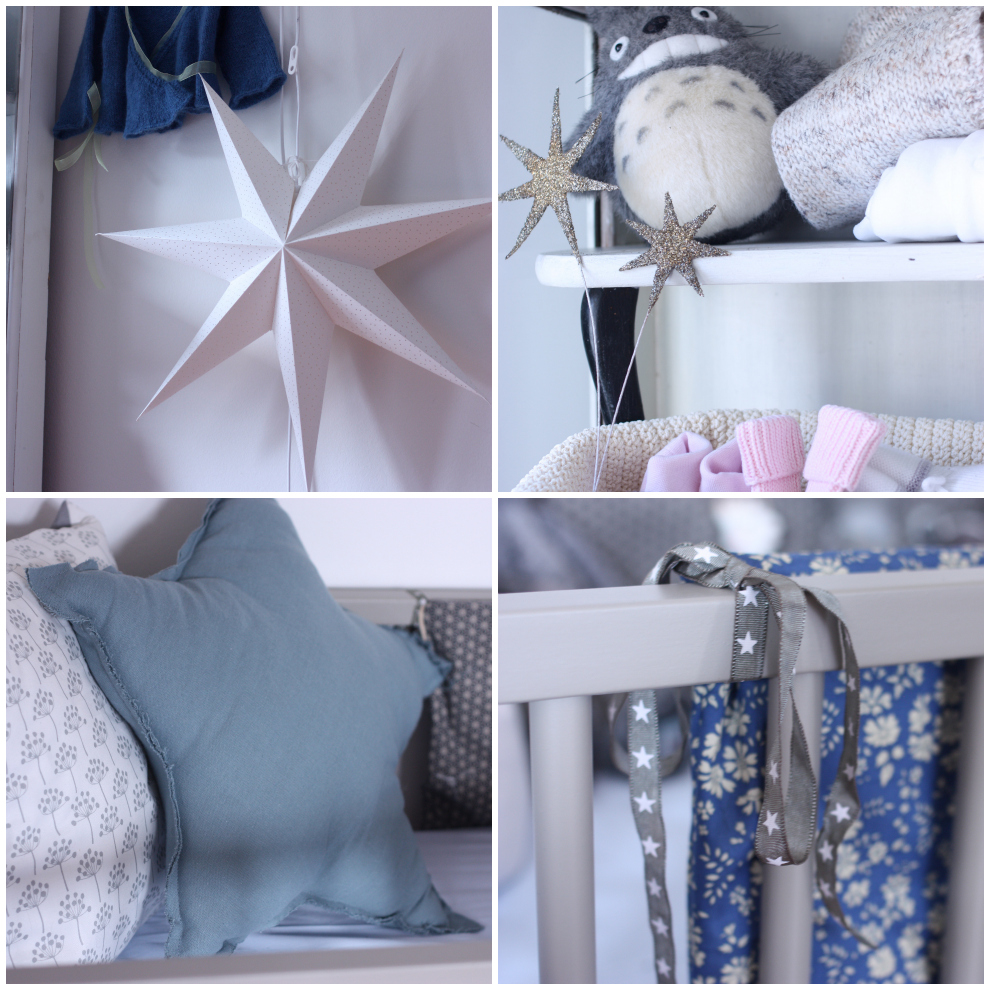
The grey bed is from the French brand Combelle - I bought it on the French website Smallable, along with a lovely grey changing table and I am very much in love. I picked a grey bed with a lot of cushions and made a padded cot bumper in different shades of blue and grey. The mobile adds some purple to make it a bit more girly, and some animals to make it more fun. Stars as a pattern can be found in the shape of the blue cushion, on the mobile and on the ribbons.

Nursery_bed

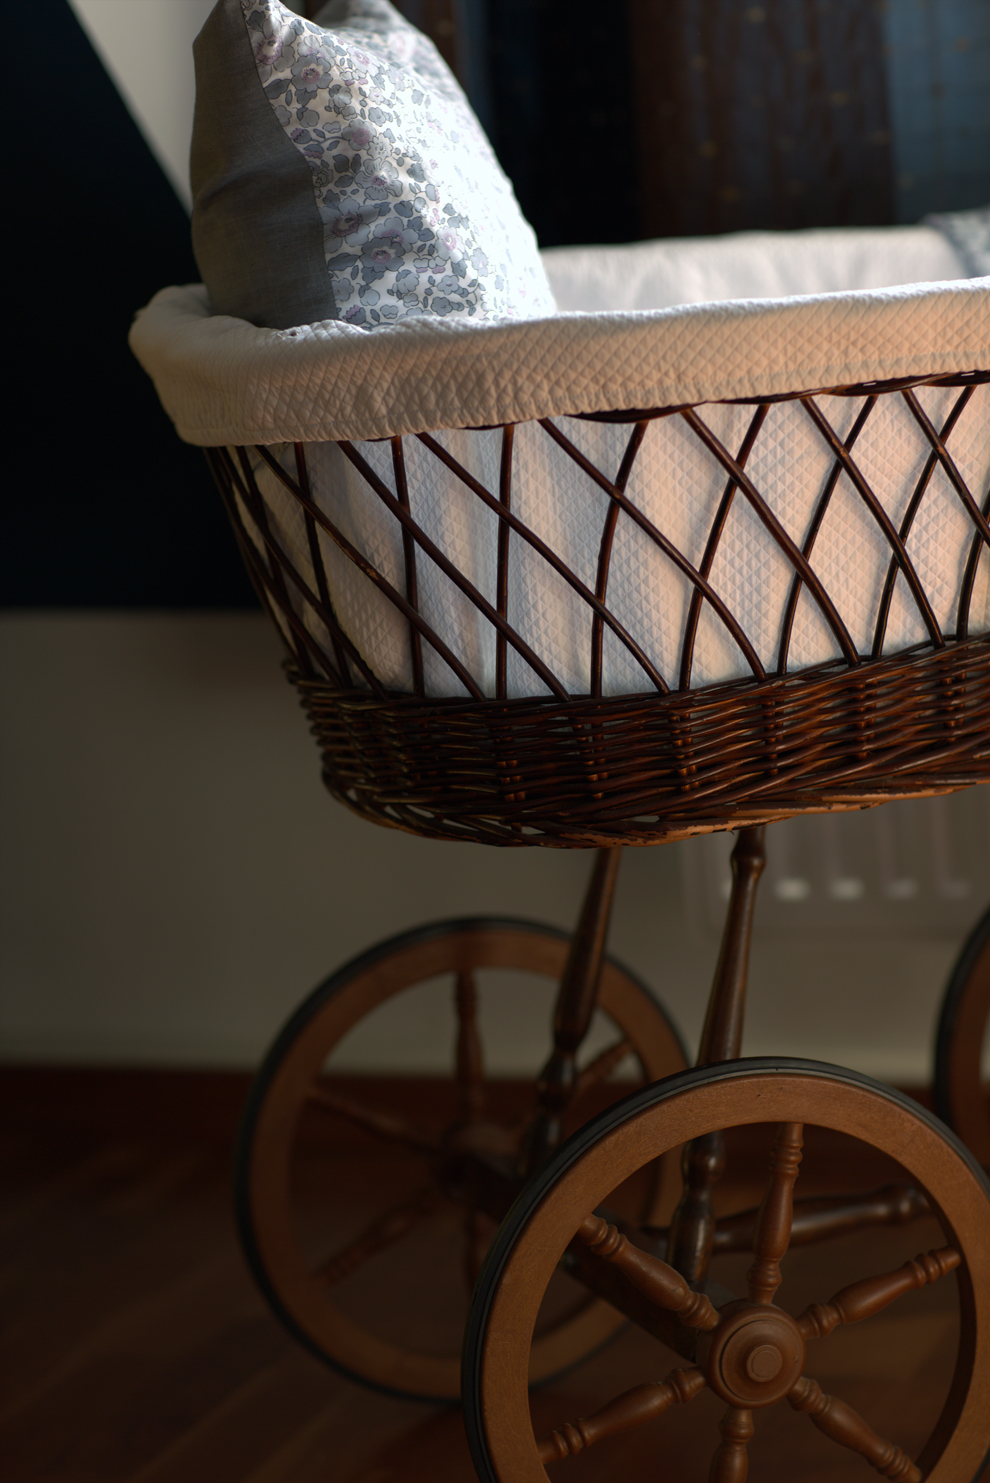
For the first months, baby love will sleep in a French antique crib my parents brought me in July, where my sister used to sleep as a baby 28 years ago.

Nursery_crib

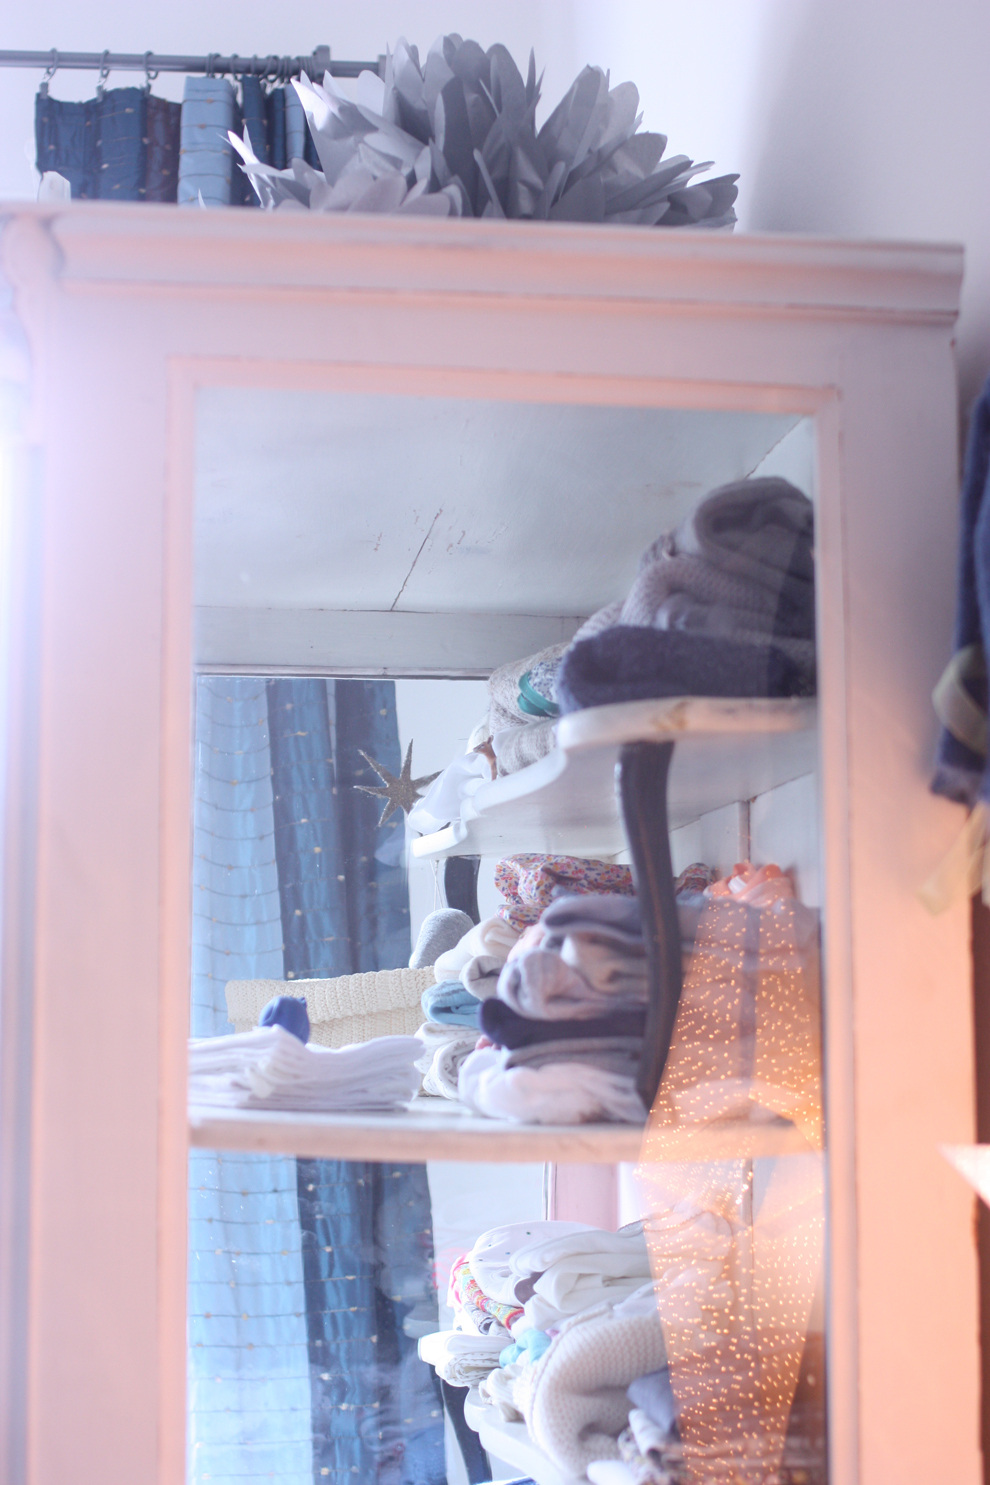
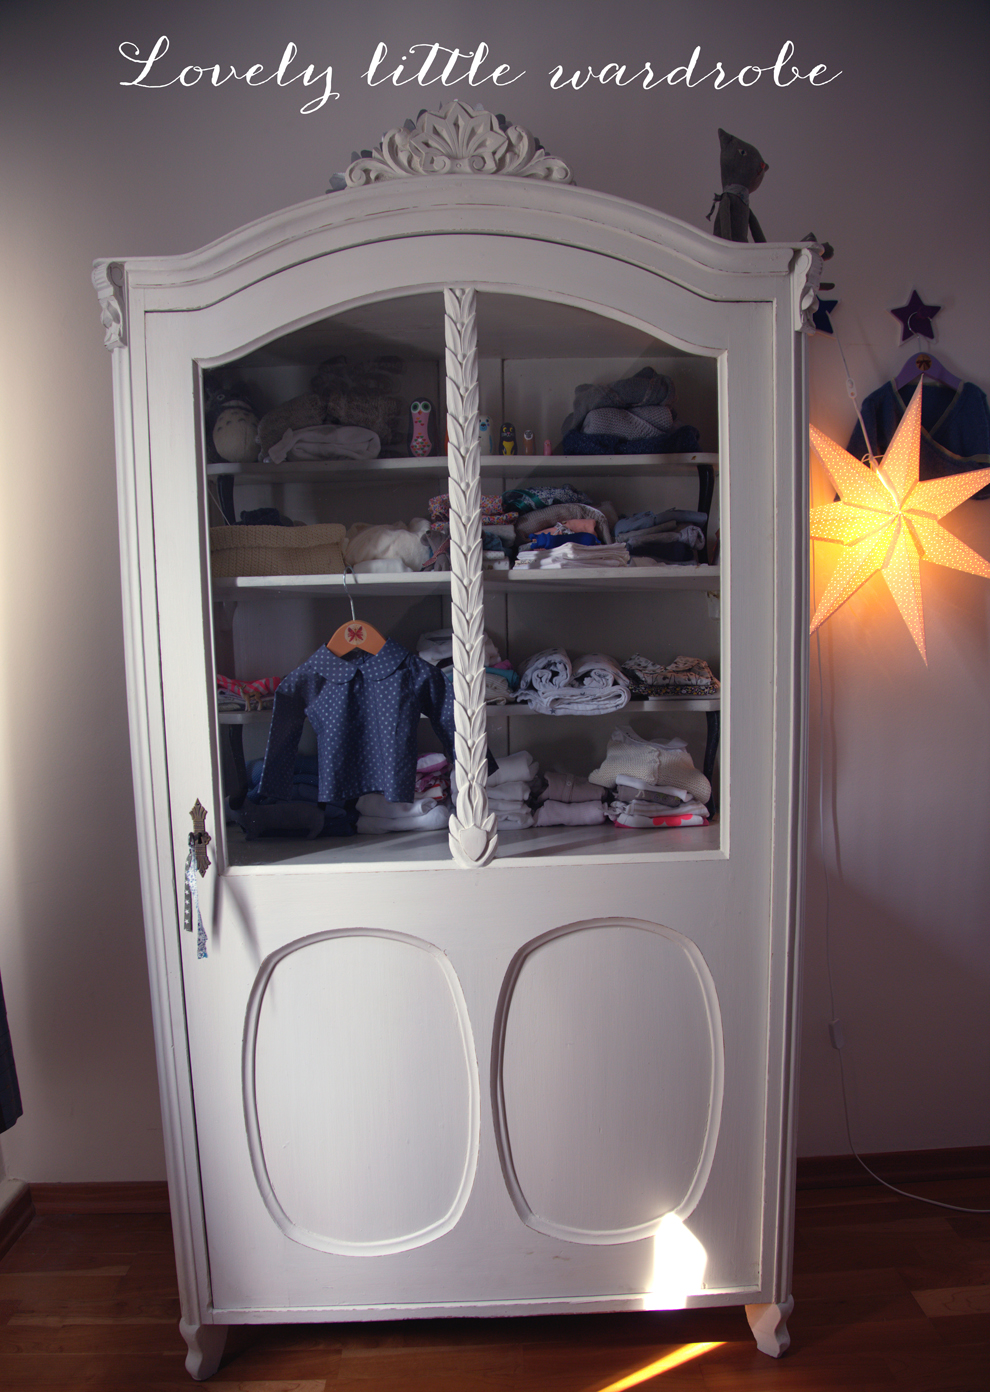
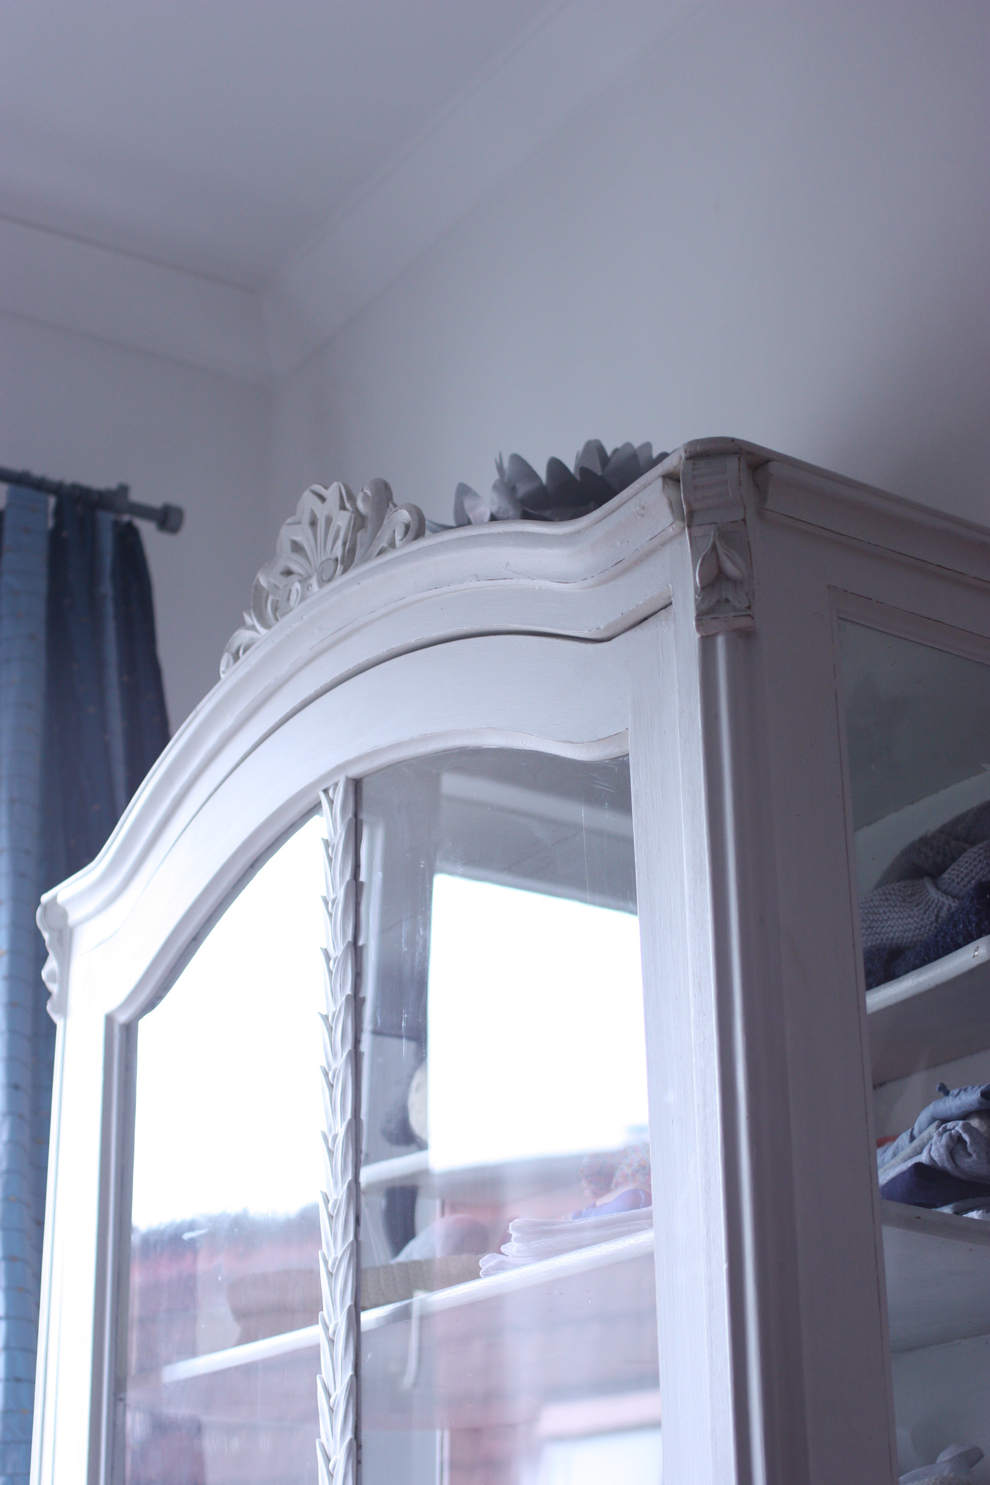
I found this antique wardrobe in the lovely shop Lieblingszimmer in Hamburg (which by the way just opened an online shop) - and instantly fell in love. I like the fact that the vitrine has also got glass on the side. We didn't want to buy something too babyish and I am not sure that this will stay for ever in baby love's bedroom. I could image it very well later in a dining room for presenting pretty plates and glasses. For the time being, I love the fact that I can enjoy the beautiful clothes my mum made for baby love.

Nursery_wardrobe

nursery_wardrobe_detail

nursery_wardrobe_inside

 2. On the walls

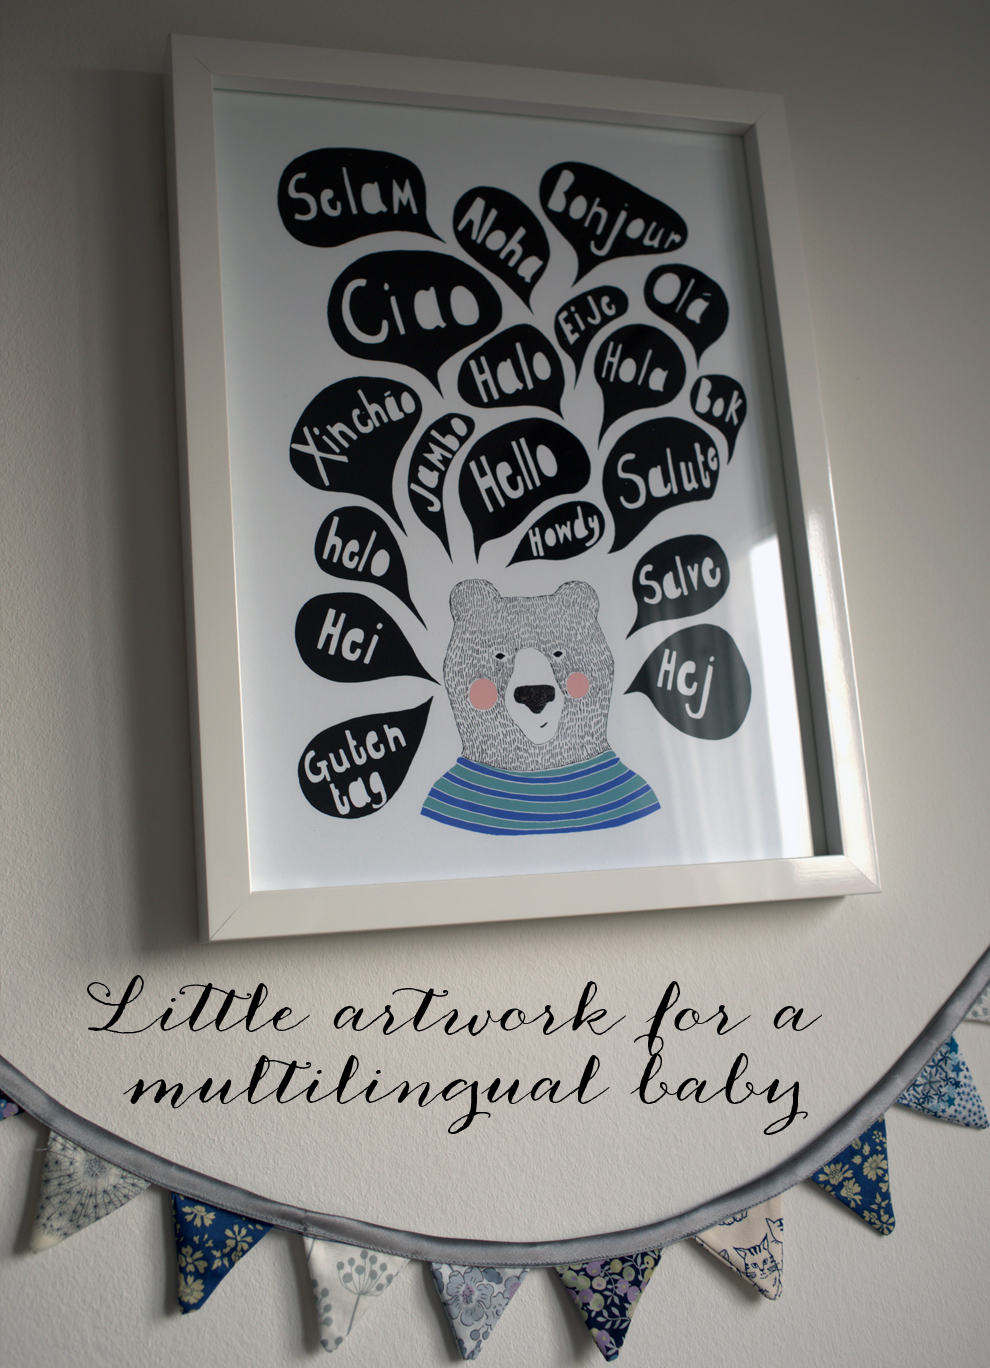
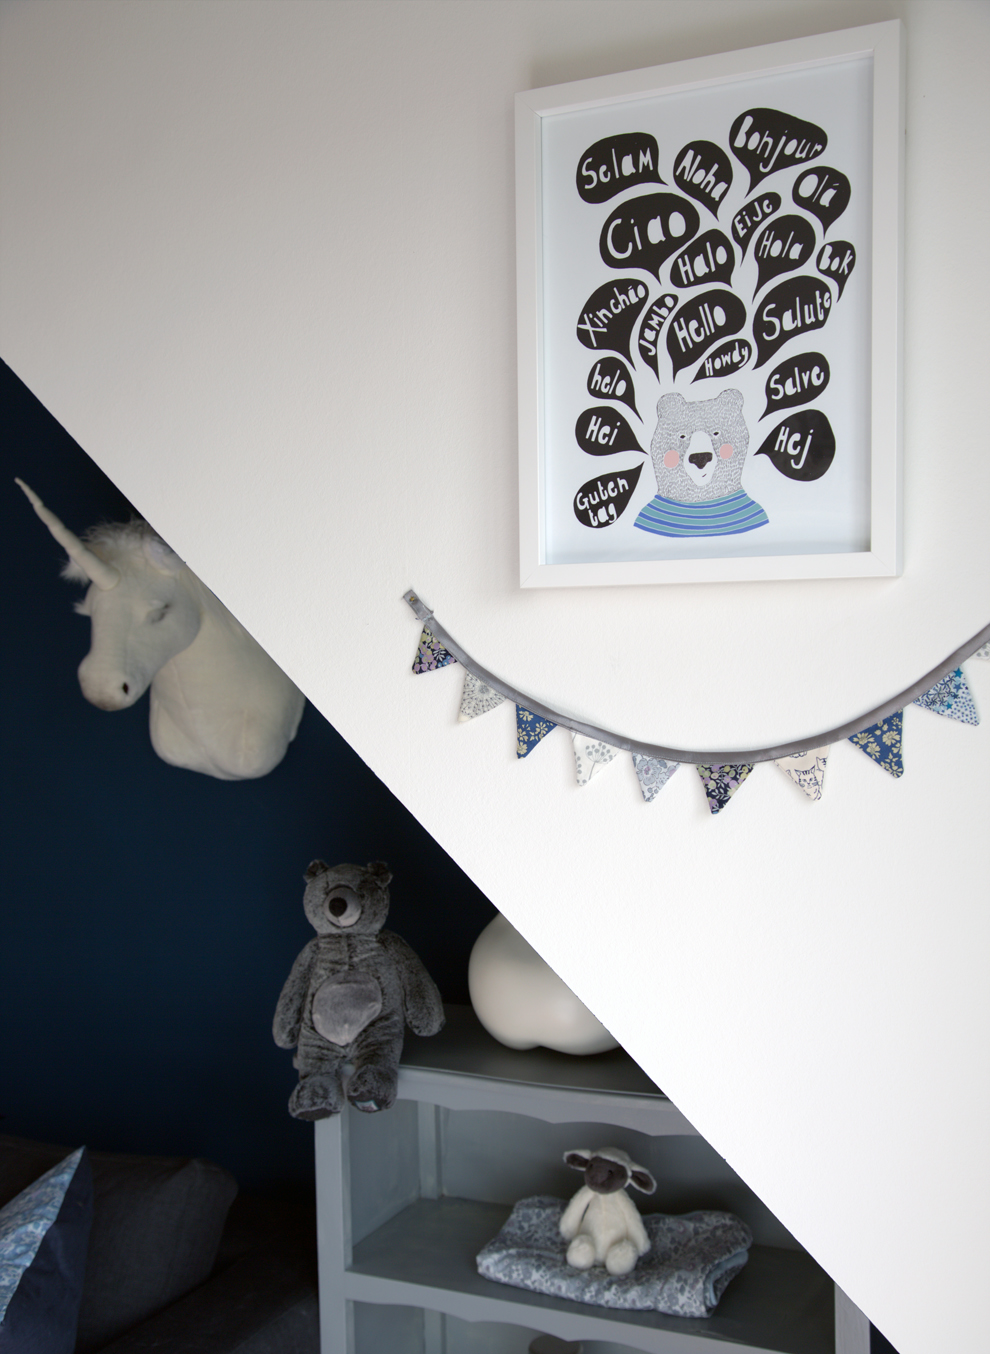
little_nursery_wall_seventytree copy The print is by UK illustrator Kerry Layton from her beautiful brand Seventy tree.

nursery_pompoms

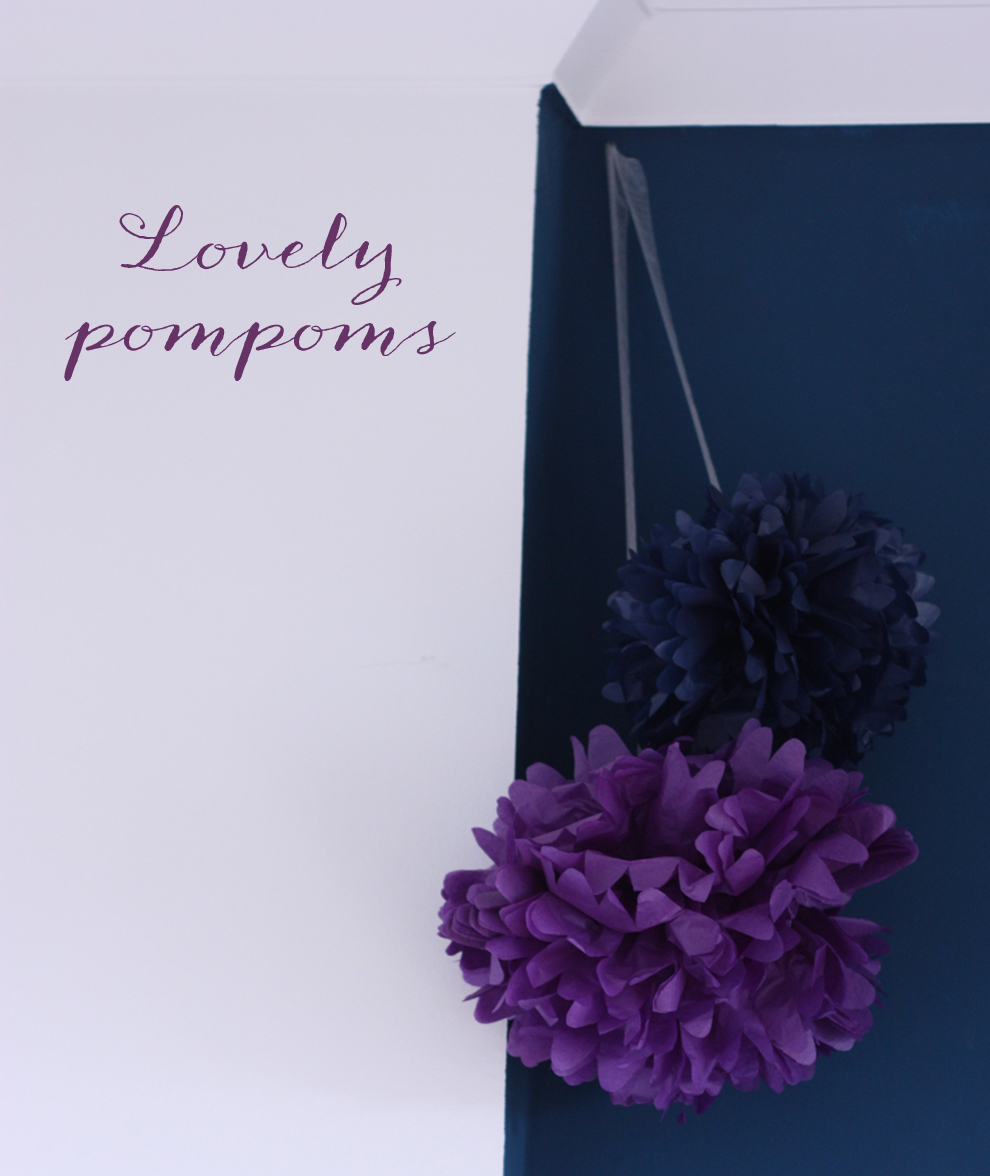
The pompoms come from the German website Pompom your life. They are hand-made and they have a great selection of colours to choose from on the website.

Nursery_pennant_banner_detail

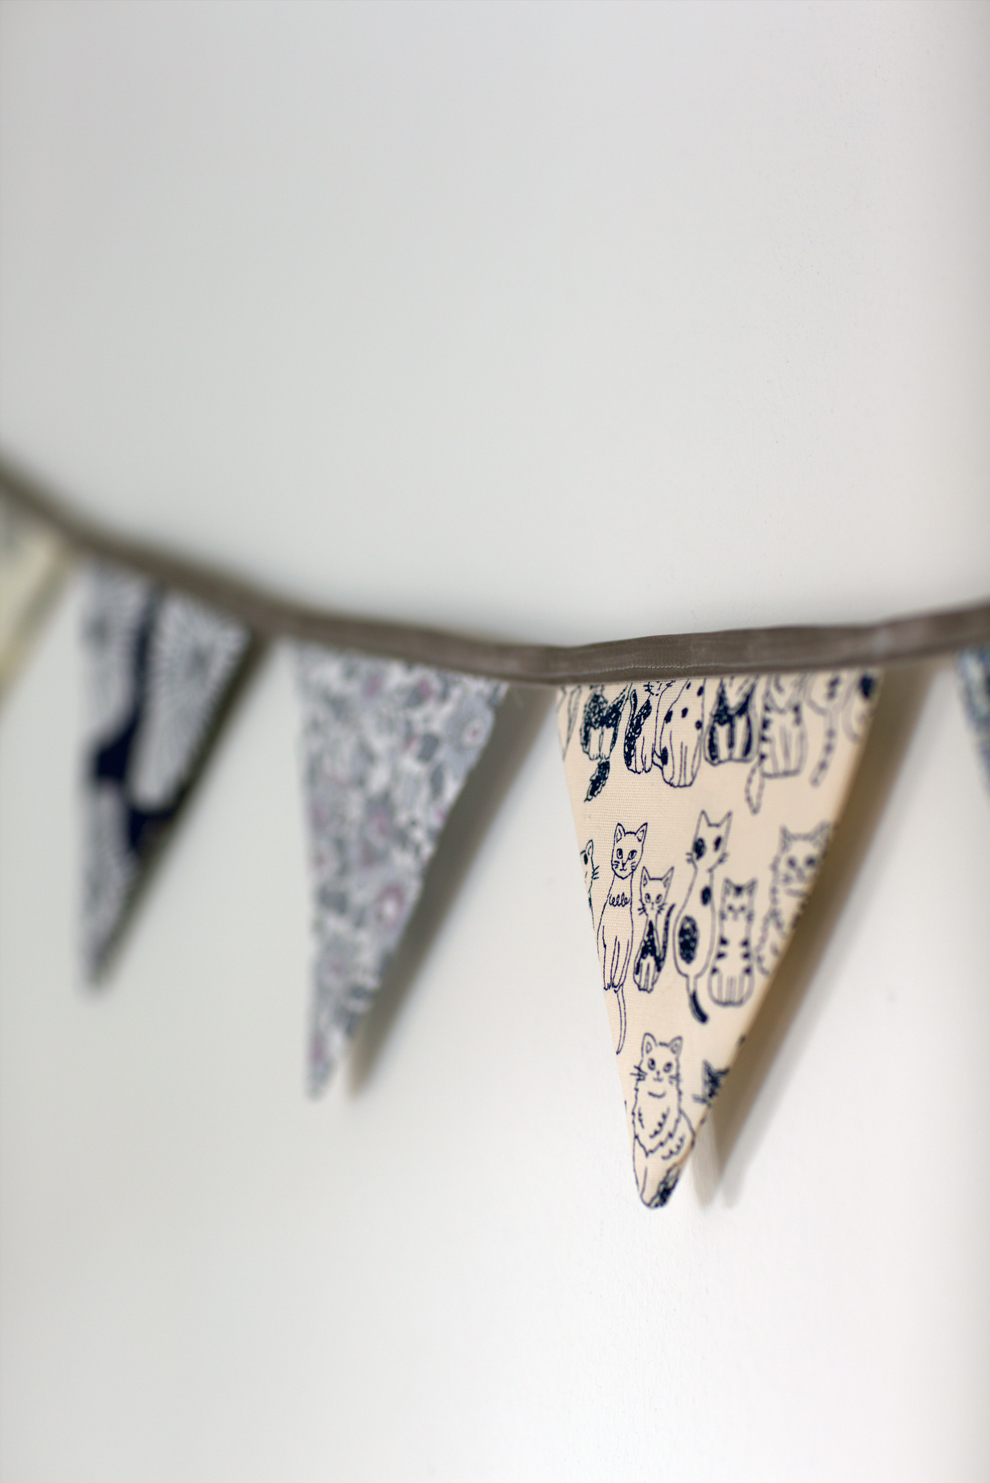
I made the pennant banner myself. It's a great way to use little pieces of fabric. I used some Liberty of London art fabric, some Japanese fabric, some fabric by Swedish design Lotta Jansdotter and some French fabric from petit pan. I made a big one that hangs above the bed as well as a mini-version. A tutorial is coming soon on the blog.

Nursery_overview_2

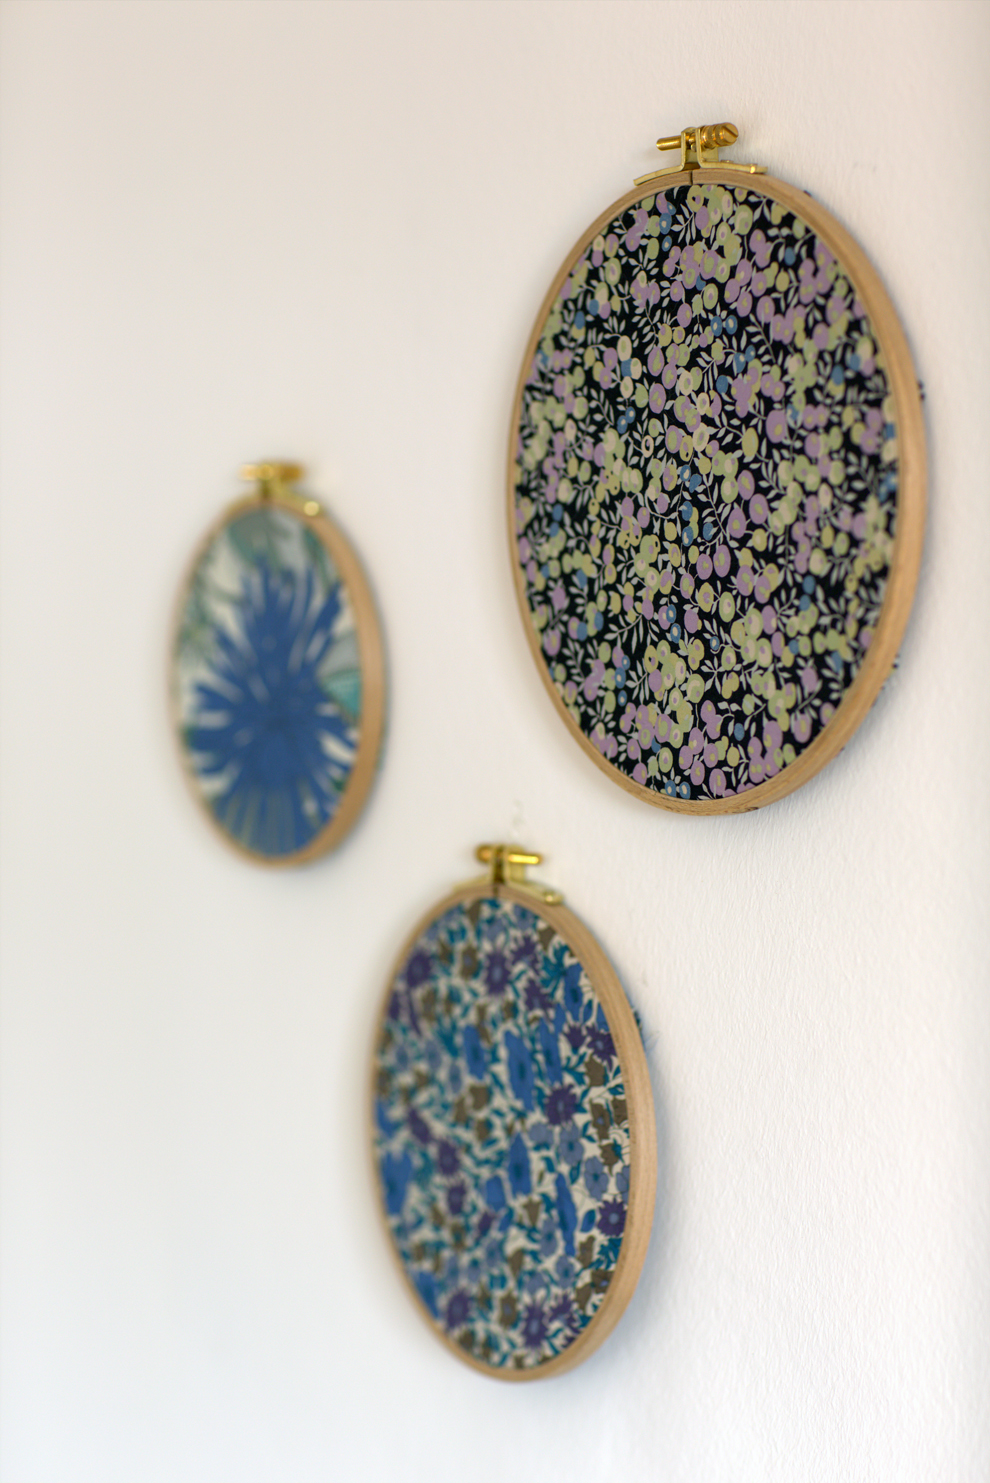
I also made the embroidery hoops with Liberty of London of fabric that I showed you previously on the blog. They now hang above the changing table.

Nursery_wall_decor_fabric

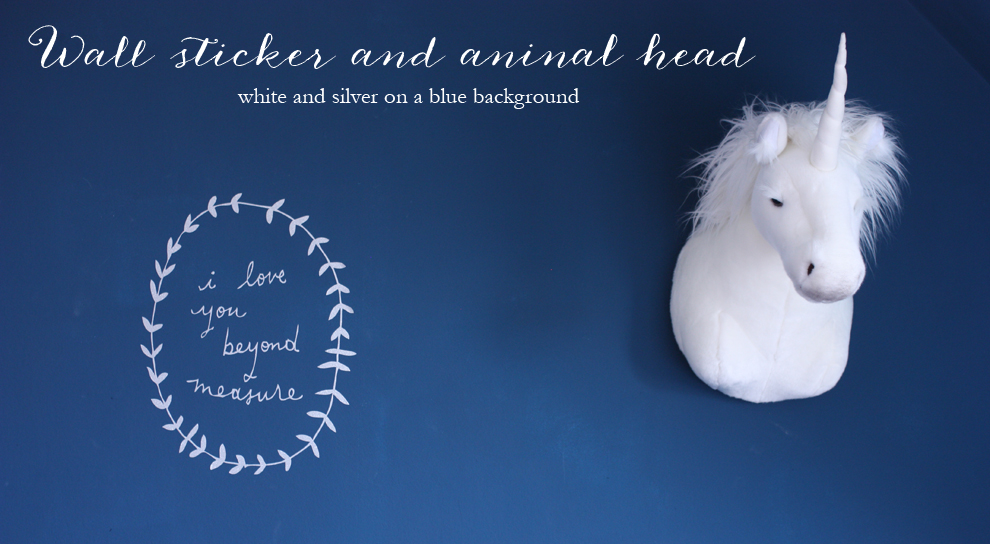
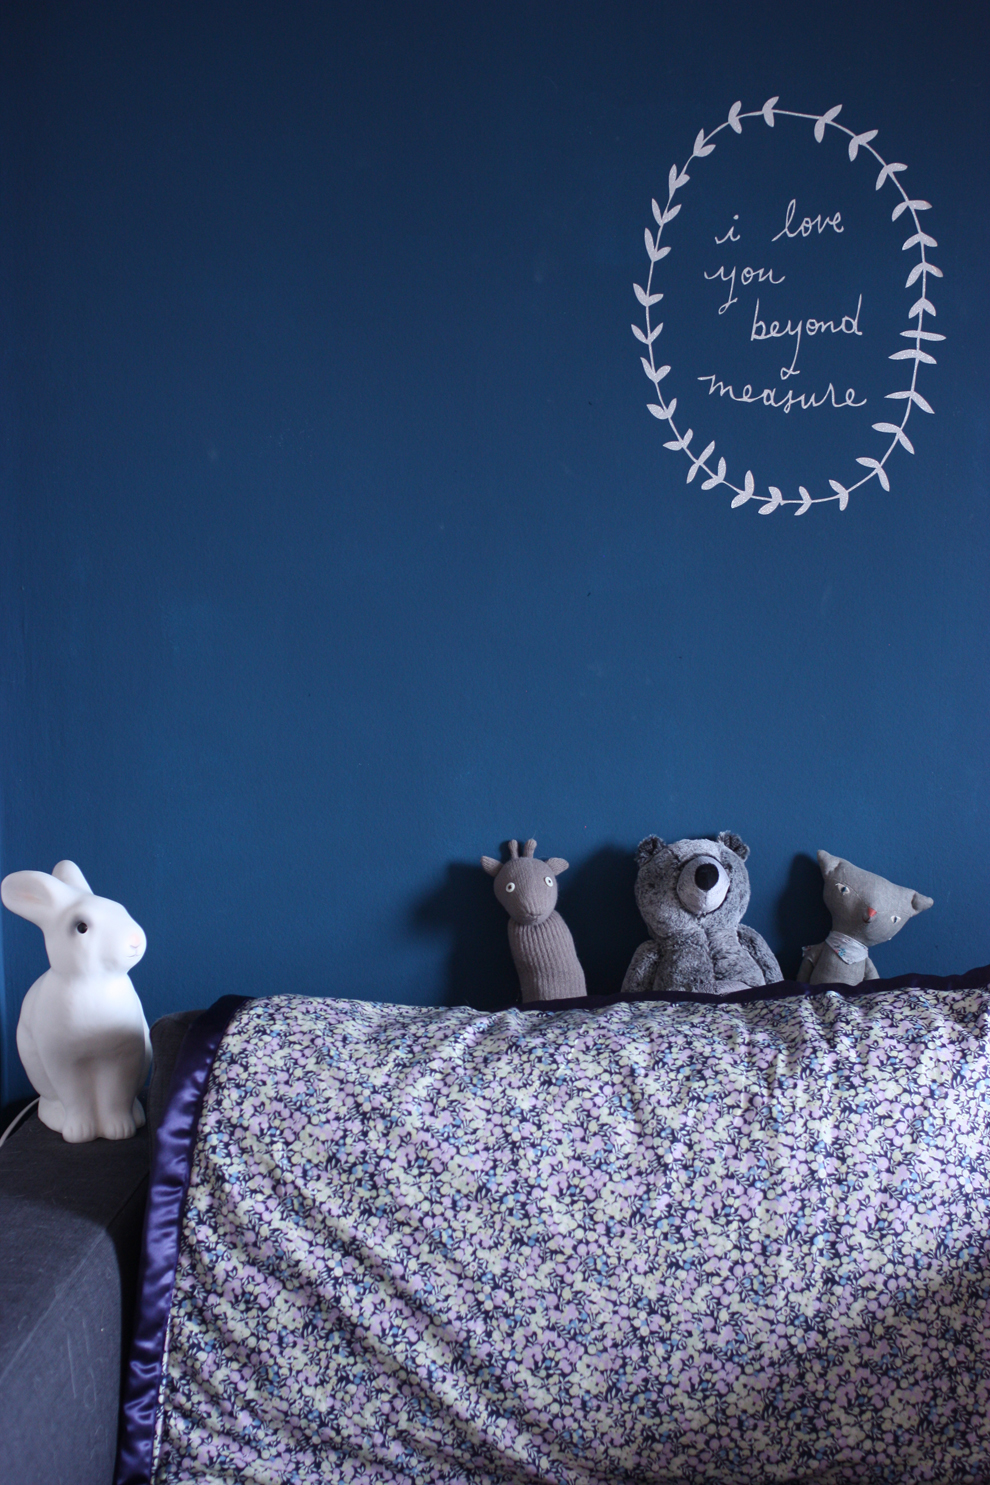
I wanted to put some contrasting elements on the night blue painted wall. I decided to go for a wall sticker in silver - I have been a big fan of Shanna Murray and was so happy to finally have a good excuse for ordering one of her stickers. The unicorn head is from the German shop Butlers.

Nursery_sticker_animal_head

sofa_nursery

3. The lighting:

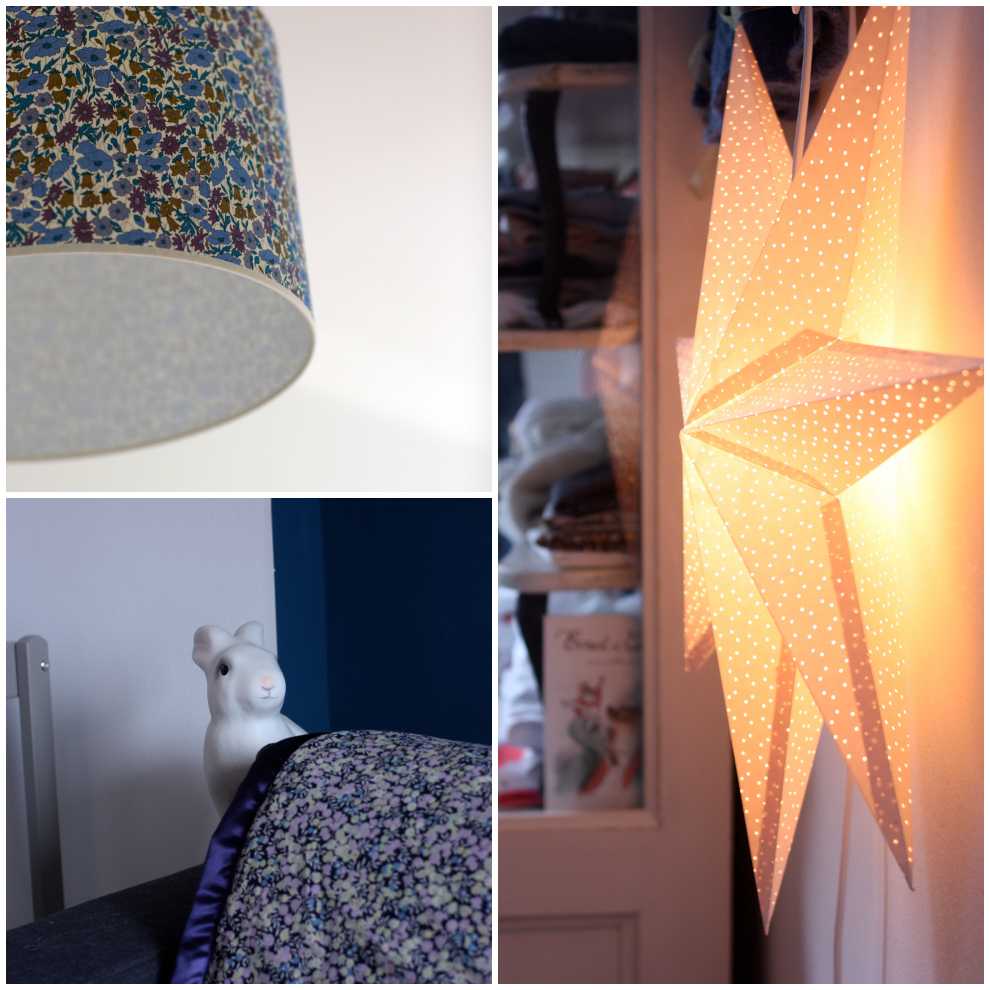
Nursery_lamps

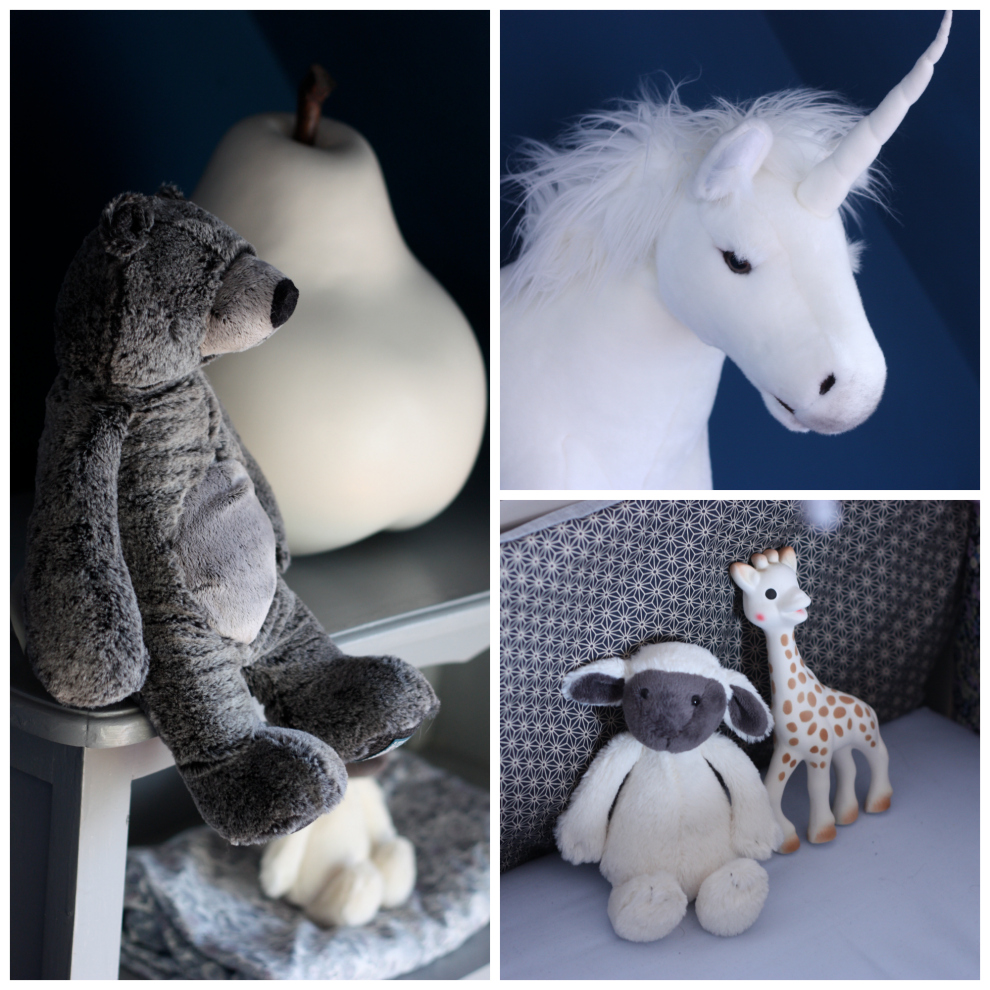
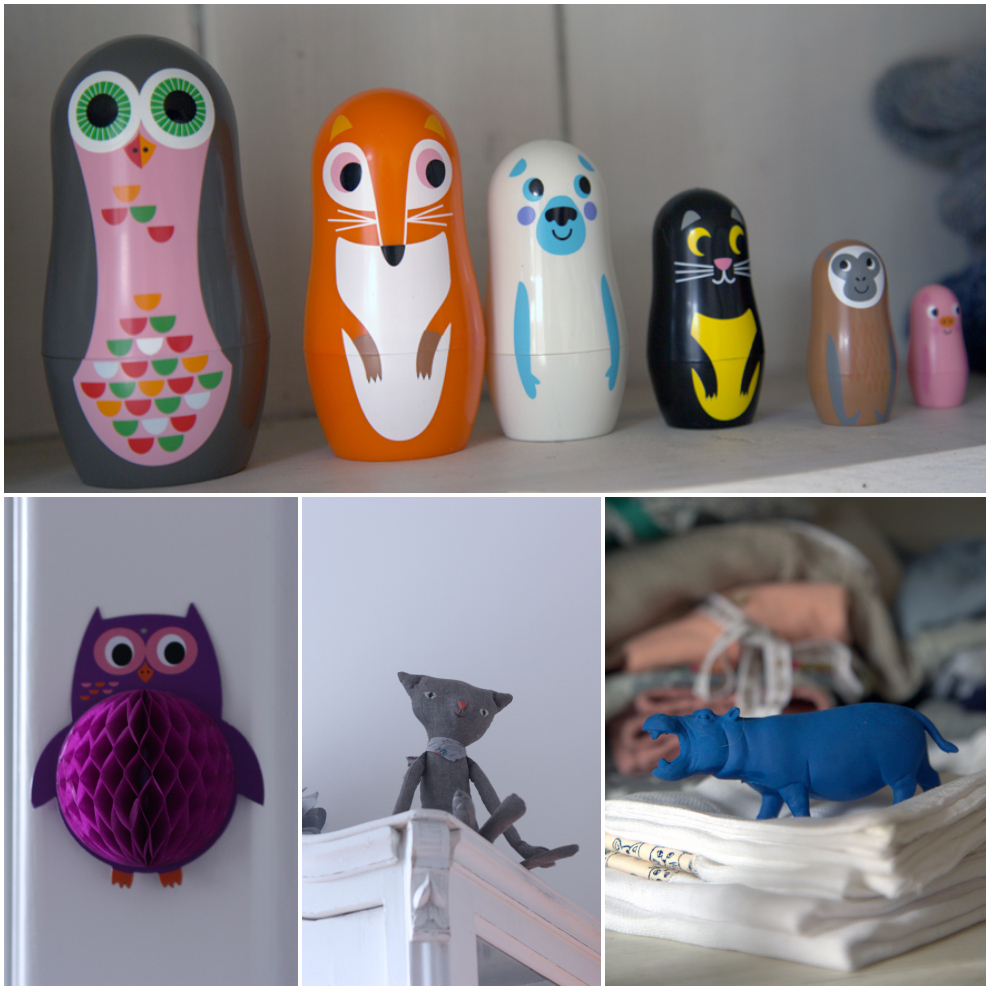
4. The little animals:

Little Animals_1 Nursery_mobile

nursery_little_animals_3

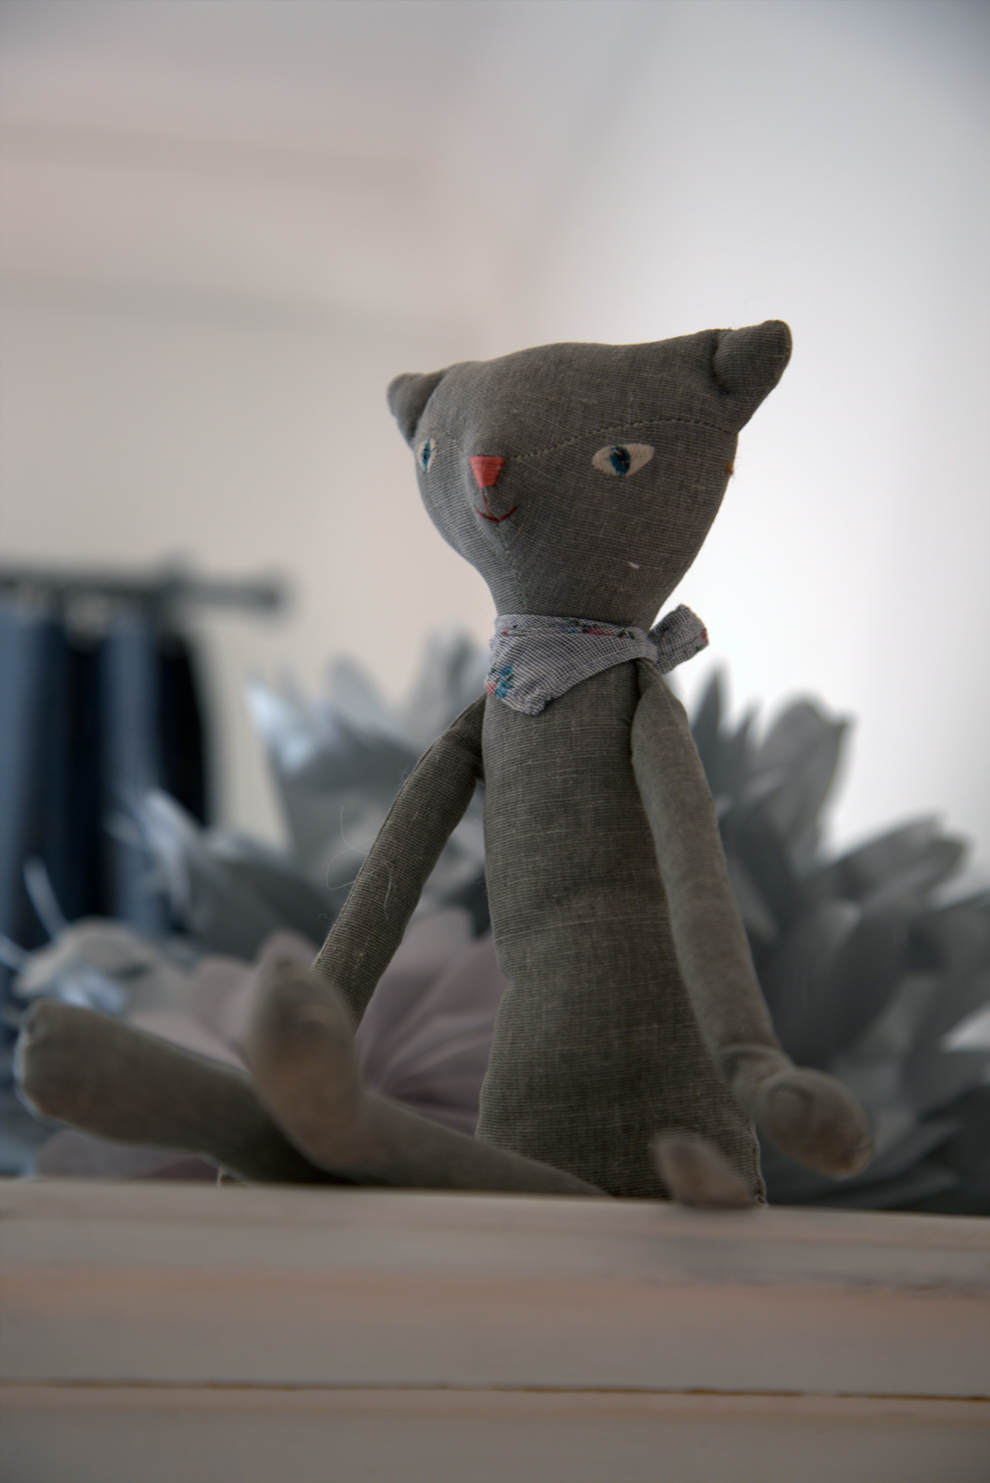
Nursery_cat

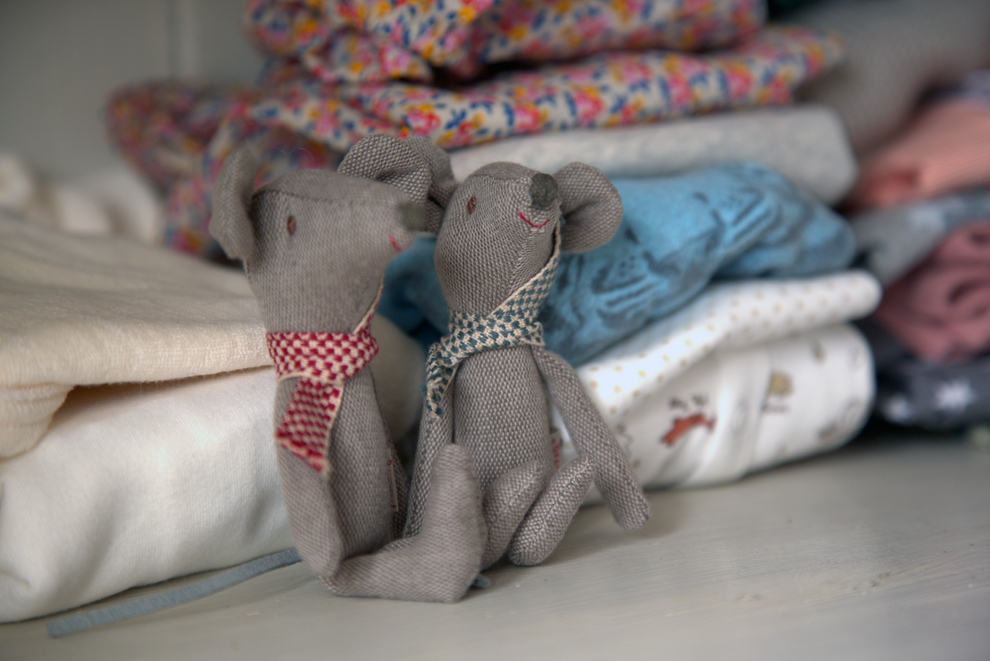
Nursery_mice 5. The little stars:

Nursery_little_starsA big thank you to Jocelyn from the gorgeous blog little room of style for her wonderful photos and to my little assistant Cheddar:

Nursery_Jocelyn

Nursery_Cheddar

So I hope you liked my little nursery tour. I am looking forward to your feedback. I hope it doesn't look too much like a little boy's nursery with the choice of colours.

xxx Elodie

(c) All photography by Jocelyn Casey and Elodie Love

Flowers from Sabine's garden

Hello everyone, I am not making so many bouquets these days, but luckily my friends still are and I love looking at them. Today I would like to show you the little wonders from Sabine's garden. Sabine is a German copywriter and blogger and online shop-owner. Her lovely blog is called azurweiss and her shop la mesa. We first met virtually through the swapping action Post aus meiner Küche last year and in real life in February in Munich during the blogger meet up "I love you blogs and coffee". She posts a lot of charming flower arrangements on her blog, and has participated many times in our #2flowergirls photo challenge. I am a big fan of her Instagram feed, where she posts a lot of lovely flowers. She usually presents simple flowers in very pretty glass or white china vases.  Some are from the flea-market and some can be purchased in her online-store.

Today, I am so glad to be showing you some of Sabine's bouquets from her beloved garden along with a little interview:

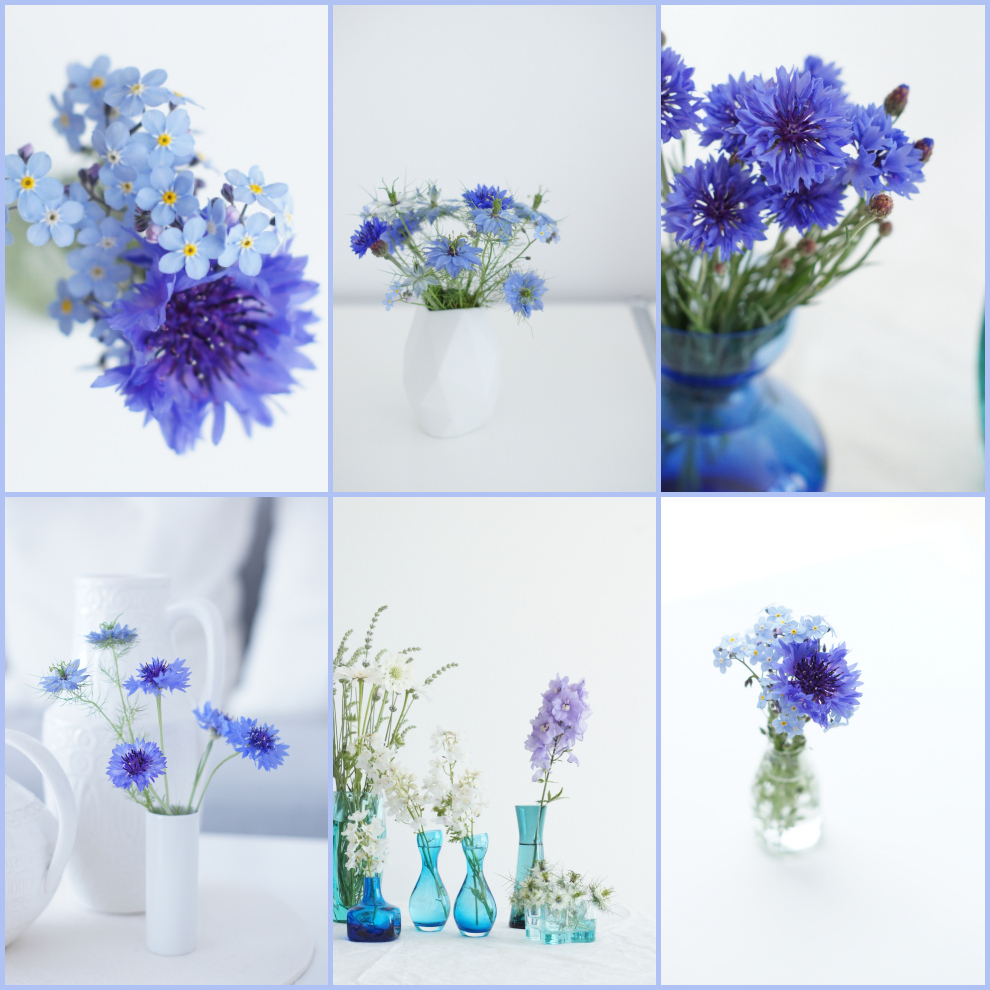
Sabine_Collage_blue

Dear Sabine, what kind of flowers do you grow in your garden?

I’m very much in love with cottage gardens and I grow typical cottage garden flowers like cornflowers, cosmoses, delphiniums, peonies and old roses together with tons of herbs like sage, rosemary, mint and chives. And not to forget some tomatoes, courgette and pumpkins. Our garden looks quite romantic and often a little bit higgledy-piggledy (because I don’t have time to keep all the weeds away) but this contrasts quite well with our  house which is pure white and very functionalist, almost Bauhaus-style.

What does your garden mean to you?

Honestly –  I think I couldn’t live without it. Working in the garden just makes me happy and I wish I had more time to spend in this little green relaxing zone.

What kind of vases do you like using for your bouquets?

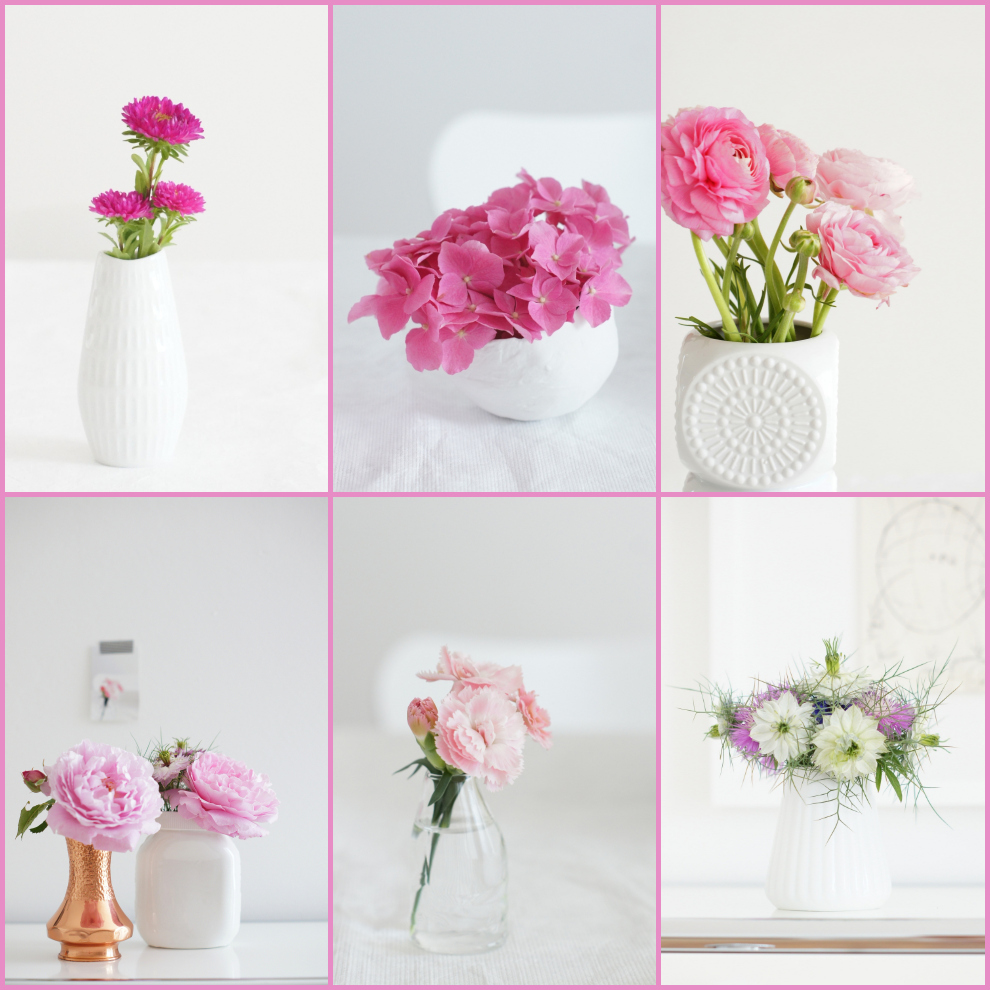
Most of my vases are made of white porcelain, many of them are vintage. I like to arrange them in groups with flowers assorted by colours – mostly white, pale pink or blue. I also use transparent or blue glass vases or even glasses (vintage or new). Liqueur glasses for example are wonderful to arrange flowers like forget-me-nots or single blossoms. Especially in autumn and winter I often use rough ceramics (mostly vintage) to decorate, for example, dahlias, asters or just branches.

Sabine_Collage_pink

Thank you so much Sabine for sharing with us your lovely pictures and your love for flowers.

I wish you all a great day and hope to talk to you soon if baby love doesn't decide to make an appearance. Only 7 days to go! xxx Elodie

(c) All photography by Sabine Wittig

Pimping Baby Love's clothes - Iron transfer tutorial

Good morning! I am back today with another little DIY tutorial. Last week I presented you my little pink cloud body using stencil printing. Today I want to show you how to pimp baby (and adult of course!) clothes by using iron transfers. I bought these lovely transfers on the Isemarkt in Hamburg from the lovely shop kinder+raum. The designer Evy has got a stand on the market every Tuesday. It is of course also possible to buy the transfers online or in a couple of shops in Hamburg. Here is what I made for baby love and how it goes:

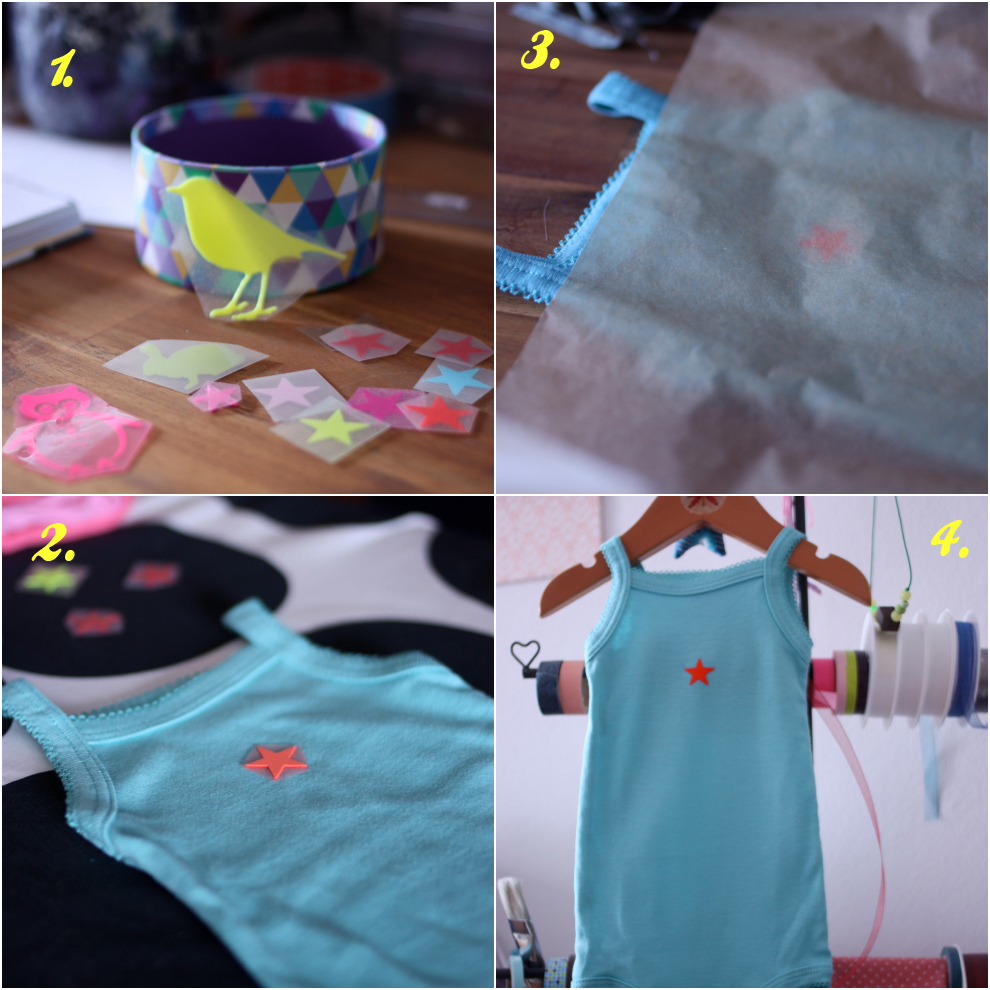
1. Select the pattern you want to transfer and the item of clothing.

2. Position the transfer on your fabric and place it on something hard - a wooden kitchen table would work better than an ironing board.

3. Place a sheet of baking paper between the fabric and the pattern before ironing. Set your iron to 150 to 160° C and press against the fabric with a lot of pressure for 20 seconds. It is important to press and not iron.

4. Peal off the plastic film et voila!

iron transfer step by step_1

Here are a couple of examples of what I did for baby love.

iron_transfer_step_by_step_2

pink

The colourful bodies are from petit bateau, the white body and kimono style t-shirt from C&A, and the muslim squares from Budnikowski. The patterns are from kinder+raum and the paper box is from Tiger

I hope you like it. It is a very easy and economical way of pimping your plain baby outfits and bodies. Take care and have a nice day.

Elodie

KALASON

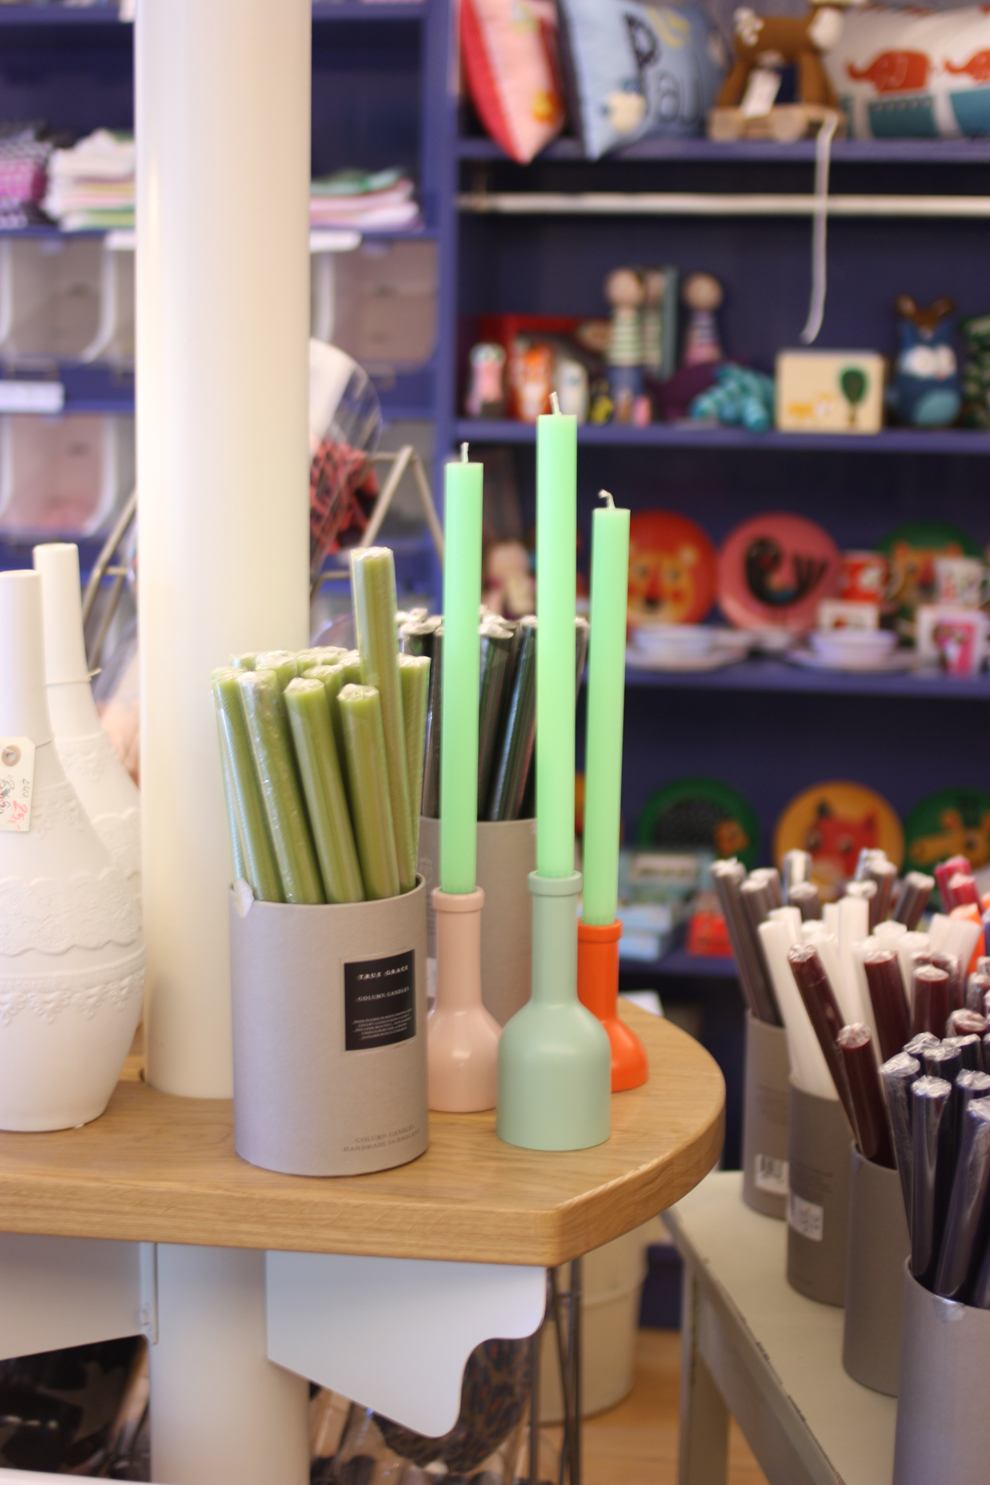
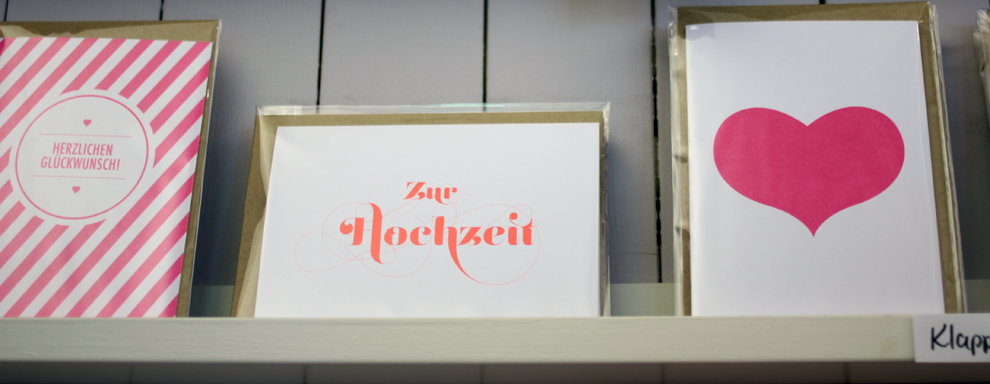
Hey everyone, I hope you had a good start to this new week. Today I would like to share with you another shop I love. It's a very Scandinavian shop as often in Hamburg. That is, by the way, one of the reasons why I like Hamburg so much. It's because you often feel closer culturally and design-wise to Copenhagen than to Munich! The other shops with a great selection of Scandinavian design I presented to you in the past are LIV, Lys Vintage, smukkeStore or Nordlys. The particularity of KALASON is that they have a focus on design for children with brands like little elephant or sebra, but you can also find some classic design brands such as nordal or hay. The shop owner Katharina Langewender is also a graphic designer, and a lot of the postcards that can be found in the shop are her own design. Katharina also designs logos and is responsible for Lieschen's pretty logo. The shop is situated in the very lively and pretty district of Winterhude, where you can also find the  shop schön und ehrlich, next to the canal, but you can also purchase everything online via the great online shop.

Here are a couple of pictures. Even if online shopping is great, nothing can replace a real-life shopping tour:

candles_kalason

kalason_OMM_design

ferm_living_kalason

Fox_Jellycat_kalason

Hay_kalason

kalason_card_wedding

kalason_ferm_living_cushion

kalason_logo

Kalason_neon_postcard

kalason_owls_sebra

kalason_shop_window

rubbons_kalason

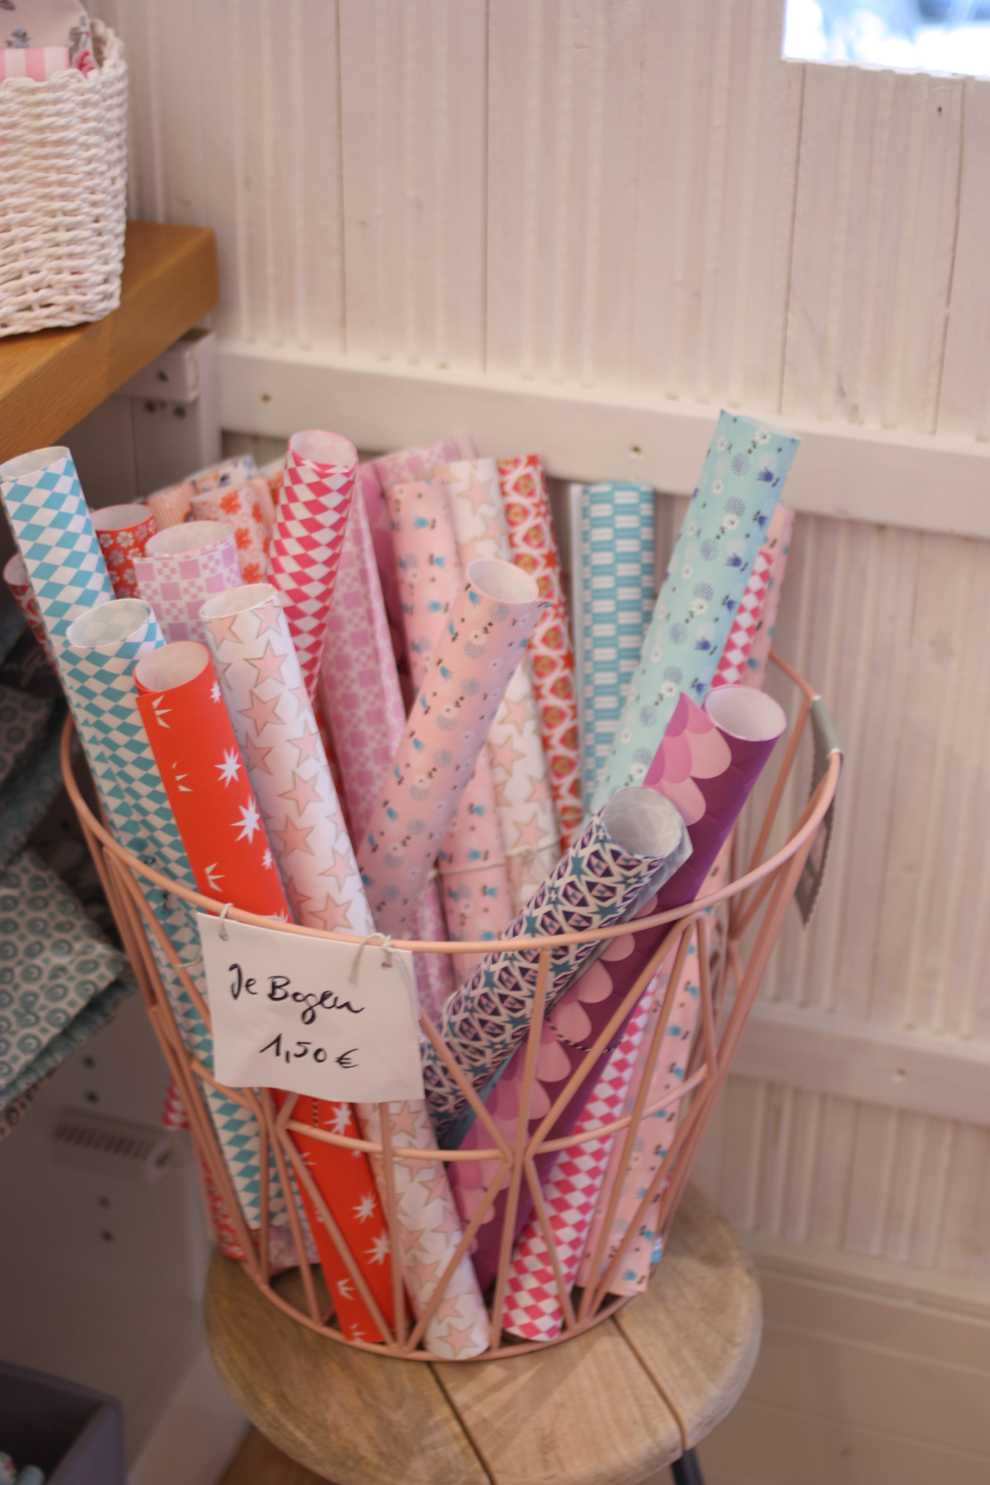
wrapping_paper_kalason

KALASON Semperstraße 2 22303 Hamburg

Tue – Fri: 11:00 – 19:00 Sat: 10:00 – 15:00 Follow kalason on Facebook

Pimping Baby Love's clothes - Stencil Printing

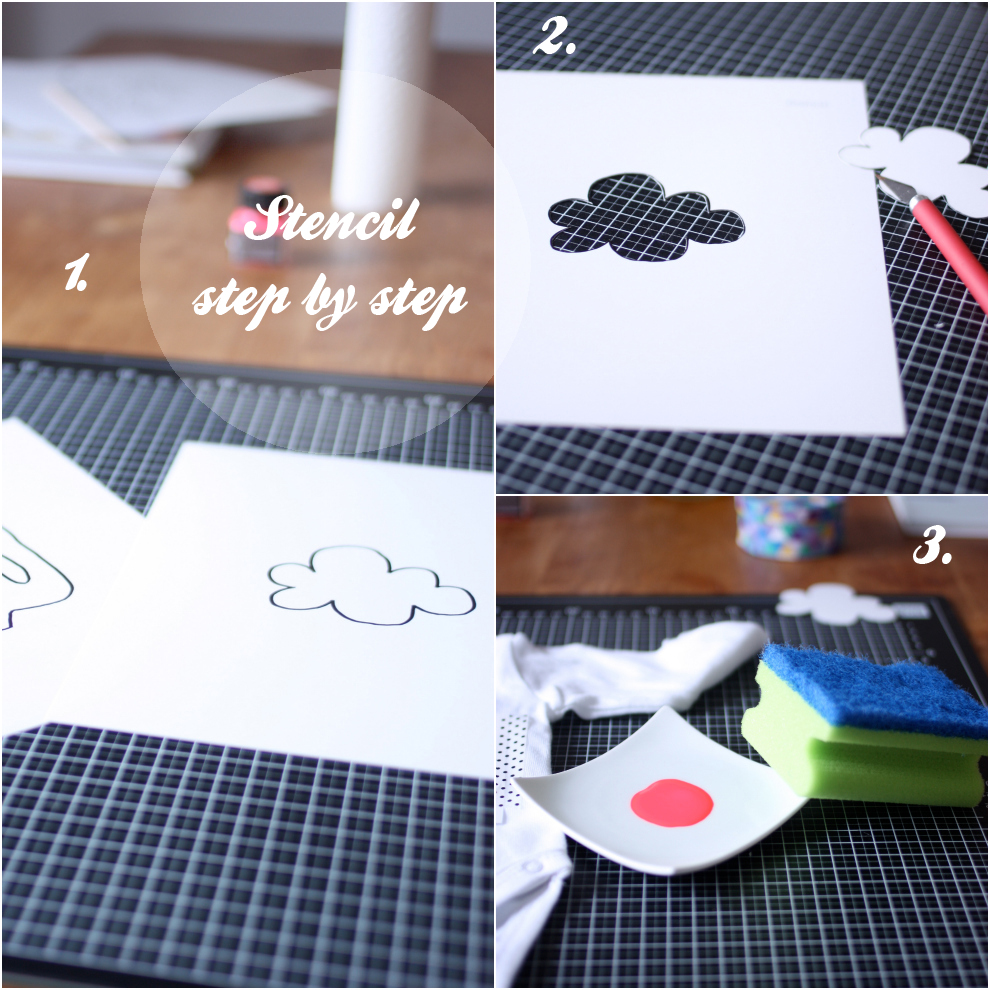
Hello everyone, Today I have a little DIY for you. My fabulous mum made a lot of baby clothes for little Miss Love, and I have been sewing a lot myself lately too, almost only for the decoration of the nursery (which I will be showing you soon, when I think that it is almost finished). Another thing that I have been doing during my maternity leave with my friend Stephanie is "pimping" some plain, white baby outfits I bought from C&A for instance. The first one I want to show you uses the stencil printing technique. Stenciling is a very fun and easy technique for customising boring fabric.

Here is what you will need:

  • strong paper and a permanent marker, or stencil pattern
  • craft knife
  • fabric paint (mine is a Javana Textil)
  • small plate (for the paint)
  • sponge
  • washi tape

stencil_first_step1. Choose an existing design or design your own stencil with a permanent marker. I found my little cloud in the book simple sewing for baby by fabric designer Lotta Jansdotter 2. Using a craft knife and a cutting mat, cut out your design. 3.  Pour some of your fabric paint onto a small plate and have your sponge ready.

Stencil_step_2

4. Protect the other layers with another piece of fabric. 5. Place your stencil on top of your fabric and secure it on the sides with some washi-tape, so it will not move when you are printing. 6. Using the sponge, apply an even amount of paint through your stencil. 7. Let the paint dry a little bit before removing the stencil. Fix the paint after drying by intense ironing (5 min. cotton setting). Cover fabric with a cloth. Thereafter your fabric will be washable.

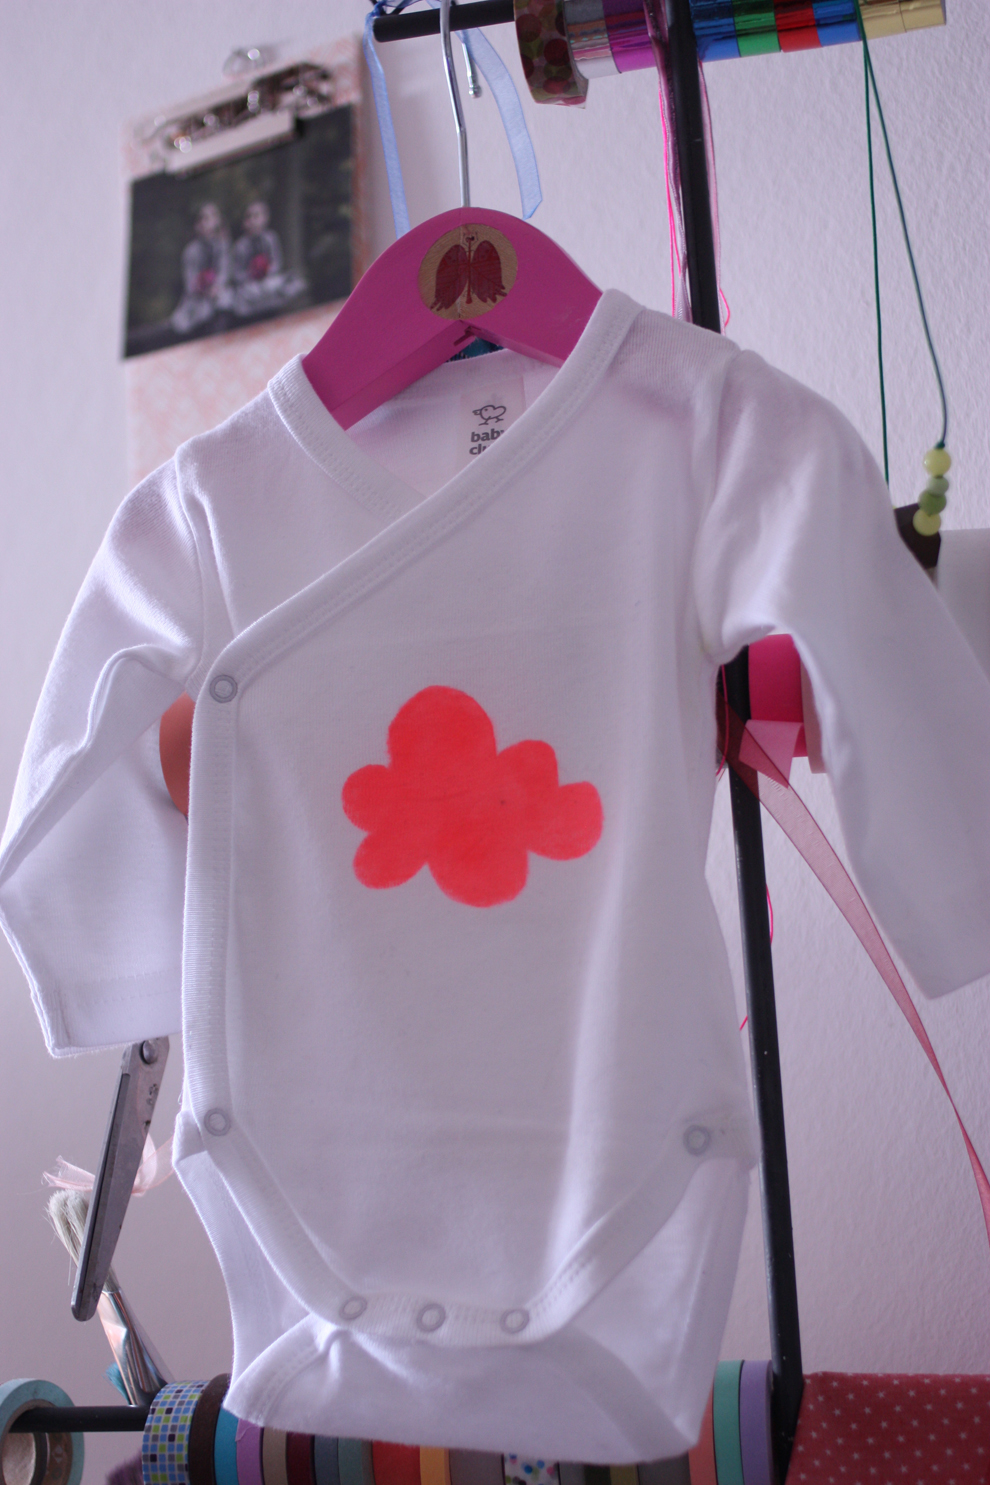
Here is the result:

Finished Size


I wish you a great day! xxx

Elodie